Chair Caning Step 6. Second Diagonal.
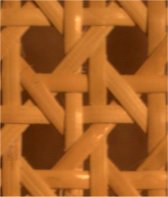
Again it is important to plan your weaving before you start this step. Take a short length of cane (enough for 1 time across the seat), practice the weave so that you can see how the first weave will end on the front corner. Weave the cane from upper left corner hole to lower right front hole. Weave UNDER the vertical cane that run from back to front. Weave OVER the horizontal cane that run right to left. Notice how this cane fits snugly into place with the horizontal & vertical canes. Be careful not to cut, kink or twist any cane.
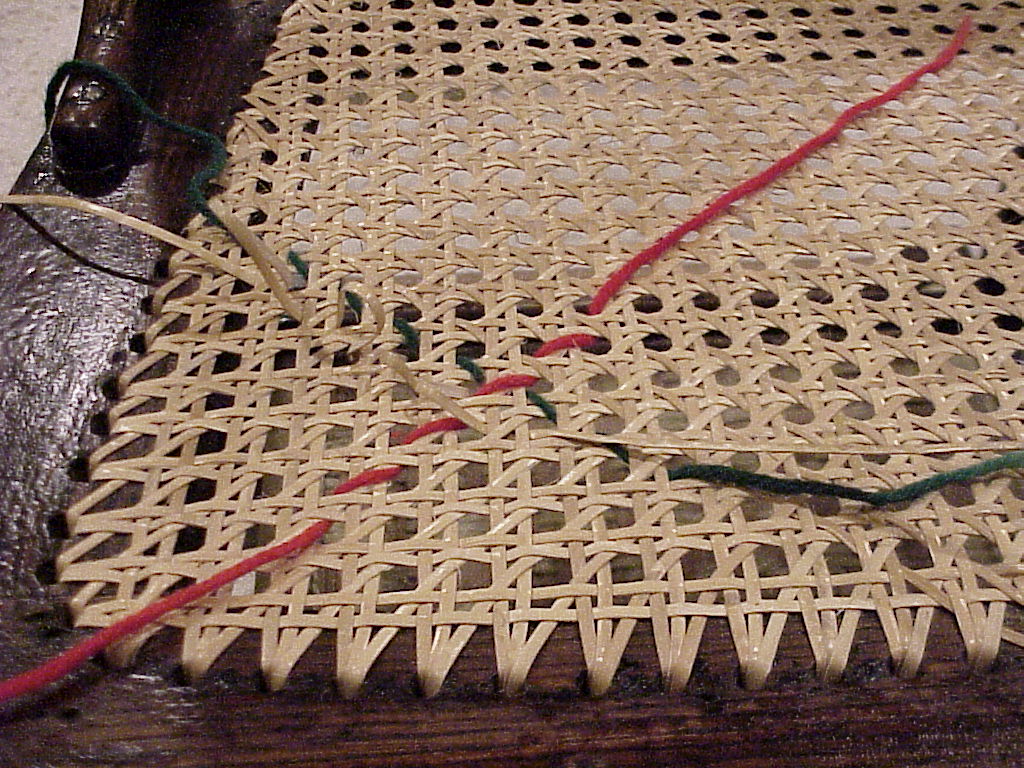
Weave towards the back right half of the chair. When the back half is complete, weave the front half of the seat to finish this step.
Notice in this picture the RED string represents the step 5 diagonal weave, the GREEN string represents the step 6 diagonal weave.
On the side rails of a curved chair (illustrated here) there is need for a fisheye. Count the number of holes in the front rail & side rail to determine how the cane will weave at the front corner. Skip holes, as necessary, to satisfy the eye visually. Also on the side rails, if it becomes too difficult to weave under horizontal sets, consider the need to skip that hole, again count holes to plan your strategy.

Return to Chair Caning Instructions page. Go to Chair Caning Step 7.