Chair Caning Step 7. The Border
The border cane is a wider cane used to cover the holes in the chair. It is used as a finishing step, to enhance the looks of the final product. There are three methods of doing corners; pegging, rounded or couched. Pegging is used for chairs with square corners. It is easier & probably best for beginners. Rounded is used for chairs with rounded corners (some chairs have square corners in back & rounded in front), and is harder to make look right (flat & smooth). Couched is a little more advanced, but I think it makes the neatest square corners. I will illustrate all three here.
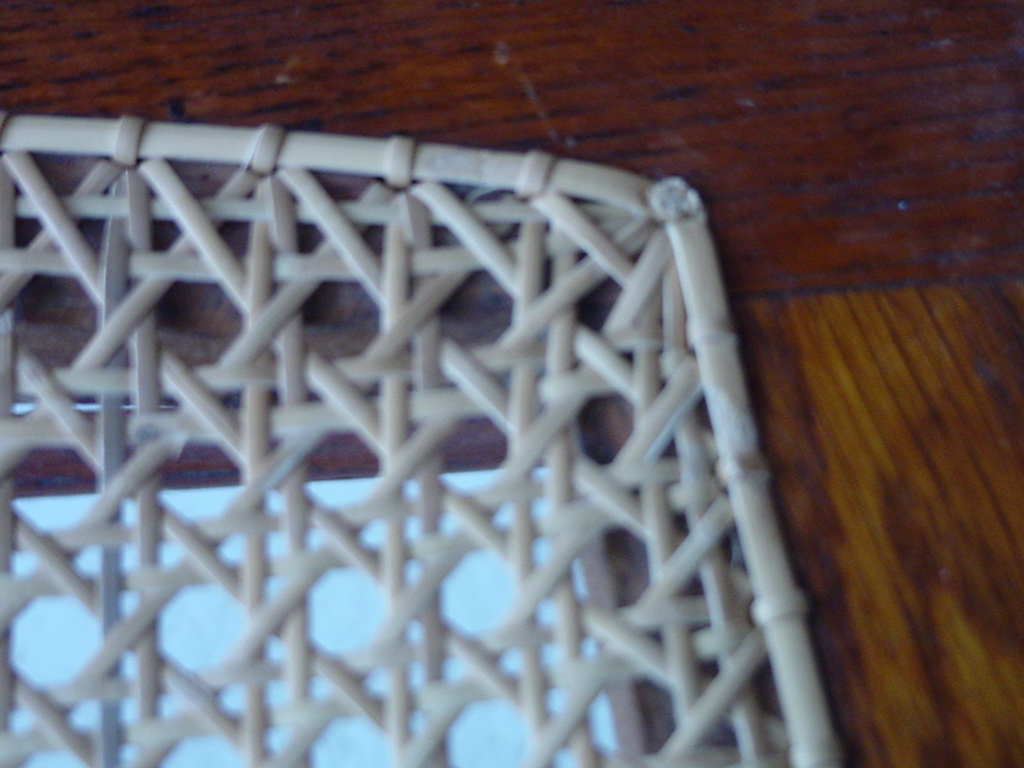
Square Corner
The border cane is started in the back rail by inserting 1-3 inch of border into
each corner hole. Begin looping the regular cane at the next hole. Take the cane
over the border, back down the same hole, up the next hole, over the border cane and back down.
Keep the cane straight with vertical or horizontal cane.
Weave the cane through 3-6 (several) holes before beginning to tighten the cane.
Weave with one hand on top & one below. When tightening it will seem that you
also need an extra hand holding the border cane. It is important to get the border &
the cane as tight as possible for the best look. When completing a rail, feed
the extra border down the corner hole.
Skip the corner hole with the regular cane & continue looping around the border for the side rail. Continue inserting border cane into corners & looping with the regular cane until all sides are completed.
The finish step for the corners is to drive a peg into the corner hole. Whittle a 1/2" long peg to very snuggly fit into the corner holes. Add a dab of glue to the peg & drive the peg into the hole with soft taps from a rubber hammer. Use another wood peg to act as a nail set, to ensure that the peg does not protrude above the rail. Also note the fisheye in the corner of this chair design. Tie the ends of the cane as necessary & trim the excess border cane underneath when finished.
Rounded Corner
The border cane is started on the back rail, covering a hole. Begin with regular
cane about 2-3 holes farther on the back rail and loop over the border. Take the
cane over the border, back down the same hole, up the next hole, over the border
cane and back down.
Weave the cane through 3-6 (several) holes before beginning to tighten the cane.
Weave with one hand on top & one below. When tightening it will seem that you
also need an extra hand holding the border cane. It is important to get the border &
the cane as tight as possible for the best look.
Dampen the cane & border as they become dry, to keep them flexible. Tie off the cane as you come to it's end.
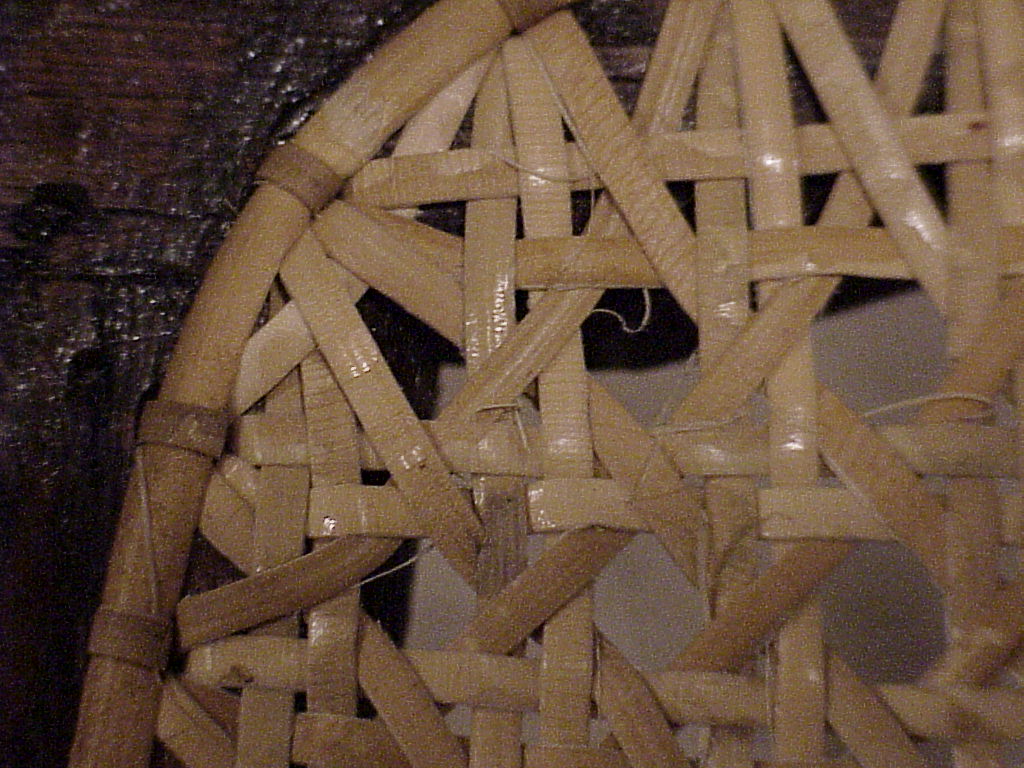
Take special care to keep the border flat at all times. This is especially important at the corners & also the most difficult. It is helpful to have that spare set of hands here.
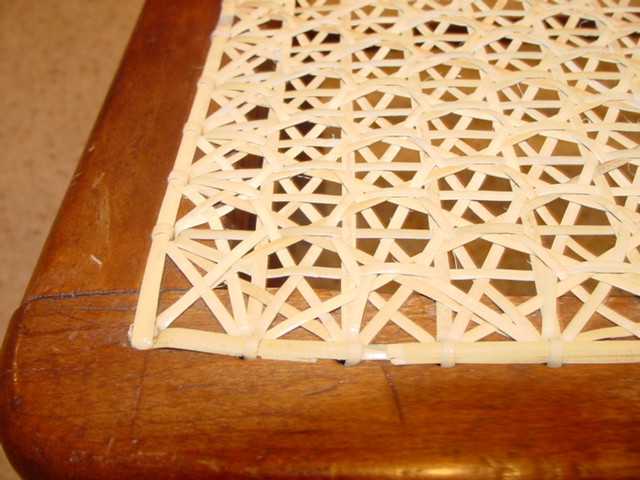
When finishing the border, cut the border to overlap 1-2 holes from where you started. The border cane should start and finish exactly covering a hole. Loop the cane to exactly cover the border end, for best look. In the picture below, the overlap is just barely visible at the 5th hole from the left.
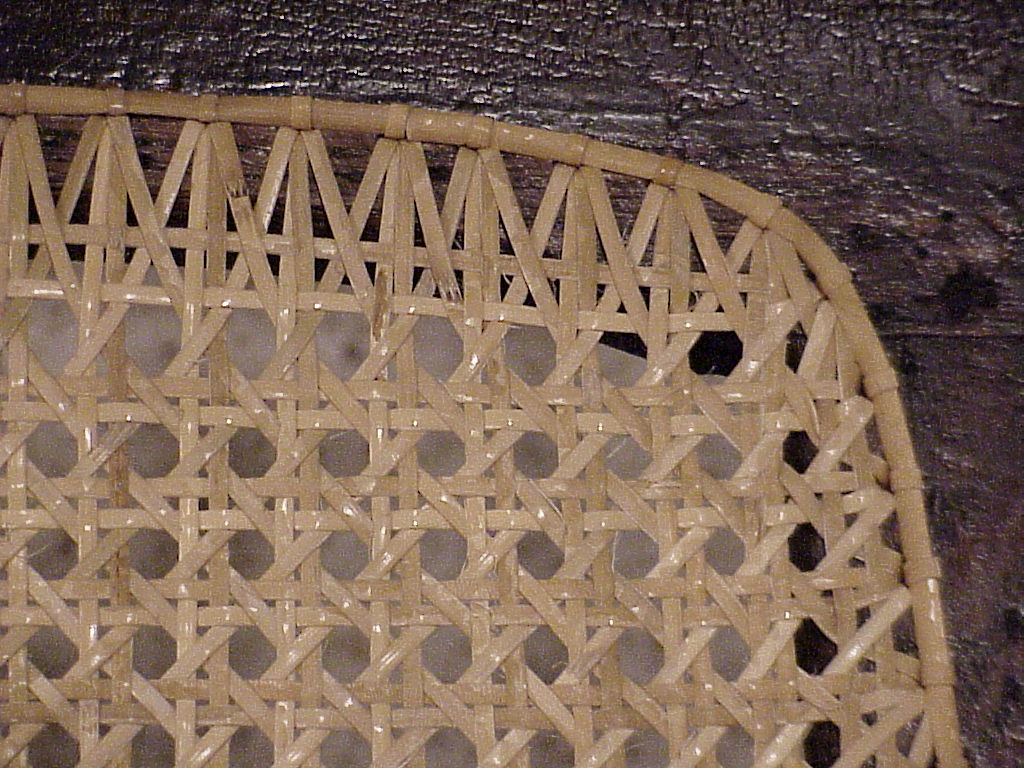
Notice the fisheye in the corner and the care taken to ensure that the border is laying flat on the corner. Also notice the regular cane loops line up visually with the appropriate vertical and horizontal cane.
Also notice the cane "hairs" still showing in the weave. These can be removed by carefully pulling out or by carefully burning off with a candle flame. Do not burn the cane too much.
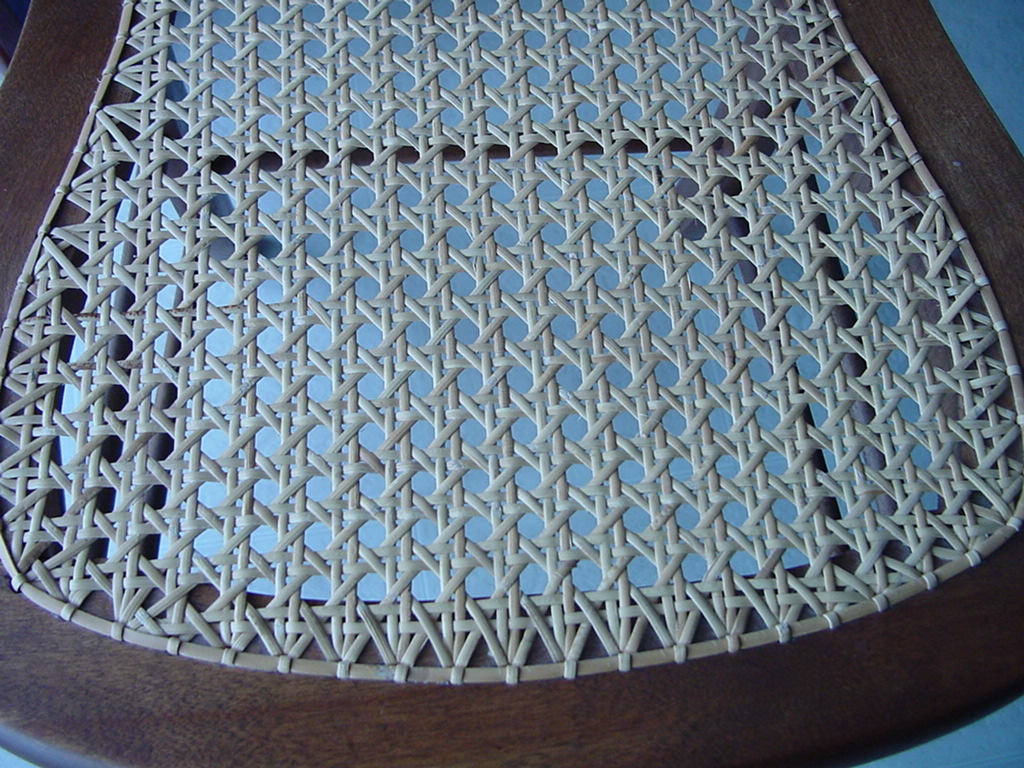
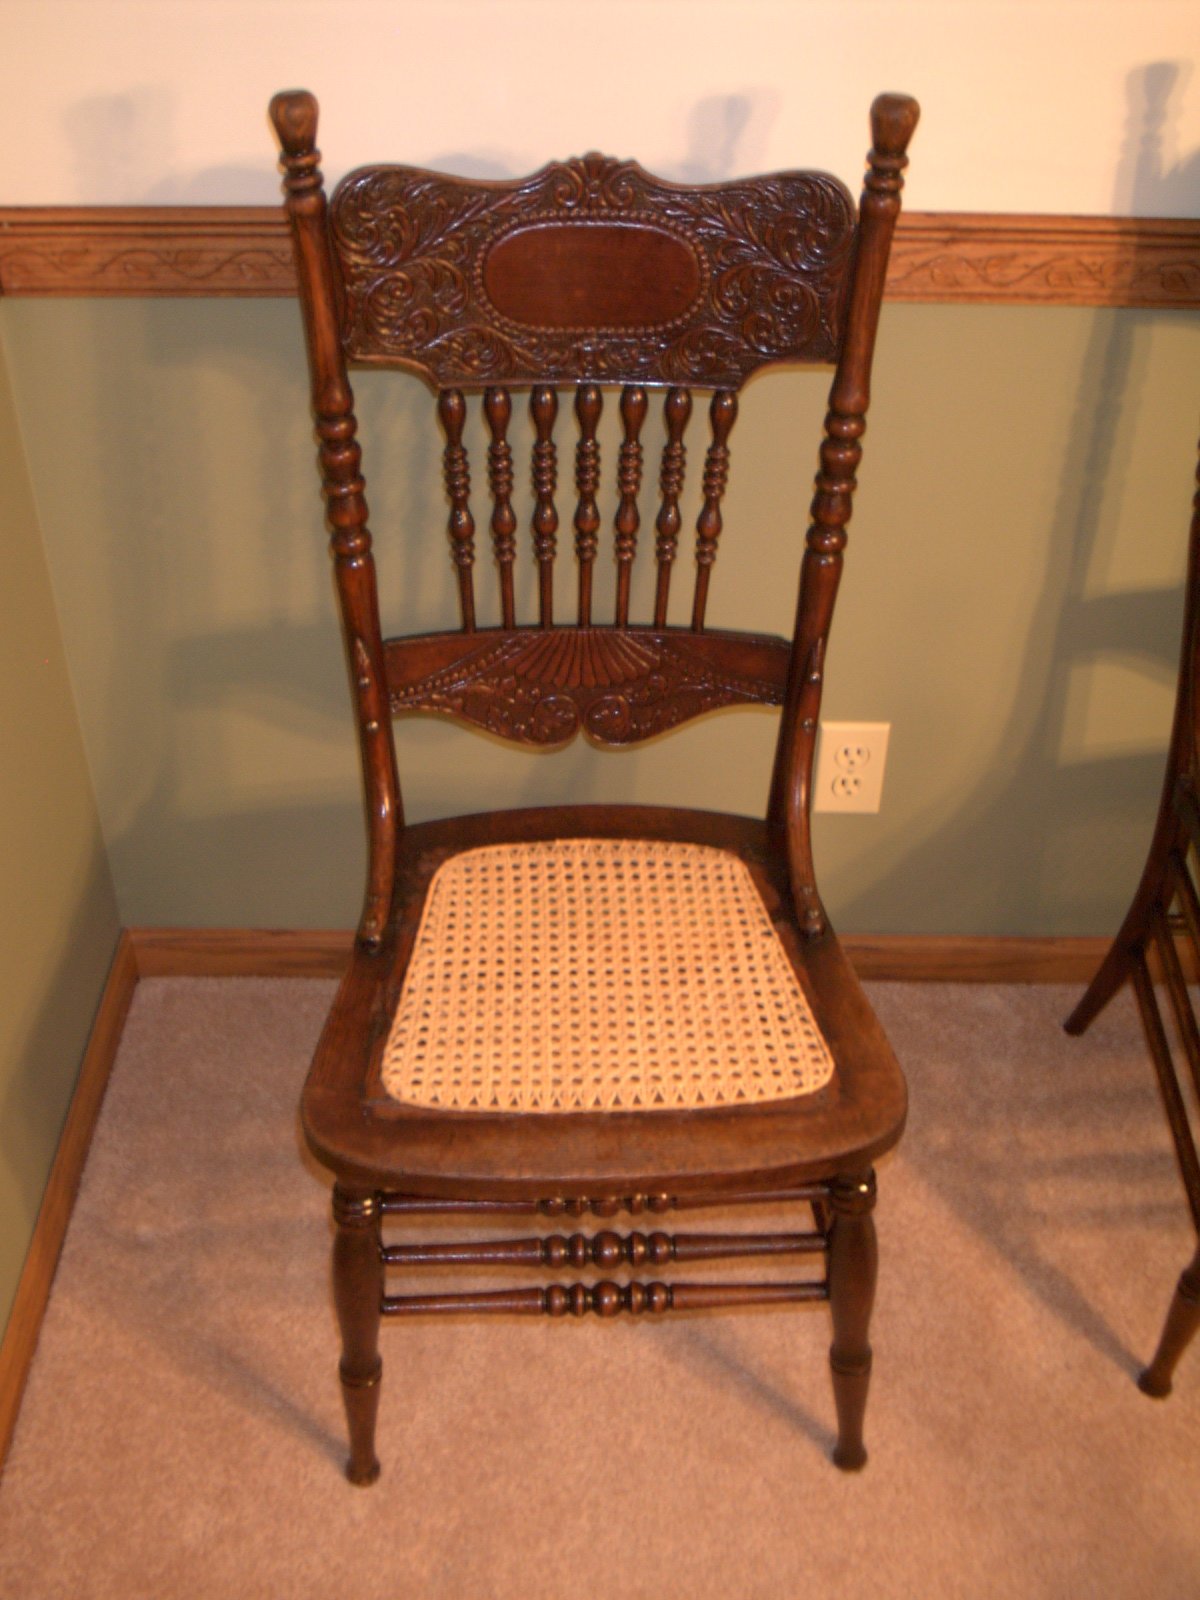
This is a "classic" style cane chair which I pegged in the back square corners & rounded the corners on the round front rail. Also notice the short runs on the front & side rails, needed because of the curvature of the side & front rails.
Below is the chair with the border "rounded" for a more appealing look. The ends of the border are covered by a loop on the back rail, so that it is invisible to the casual eye.
Couching.
This technique forms what I believe are the nicest square corners. It just looks
more professional to me. But is also more difficult than to peg the corners. So
beginners should peg, more advanced caners should try
Couching.
Couching & Beading.
Don H. sent in these instructions to finish the chair by pegging holes &
covering them with the binding. Let Don H. tell you about his technique of
Couching &
Beading.
Return to Chair Caning Instructions page. Go to Finishing page.