Chair Caning Step 5, The First Diagonal Weave
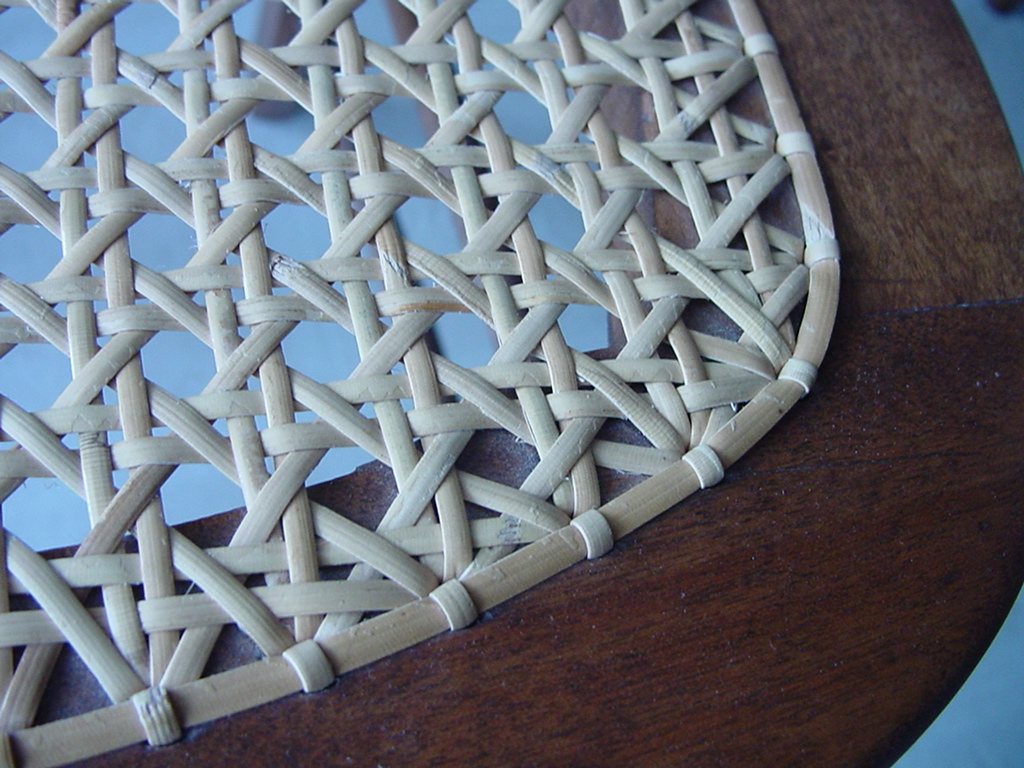
It is important to plan your weaving before you start this step. Take a short length of cane (enough for 1 time across the seat), practice the weave so that you can see how the first weave will end on the front corner. Weave the cane from upper right corner hole to lower left front hole. Weave OVER the vertical cane that run from back to front. Weave UNDER the horizontal cane that run right to left. Notice how this cane fits snugly into place with the horizontal & vertical canes. Be careful not to cut, kink or twist any cane.
After planning, pull the practice cane out carefully & begin weaving diagonally with a full cane.
Weave towards the back left half of the chair. When the back half is complete, weave the front half of the seat to finish this step.
Tie the cane off as you come to the end of the cane. If the cane gets bad from use, twisting or kinking, tie it off and start with a new cane.
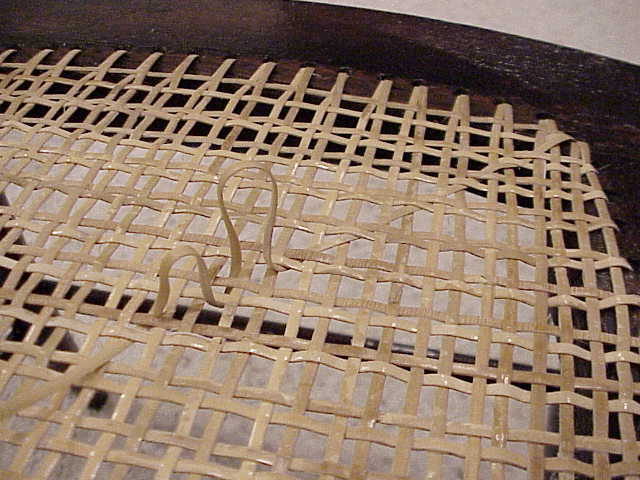
In the front corners you will form a fisheye, where you weave in & out of the same hole. Fisheyes will occur because of the curve in the chair, and both a vertical & horizontal pair of cane sets run into that hole. Weave with your eye, so that whatever you do on one side of the chair, you should also do on the other side. In this way, the chair will look correct, even if minor weaving errors are made.
Plan your weaving so that you don't have to fisheye on this same cane, but can finish the fisheye with another cane. If it happens that you must fisheye with the same cane, take the cane down the hole, run it under a nearby loop & then back up the hole.
Return to Chair Caning Instructions page. Go to Chair Caning Step 6.