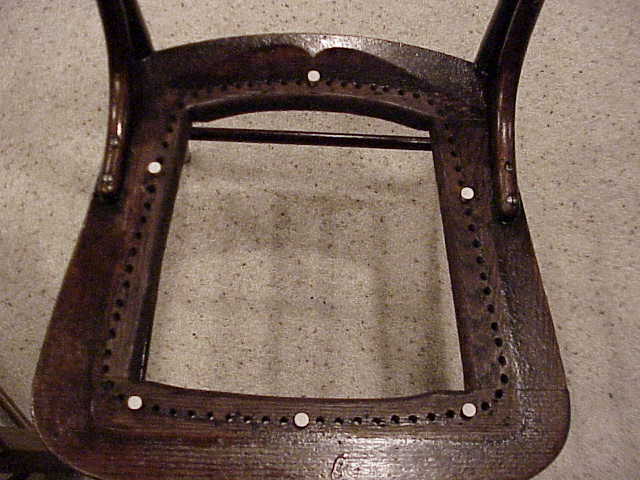
Chair Caning Step 1.
Start by finding the center in the front & back rails. Count the holes to
find the center holes. Use the ruler/straight
edge to plan how the caning will run. Notice the pegs on the side rails, lined
up visually to be parallel with the the rest of the cane. This chair has more
holes on the front rail, than the back rail. This necessitates cane being run to
a hole in the side rail, aligned parallel with other vertical cane. A
fisheye will eventually be placed here in future steps.
Notice the chair has been finished & repaired in preparation for caning to begin.
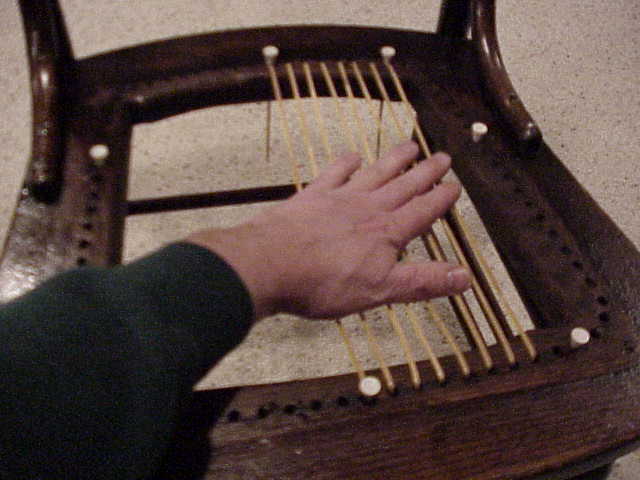
Step 1.
Beginning with the center hole in the back rail, feed the cane from back rail to
front center. Weave the cane "with the grain", so that the "cane
eyes" will not
catch. You can tell by running the cane through your fingers. When you feel a
bump, you can tell which way the grain runs with your finger nail. If it catches that is
the back side, pull the cane from the other direction.
Bring cane down the center front hole & back up the next hole. Be very careful not to twist the cane. Leave the cane loose, so that in the center of the chair the cane can be stretched to reach the bottom of the rails. Also leave the loops under the holes slightly loose. This aids when tying off the cane later.
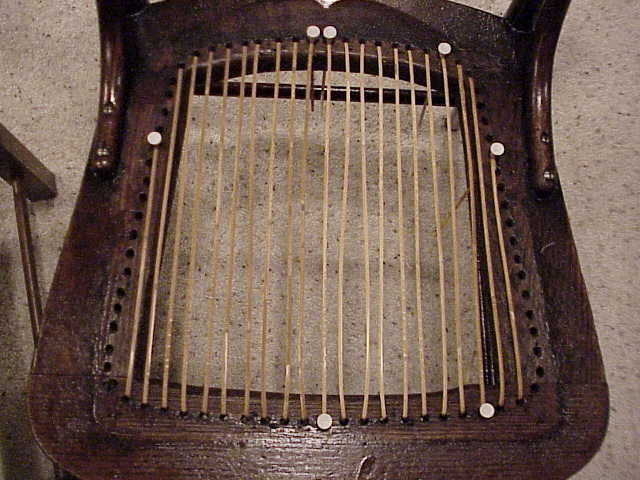
Finished step 1.
Notice the cane is run visually parallel, including the final cane on the side
rails. Usually it will take more than 1 cane to complete each side of this step.
Leave the cane ends pegged at this point. You will tie the ends after step 3.
Return to Chair Caning Instructions page. Go to Chair Caning Step 2.