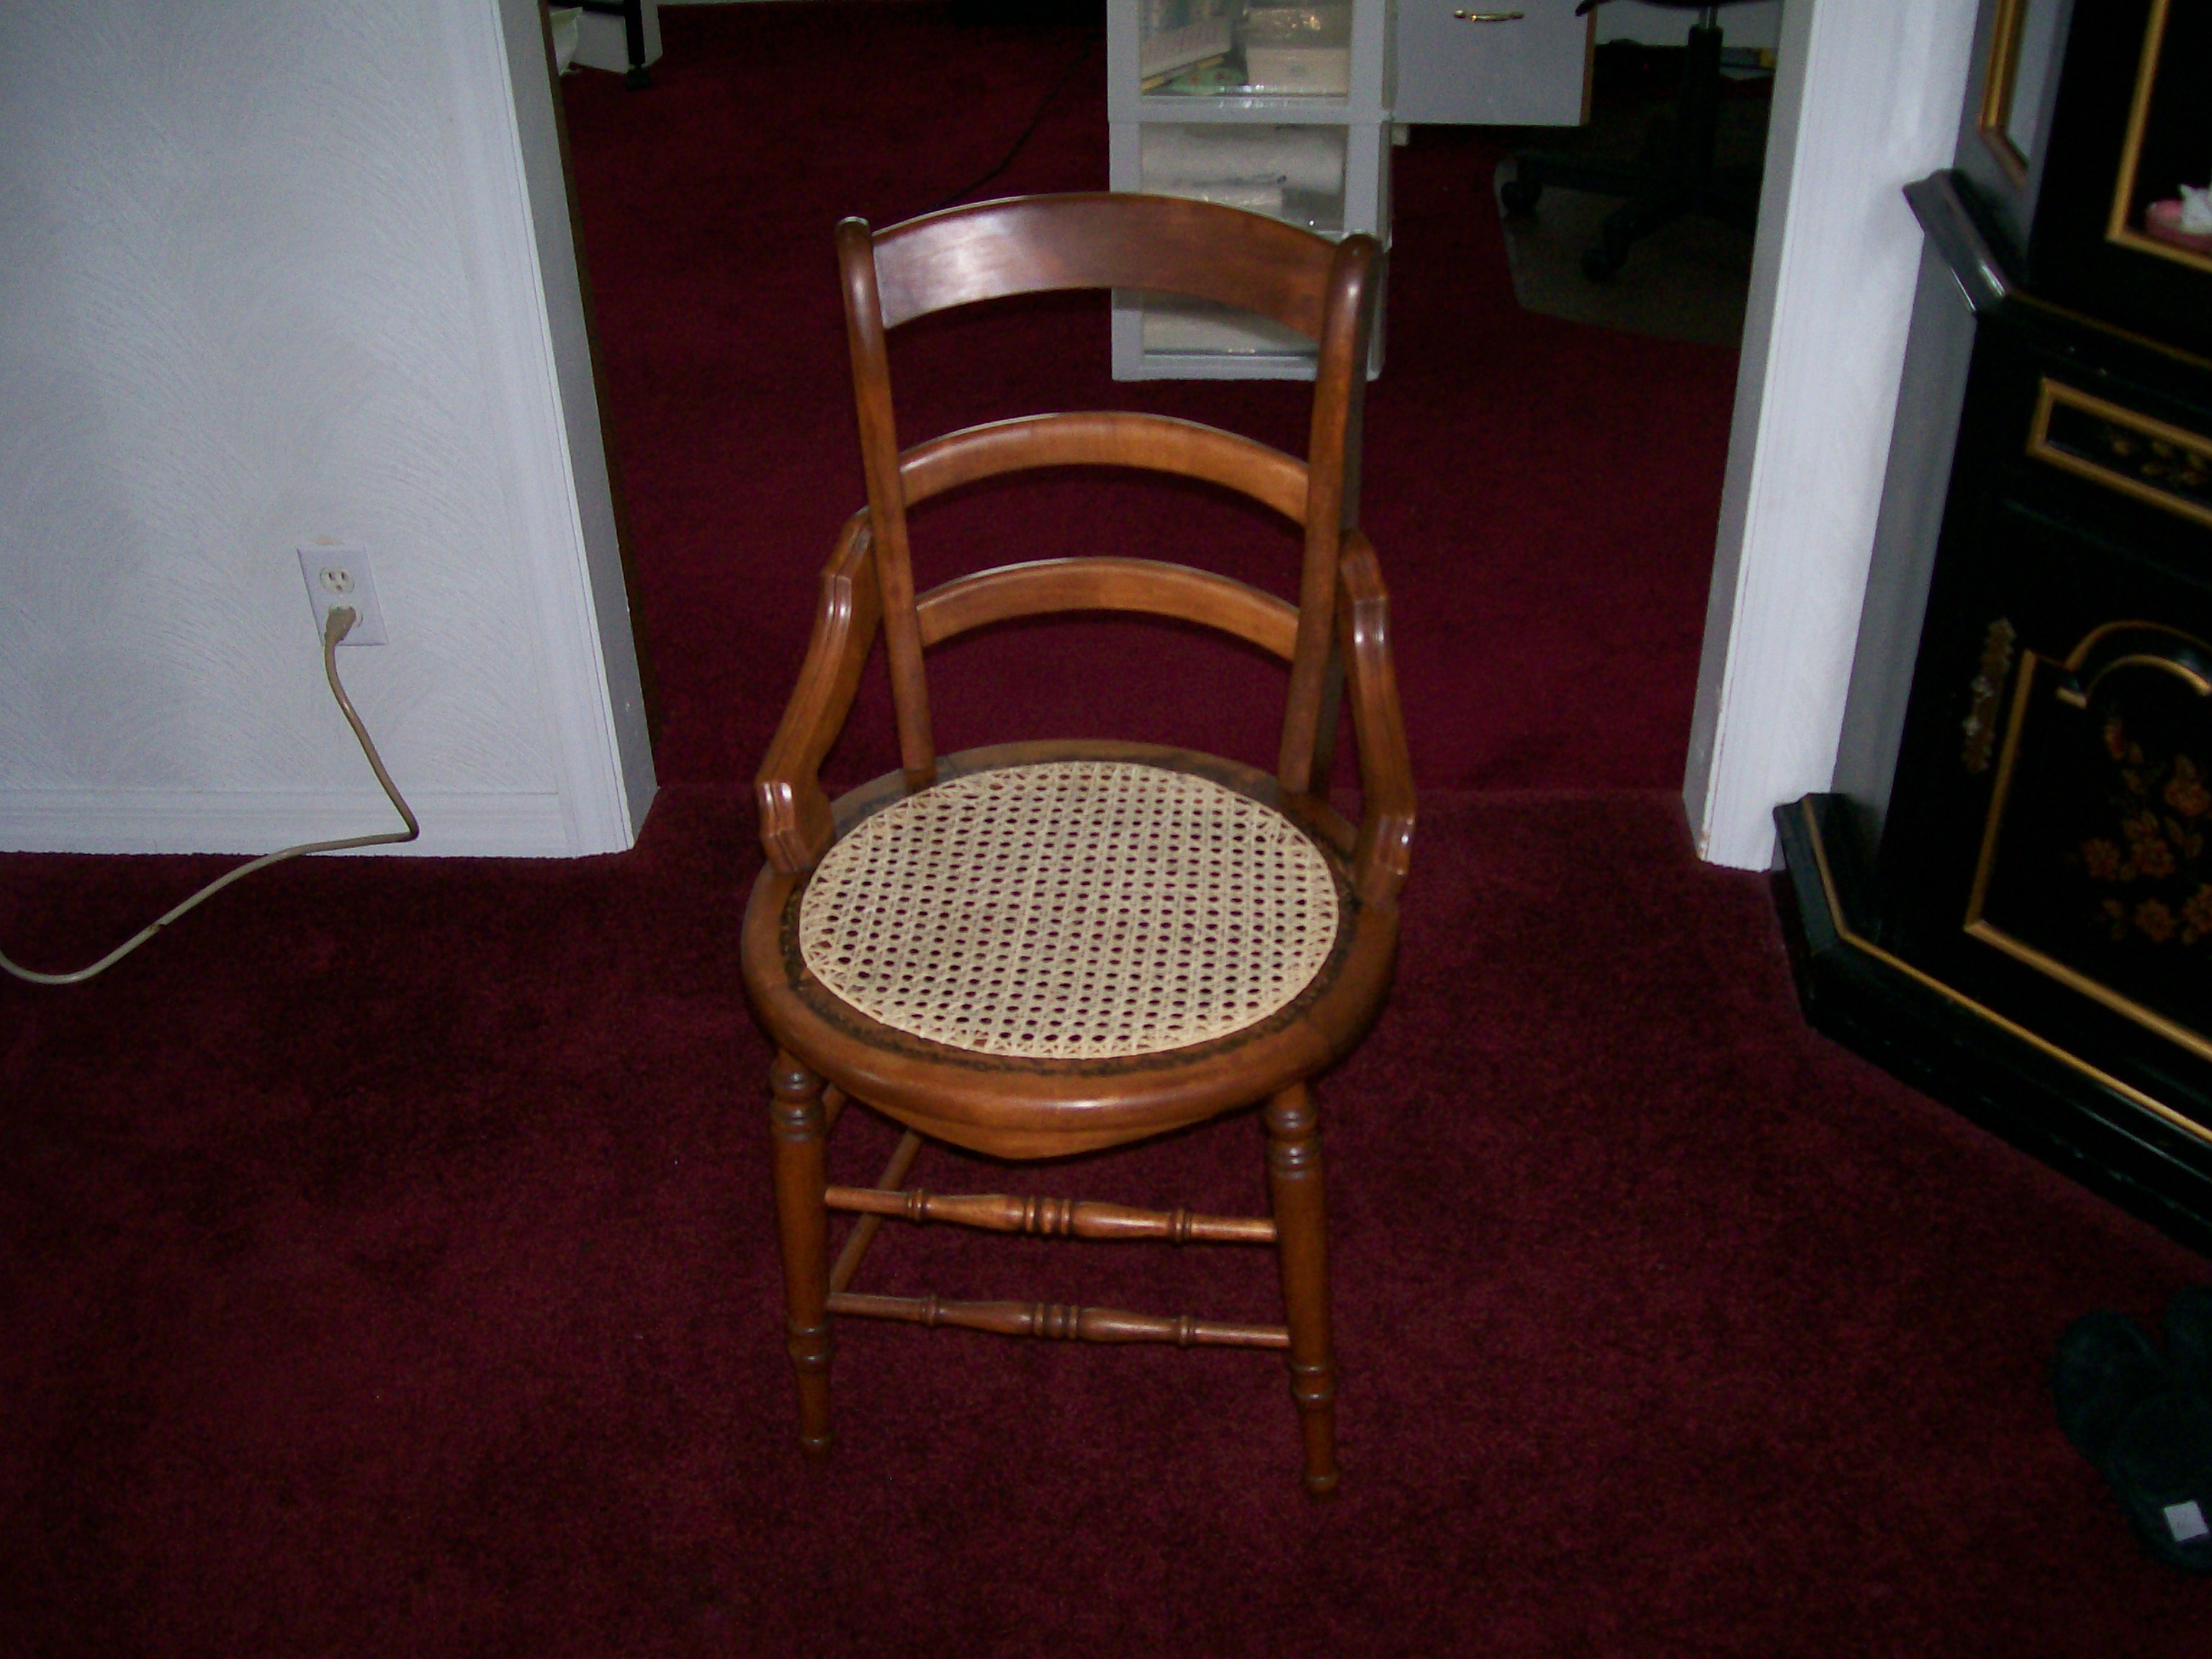
Wendell's first caning project
Wendell shared his first caning project, a nice classic dining chair, with round cane seat. He did his research, checking many websites & various instructions before beginning. He followed the Modified 7-Step process, where step 5 (diagonal) is completed early to hold the cane in place. This unfortunately caused a problem later, he forgot the second diagonal. OOPS! I did notice from his pictures the missing step & Wendell was able to correct it.
So here is Wendell's story, in his words & pictures.
Wendell,
Thank you for sharing with the caning community.
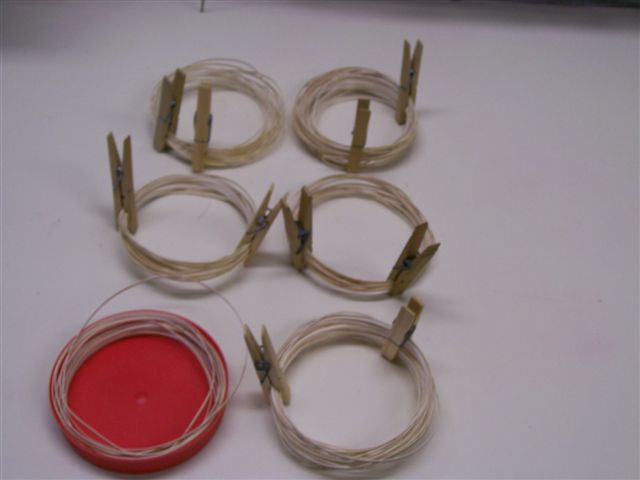
Picture 1:
Cane rolled for soaking – use of jar lid to aid in forming the cane
rolls.
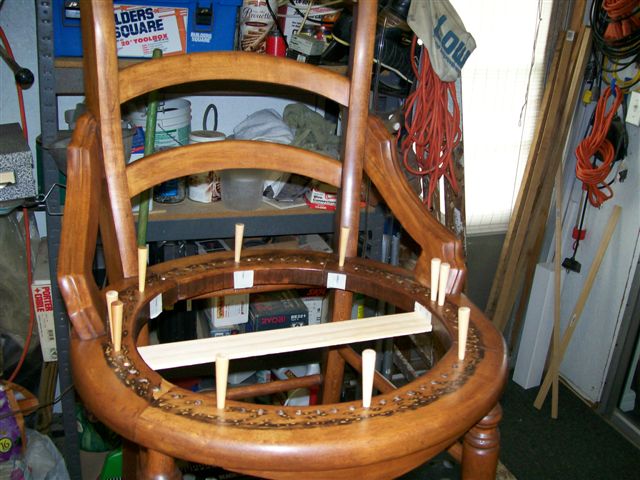
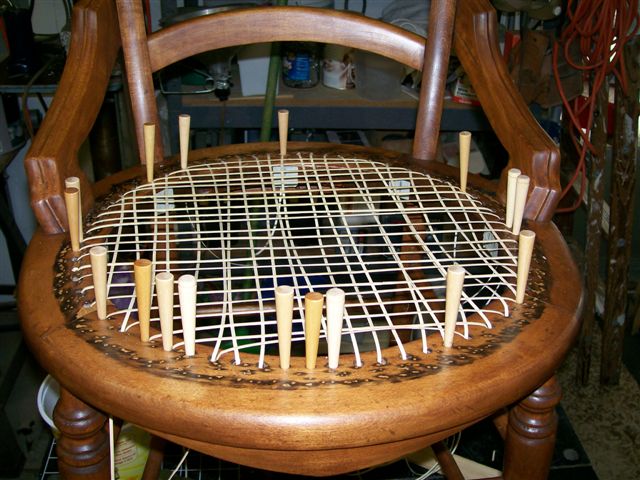
Picture 2:
Shows caning pegs used to locate horizontal, vertical and diagonal cane
paths. Inside chair rail marked with
masking tape so that if pegs are moved during the weaving process the original
location of the pegs may be easily found.
Two locator pegs on each side of the horizontal axis as there is no hole
directly in the center – equal distance from the vertical locator pegs.
Thin wooden slat to establish uniform slack in the cane.
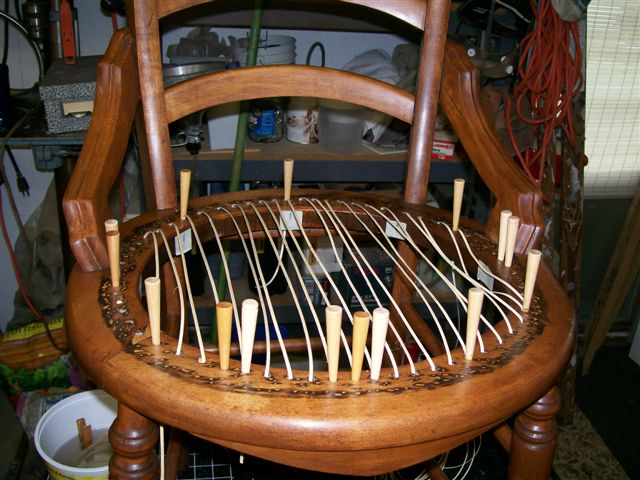
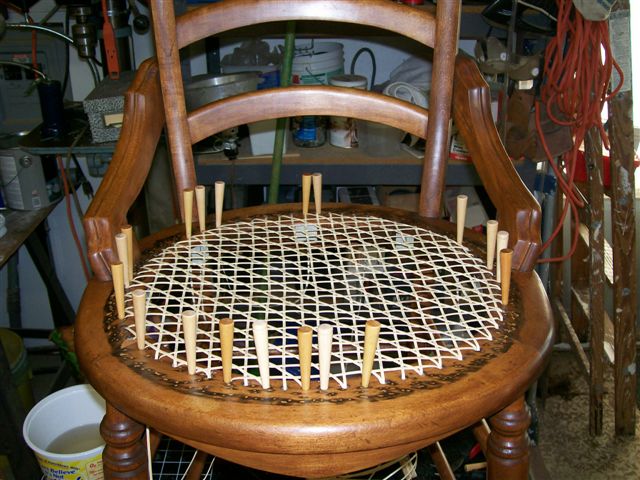
Picture 3:
First Vertical
Picture 4:
First Horizontal
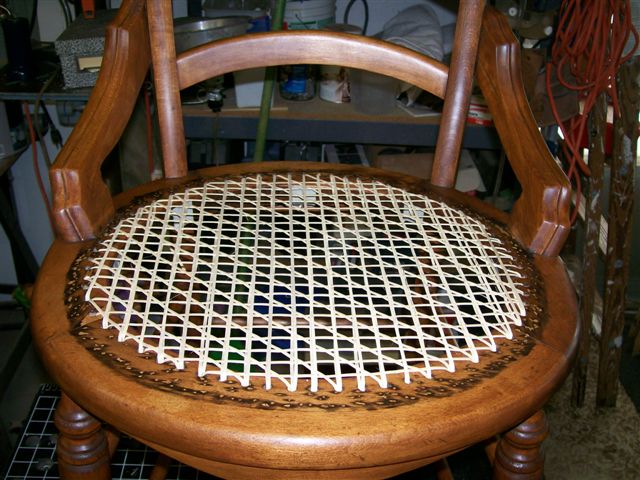
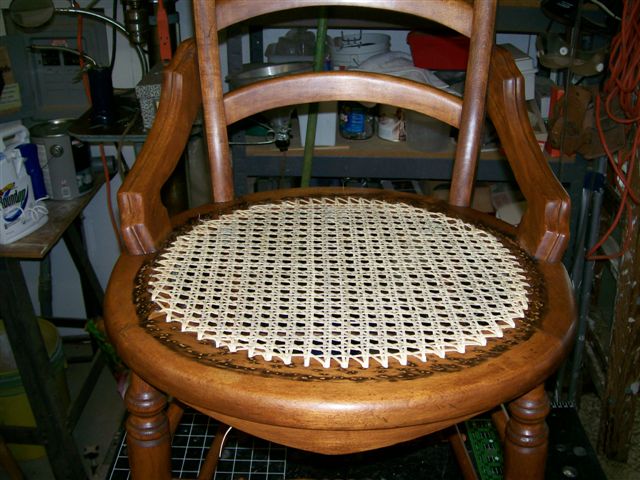
Picture 5:
First diagonal – loose ends not yet tied off
Picture 6:
Step #4 completed
Picture 7:
Step #5 completed
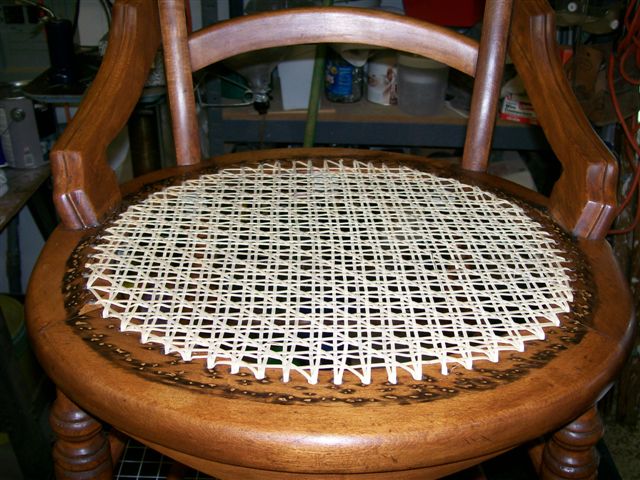
Picture 8:
Step #6 completed
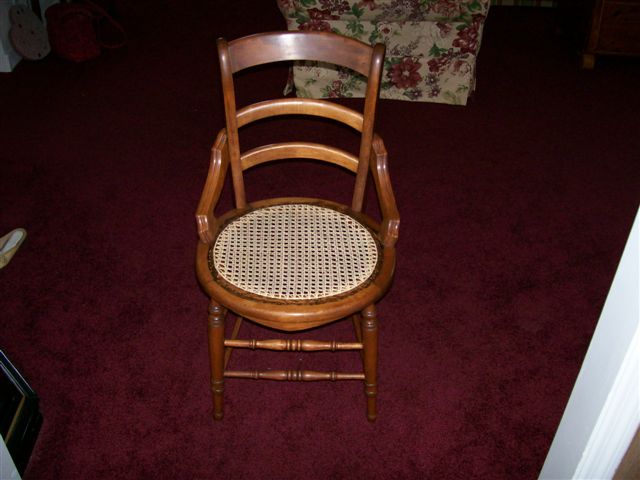
Picture 9
Completed chair --- yeah !!!!
June 16, 2009
I have learned much and expect to do a better job on the second chair.
Any comments, suggestions or criticisms you may have for improvement
would be most appreciated.
Cane is a product of
nature so that we cannot expect that it be 100% uniform.
My subjective opinion is that the cane I obtained have variances in color
and places where the shiney surface had been abraded to reveal a surface
appearing much as the underside of the cane strand.
As I have not the expertise to evaluate cane quality, my question to you
is: are there cane supplies that can
reliably produce high quality cane?
I purchased mine from Rockler – do you have another, perhaps better source and
if so, will you share?
I thank you so very
much for your help and encouragement.
I could not have done it without your input.
Wendell
------------------------------------------------------------------------
June 16, 2009
To Wendell,
Beautiful chair & thank you for all the pictures & commentary.
Now to your questions?
As I have
not the expertise to evaluate cane quality, my question to you is:
are there cane supplies that can reliably produce high quality cane?
I purchased mine from Rockler – do you have another, perhaps better
source and if so, will you share?
Quality varies from time to time. If I get cane that I am unsatisfied
with, I will contact the supplier for a solution. Usually they will send out
replacement. Other suppliers I have
used: HHPerkins.com
Franksupply.com Caningshop.com
A question for you: I can not tell from your pictures; Did you do a second diagonal going from lower left to upper right corner? On the rails there should form an "X" from the diagonals & I can't see this in the pictures. There should be 7 steps to the normal caning process.
Wayne,
June 18, 2009
Here is a picture of the completed chair with the missing diagonal installed. I must admit the chair looks better with all the cane in place.
As I evaluate the project, I see where things could have been better done. There are places where the cane quality is not the best and there are a couple of cane weaves that should have been tighter.
As I look at the underside of the chair seat rail I have concluded that the uniformity of the cane under loops and the neatness of the tie offs reflect the quality of craftsmanship nearly as much as the seat itself.
I learned a lot and expect to do a better job on succeeding chairs.
Once again, thank you for your help
Wendell