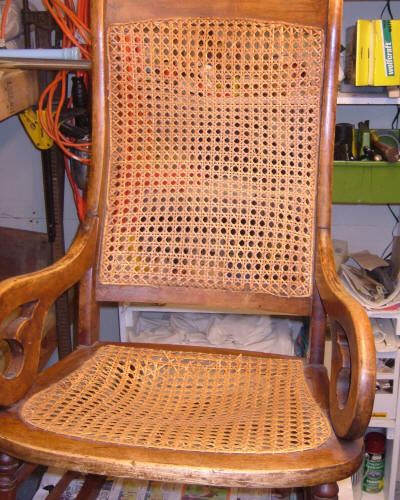
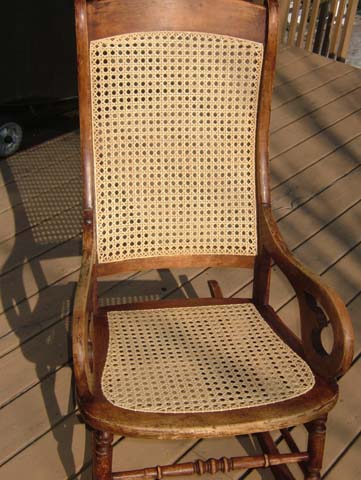
This project takes what I believe is called a Lincoln Rocker & restores the caning in it. There are many challenges in caning a rocker, especially a Lincoln Rocker. Number One on the list is that both seat & back require caning. Number Two is recognizing that the curvature of the rocker back moves in many directions at the same time, curving vertically and horizontally both convex & concave. Number Three on the list is the size of the rocker back. It is sometimes hard to reach & stretch to cane the back, going around or over the seat & arms.
As you can see, the caning on this rocker needed a lot of work. In fact, the seat has a large hole in it. So it was best to replace all cane. The finish of the rocker was left as is, so that all the character would remain. I just cleaned it with warm soapy water, a little TSP & elbow grease. Then freshened the finish with a hand wax.
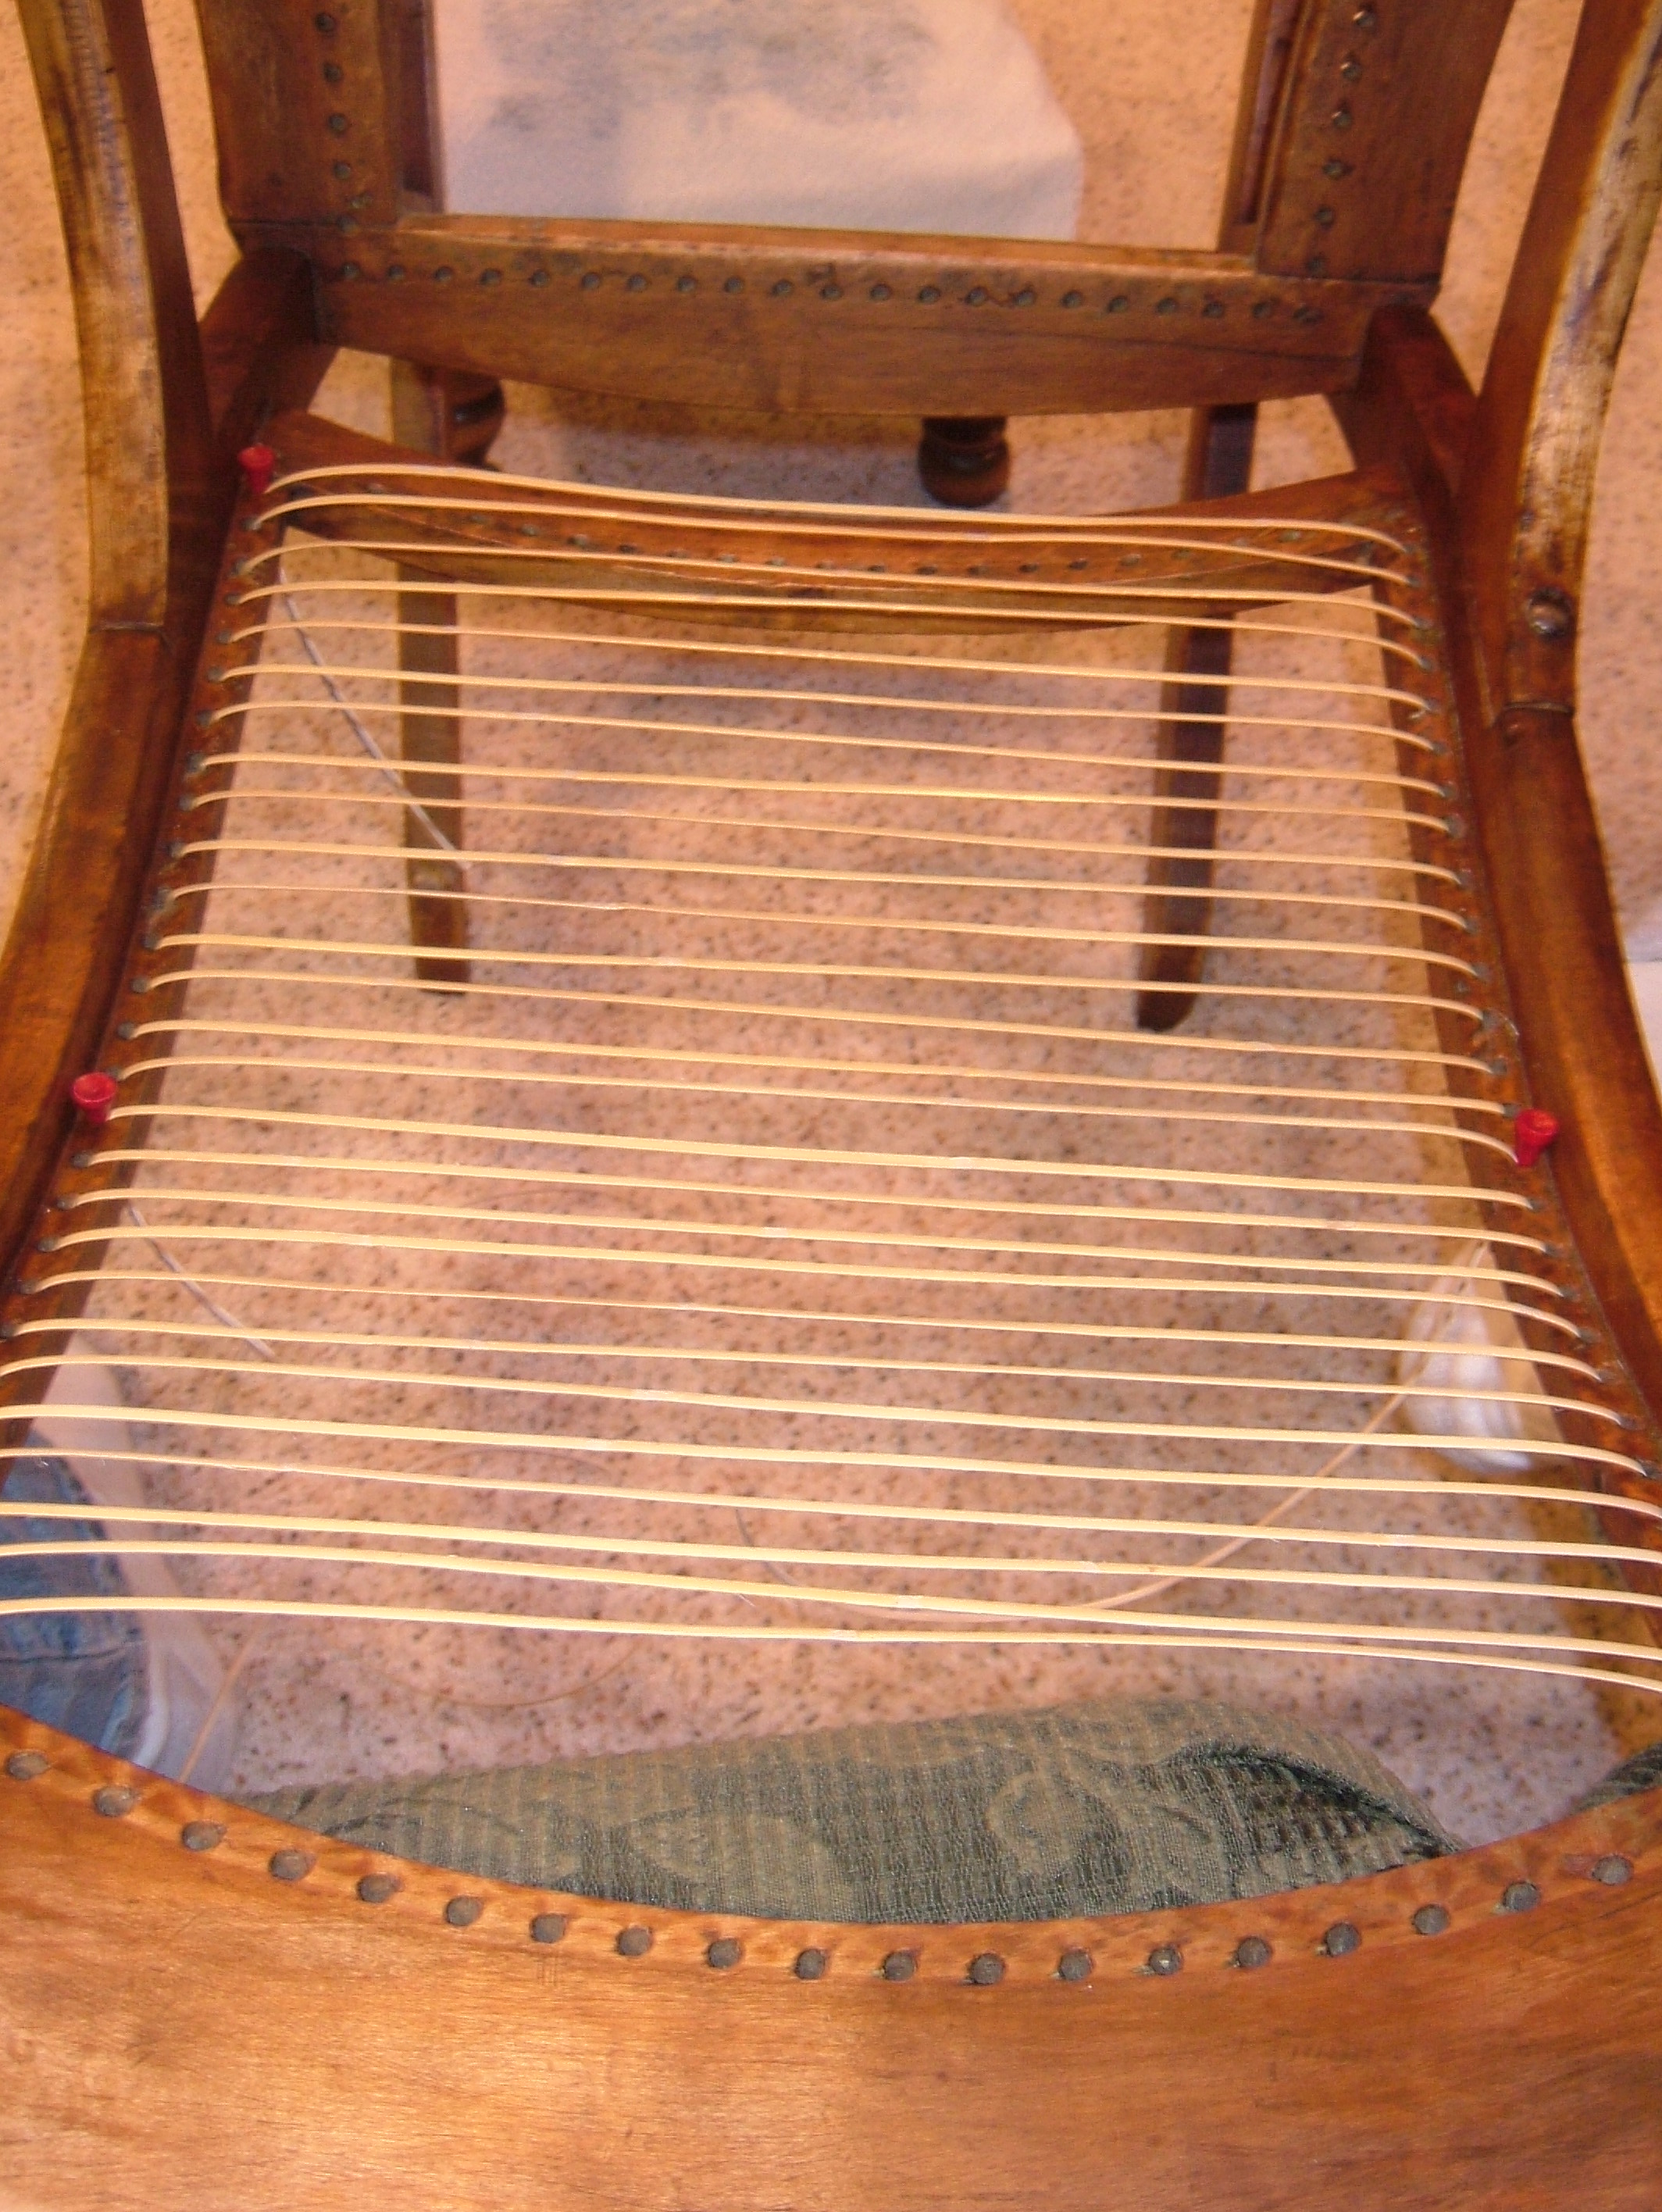
First Horizontals. After preparing the rocker for caning, I worked on the back first & also
worked with the rocker on it's rocker points.
I did Regular Caning Step 2 - Horizontals as the Rocker Step 1 to hold the curvature of the back.
Another trick would be to use a ruler to hold the Verticals with enough slack
for the curvature to form.
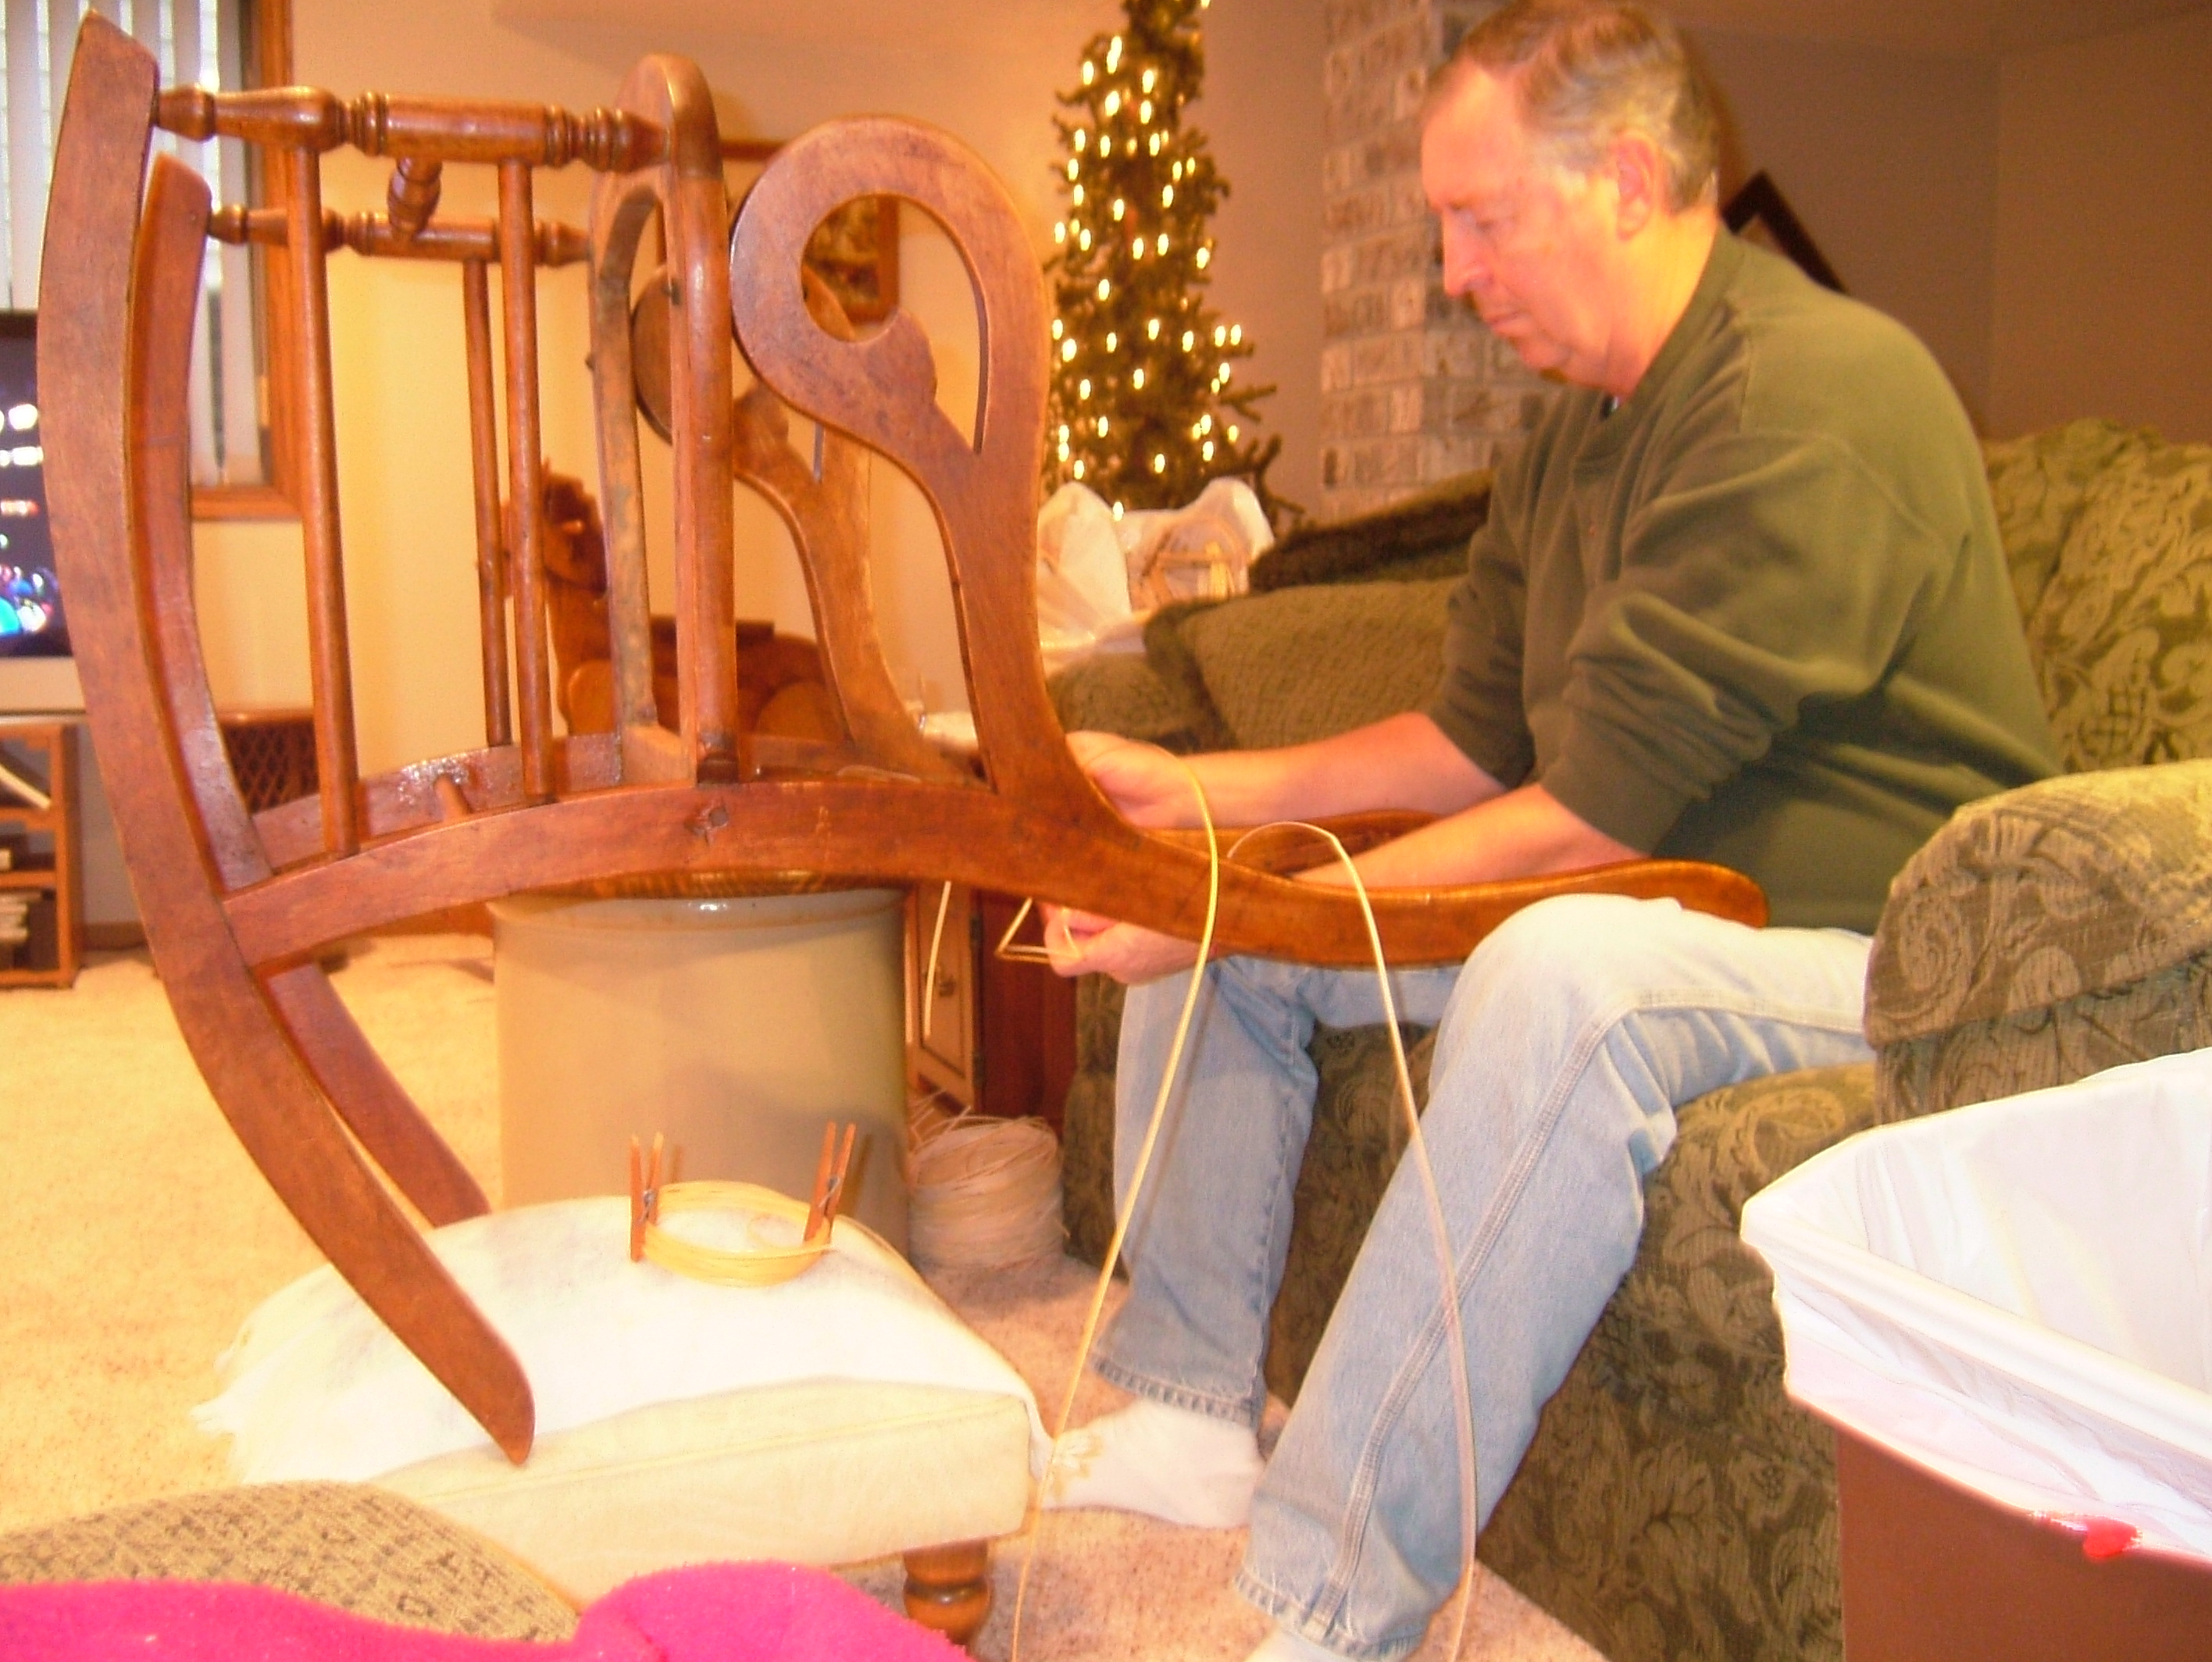
My normal caning position for rockers & also my normal caning location.
The 42" TV is to the left in the picture, usually tuned to a football game.
By turning the rocker into my lap, I can reach most all the holes.
Some people tell that they turn the rocker on it's side, so they can get closer
to the work.
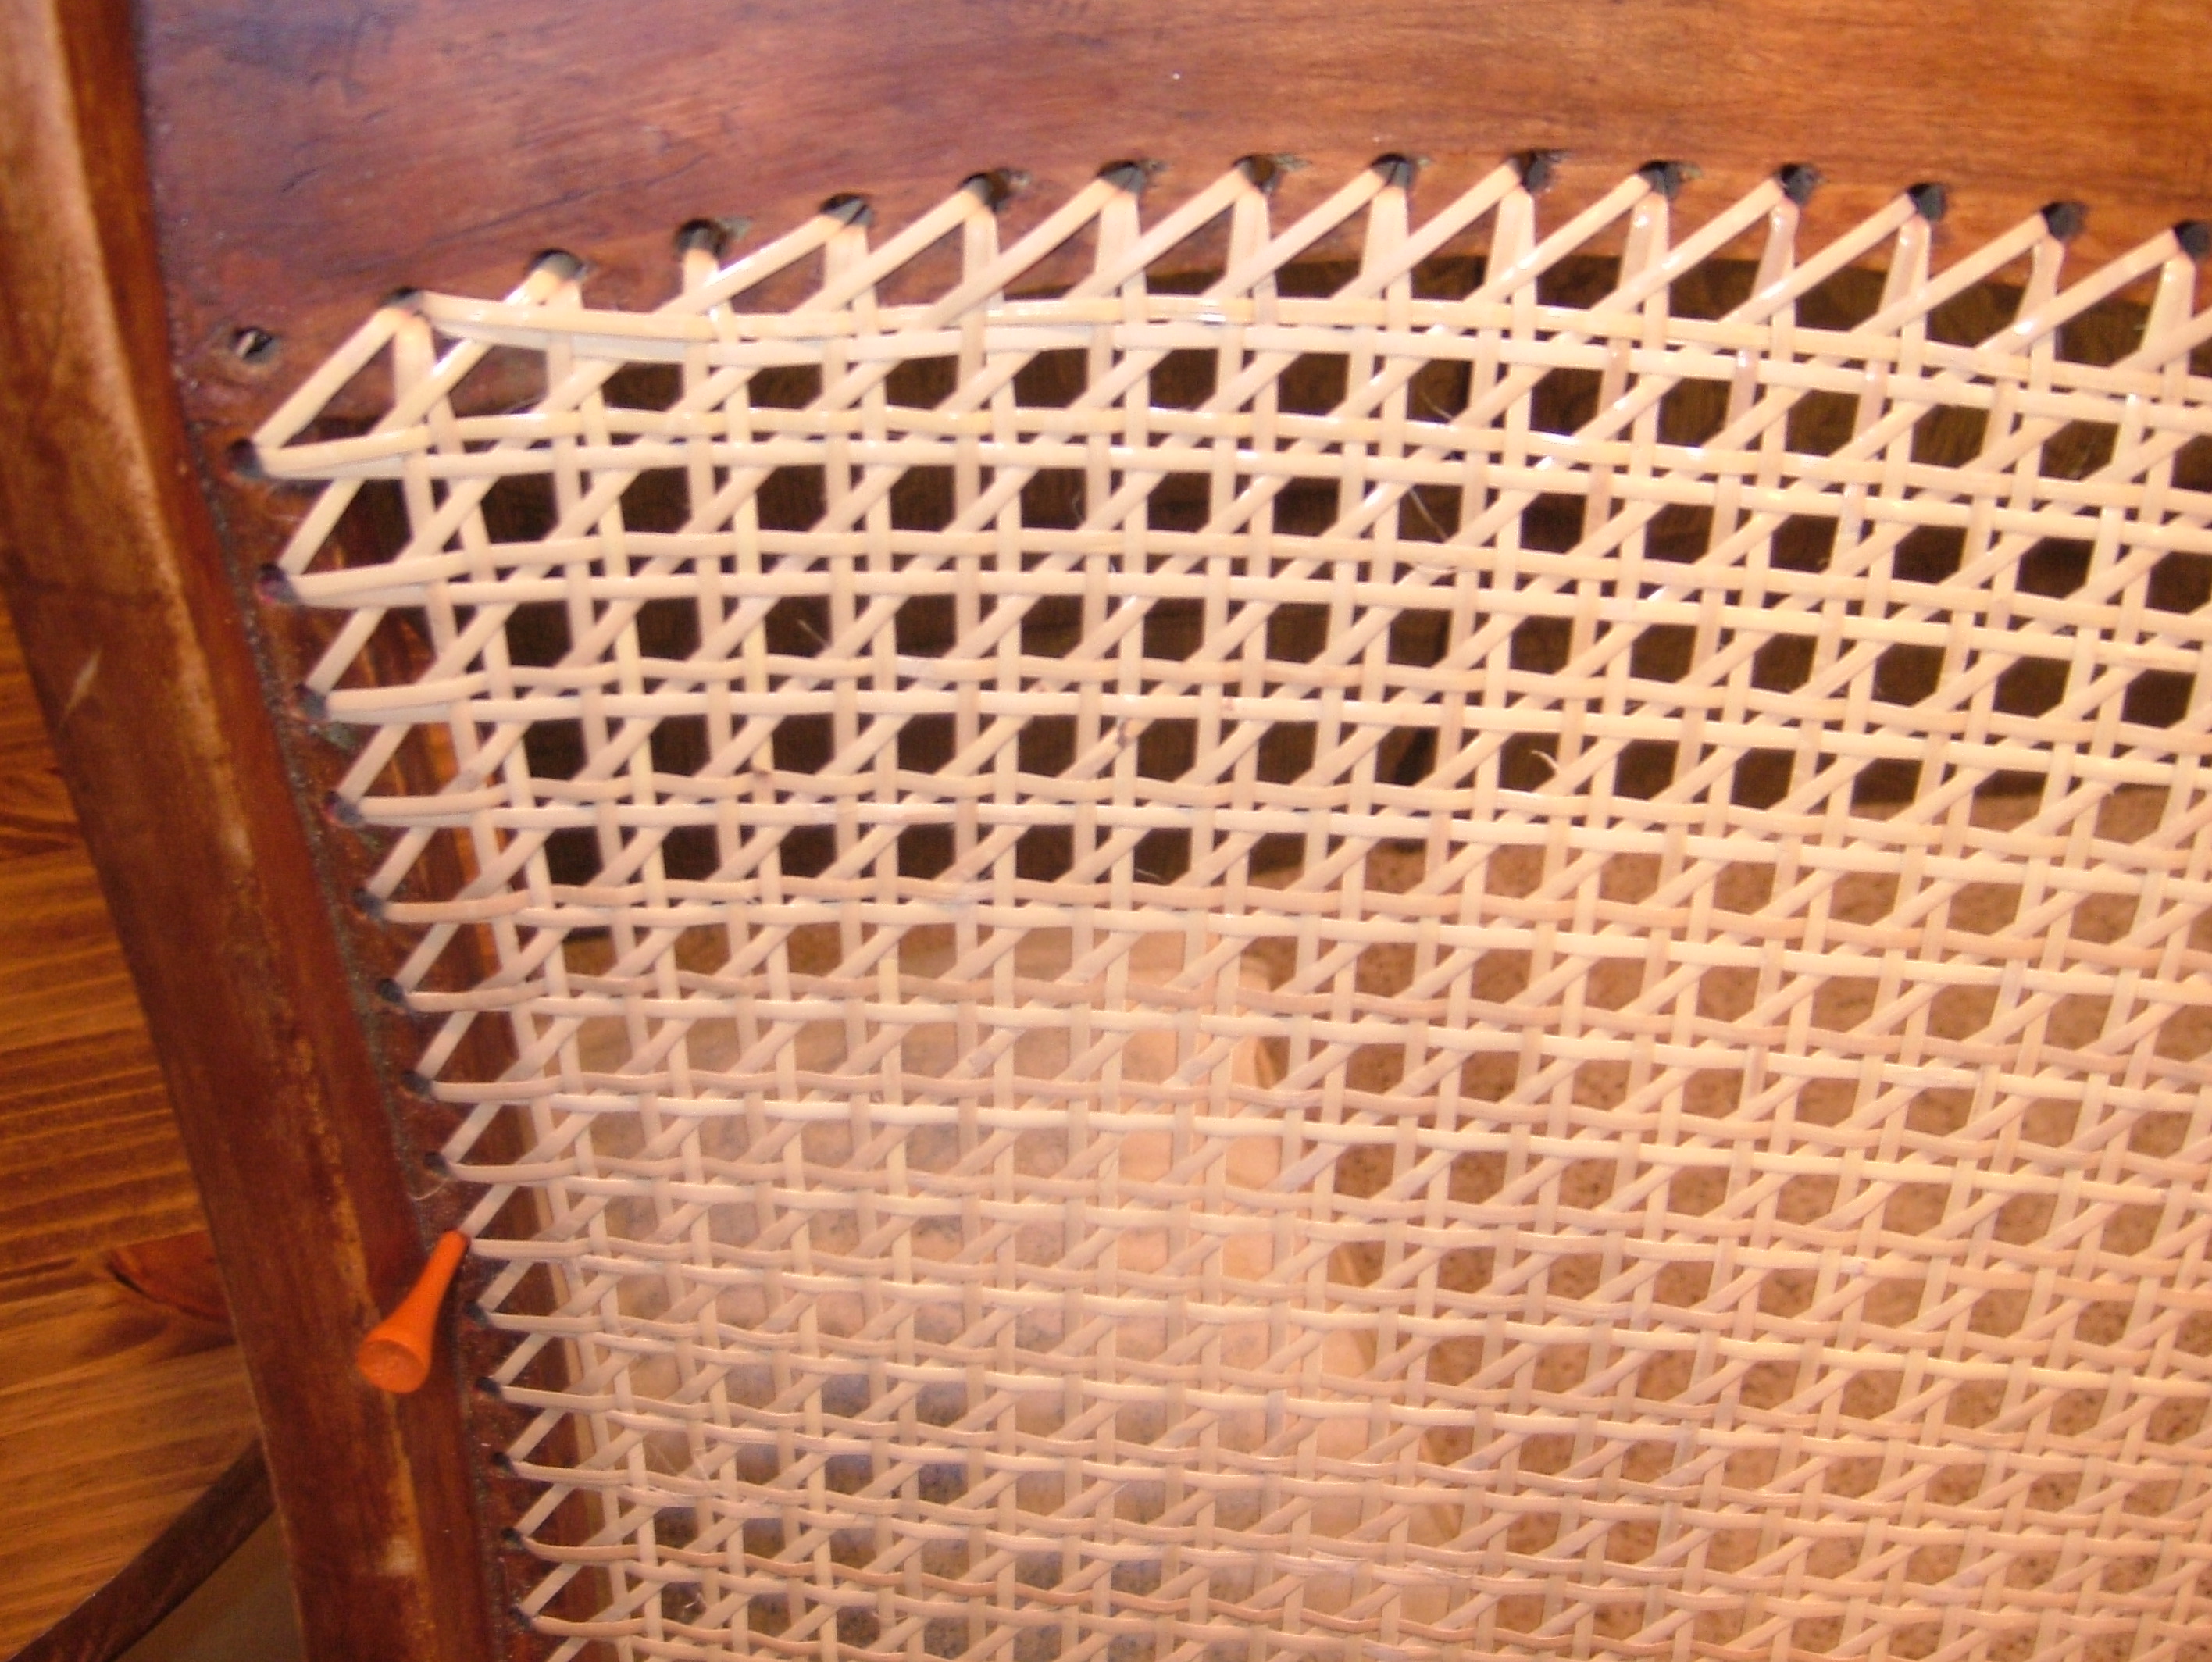
First Verticals are now run behind the horizontals. This starts to form the curvature of the back. Leave the cane loose, not pulled tight. They will tighten up with the rest of the weaving steps.
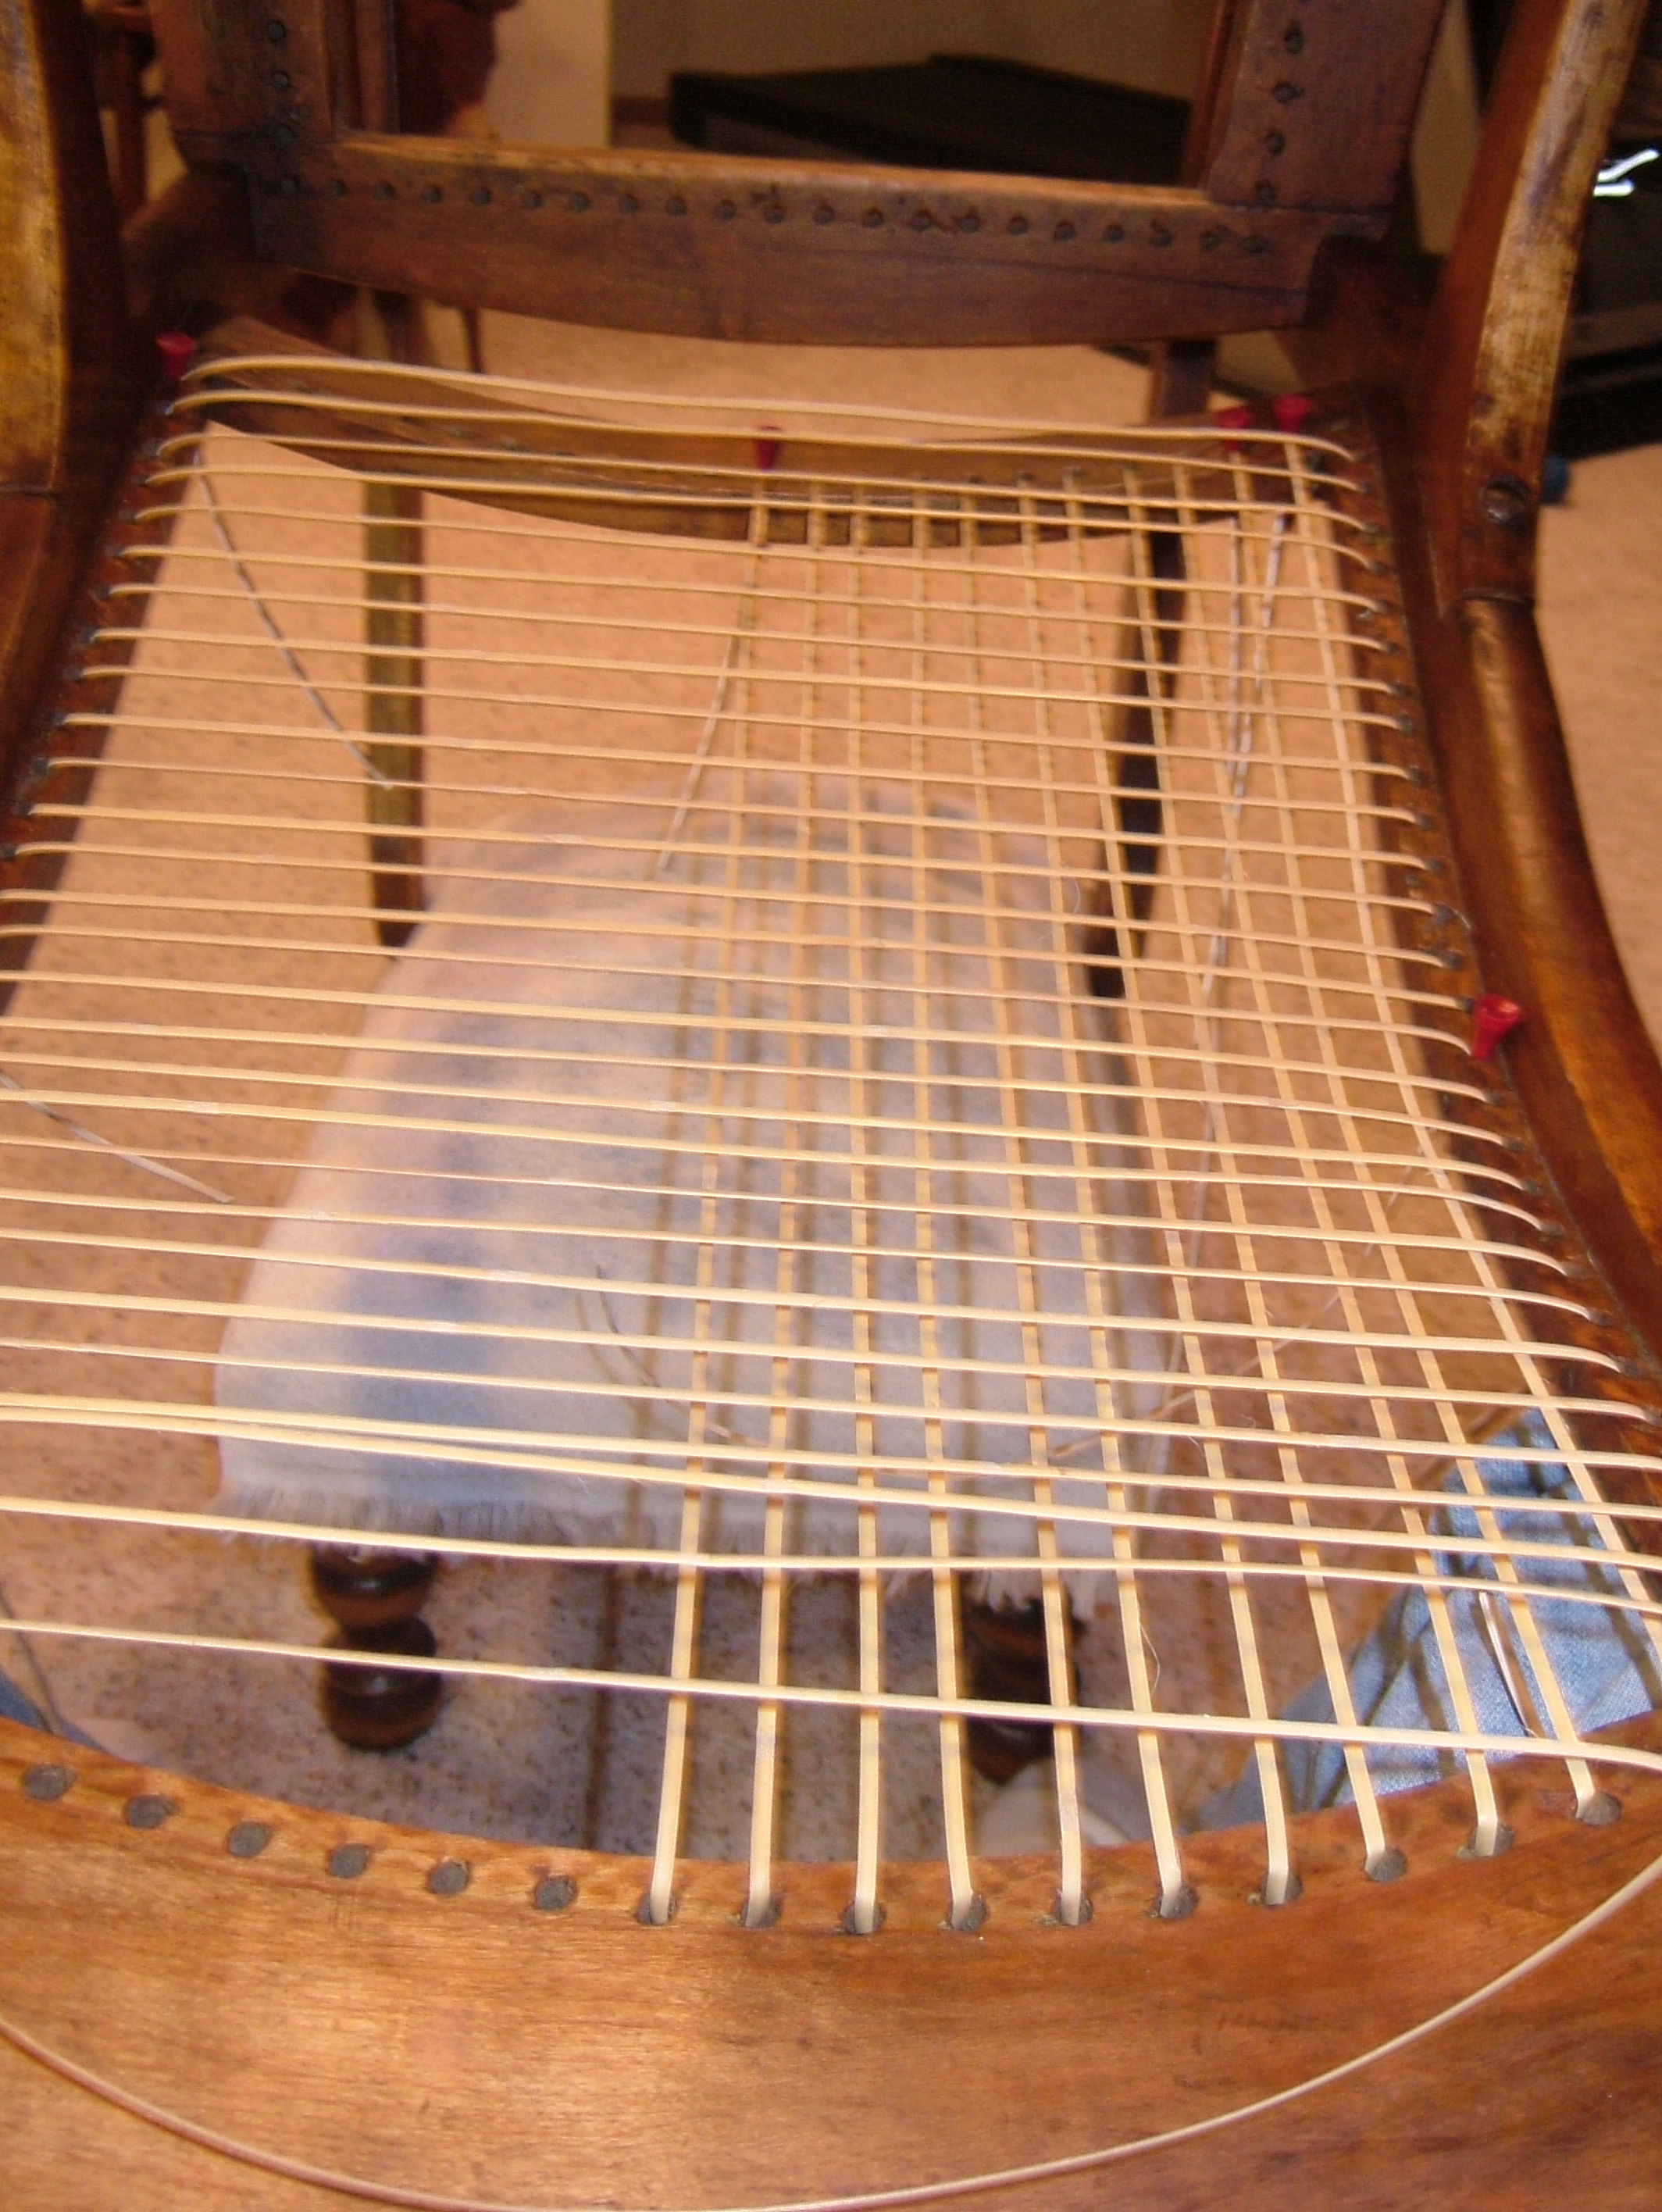
Second Verticals. As per regular caning, this vertical runs OVER the horizontal. Again, do not worry about tightness of the cane.
First Diagonal - OVER the verticals & UNDER the horizontals. Here I am
experimenting somewhat. I heard from other experienced caners that some do
the first diagonal, before weaving the second horizontal, as their normal caning
practice. This helps to hold the cane runs in place during step 4, weaving
the second horizontal. I found that it works well & seamed more efficient.
Another look at the First Diagonal.
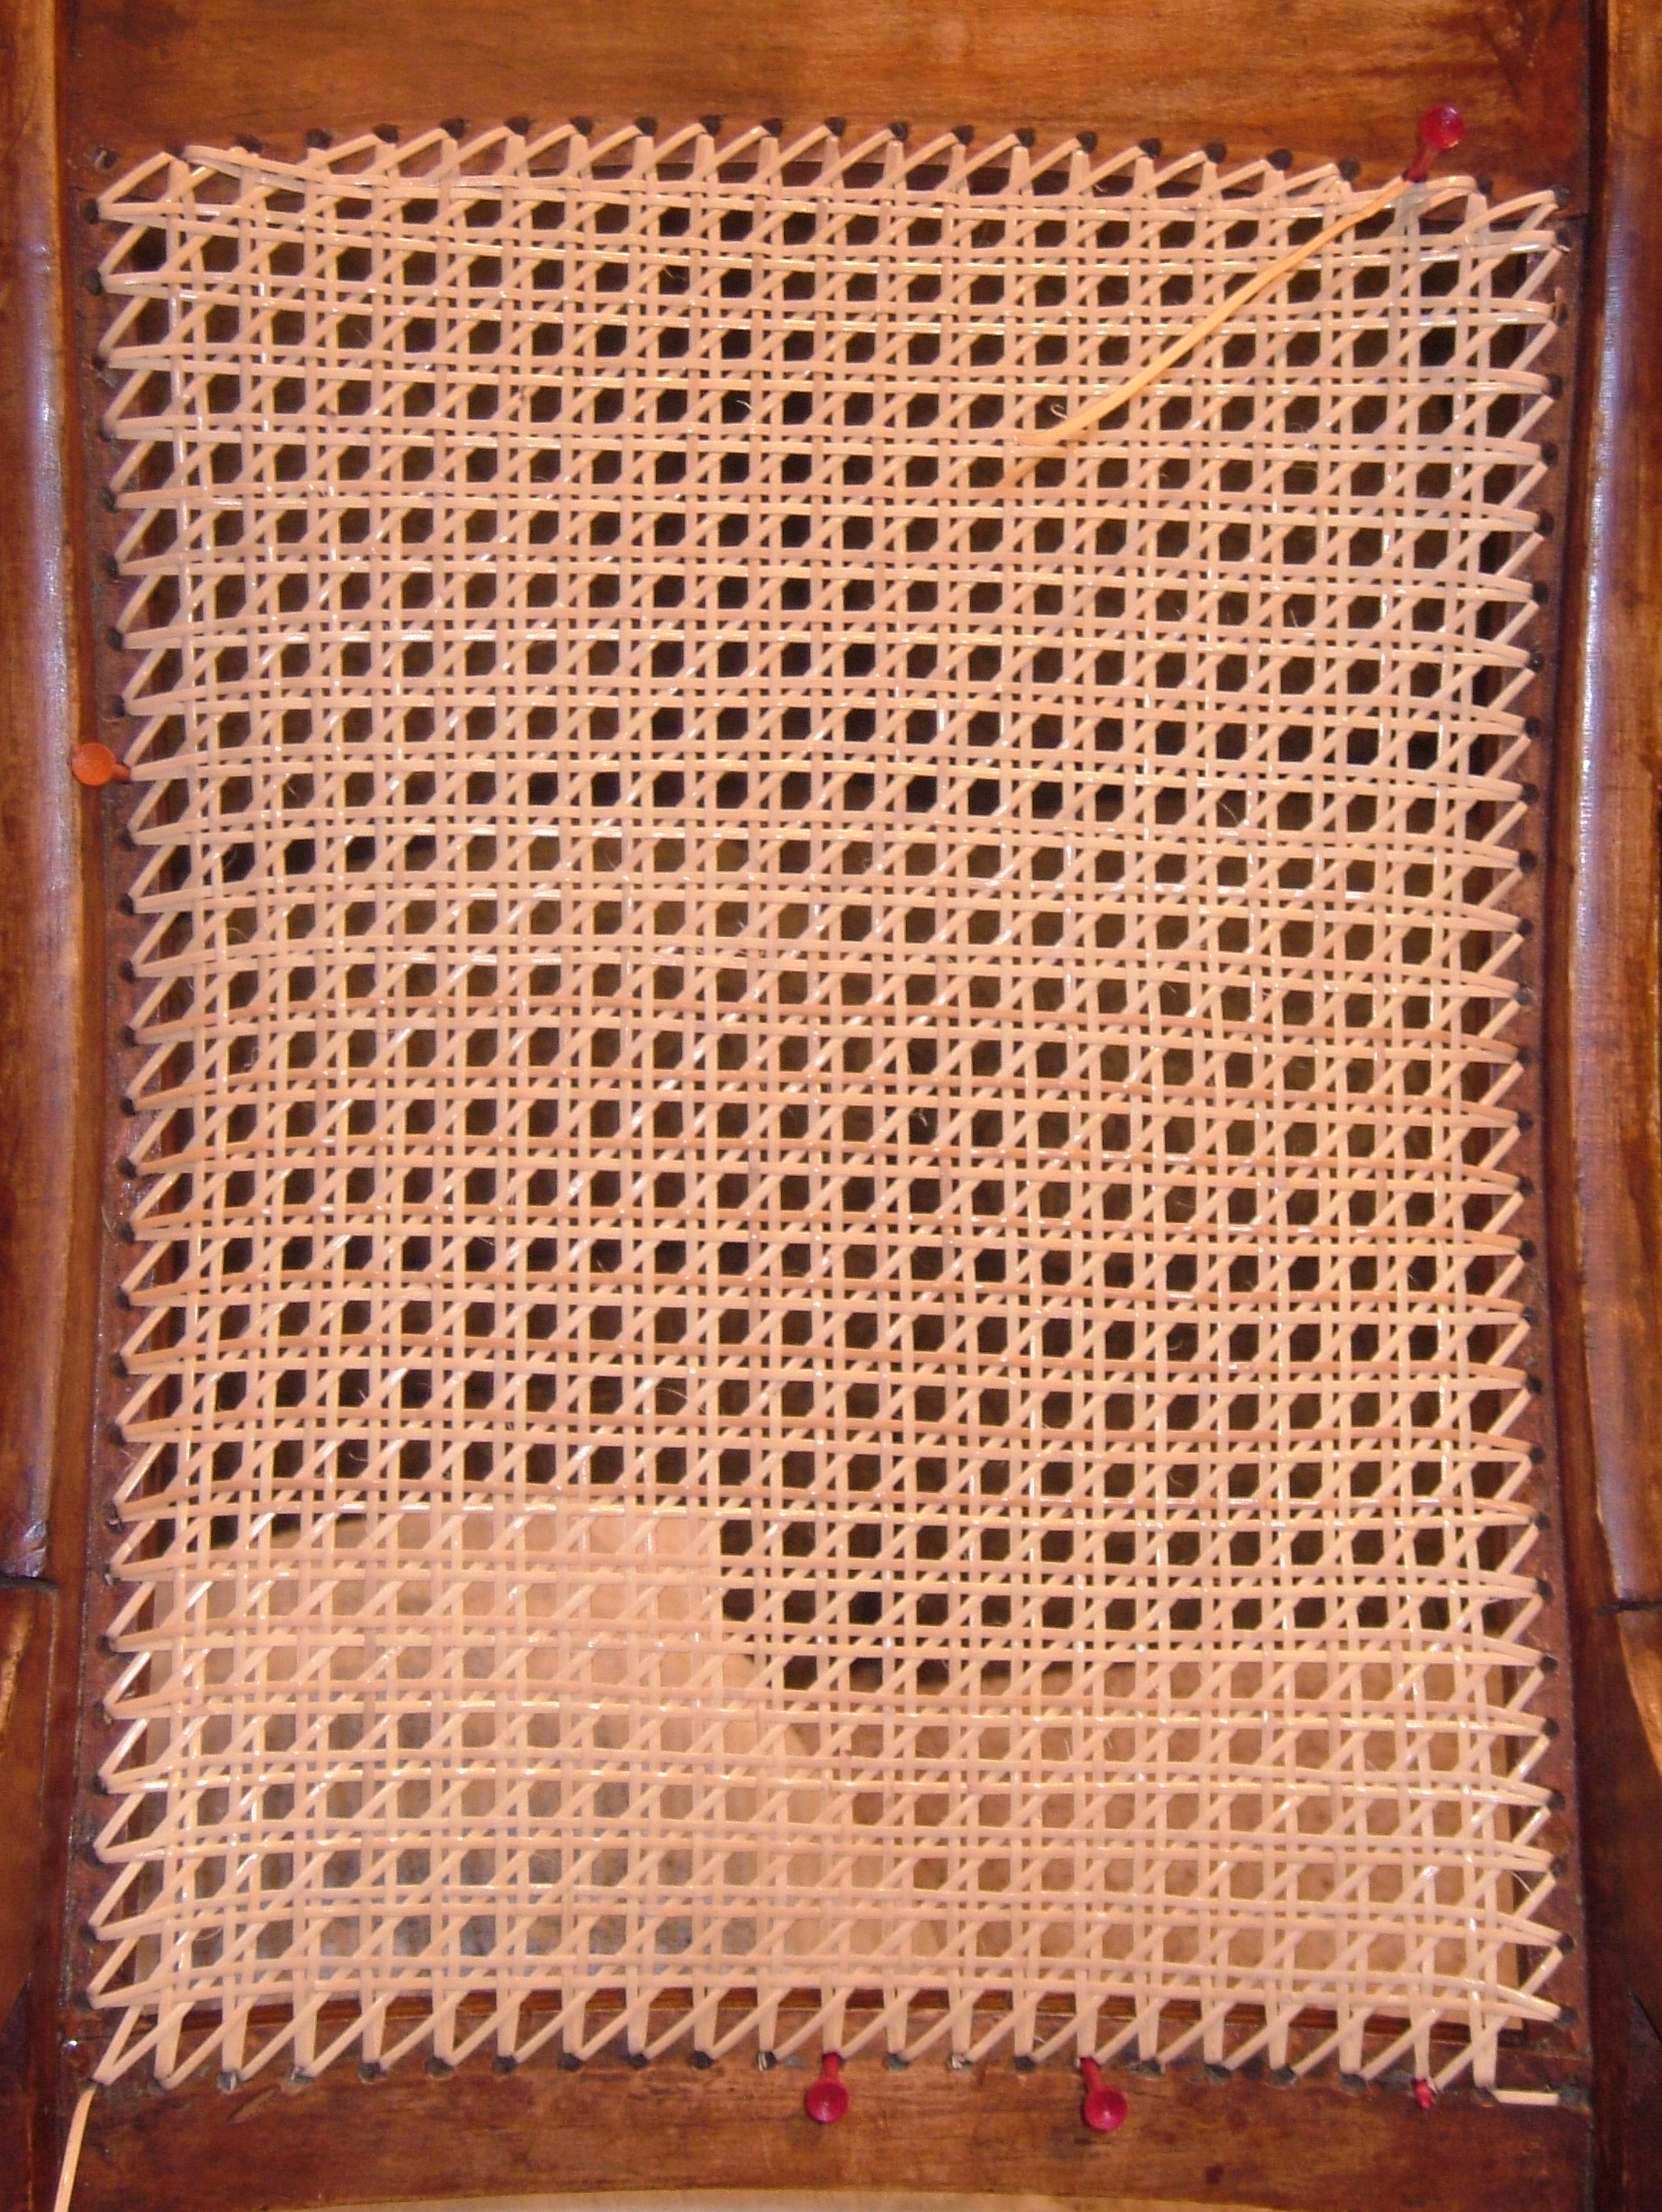
Second Horizontal - Weaving Over the Second Vertical, & Under the First Vertical + First Diagonal.
Another look, a closer view. The second horizontal is being woven Under the first vertical, & Over the second vertical + first diagonal. Notice here I was also experimenting with loose ends in the corner. When I ran out of a cane, in this case I was patient & waited for another cane to come by to use to complete the diagonal step. This turned out to be an efficient technique.

The corner of the second horizontal. In this case the last verticals were too tight, & would not leave room for me to weave. So I am cheating. Can you see it? I am betting when completed, most others will not see it either. Remember, if it pleases YOUR EYE, then it will please others less experienced than you also. By working this area first, there would have been space to more easily run the second horizontal correctly. I should not have cheated here........
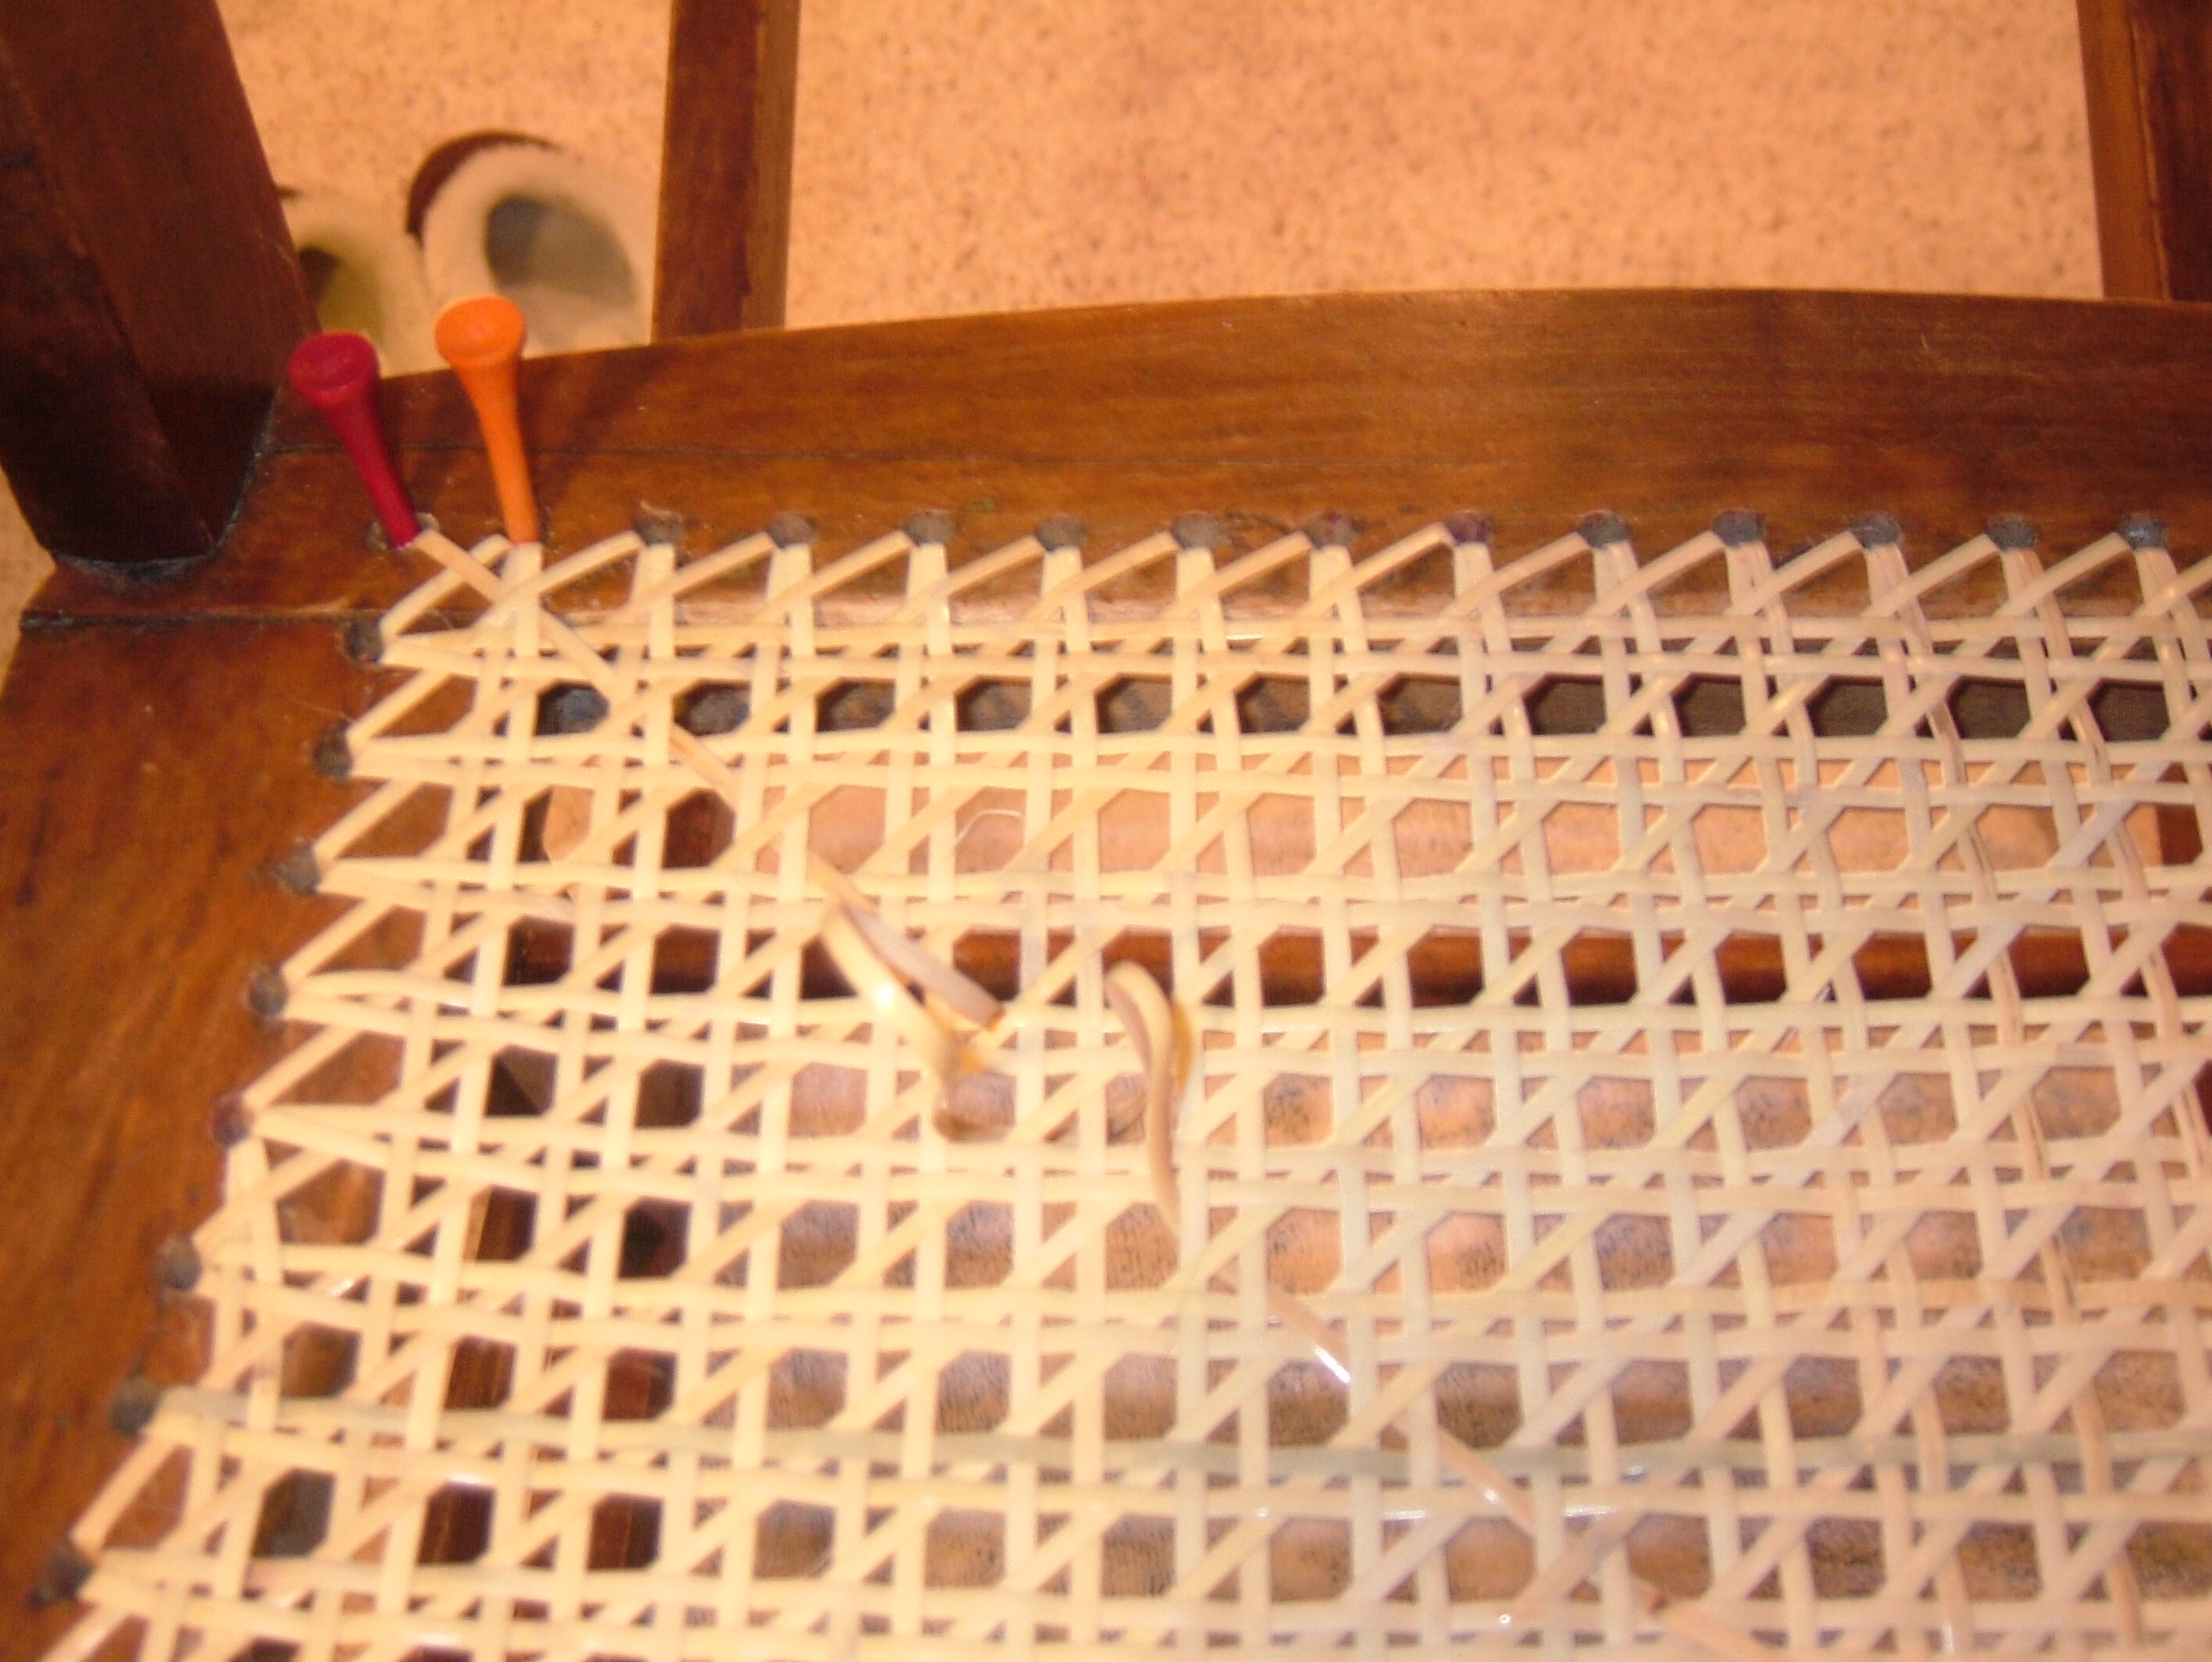
Notice the corners, using the holes twice. Also, I extended the use of a cane strand in the lower right corner. Another efficiency technique, that will disappear on future steps.
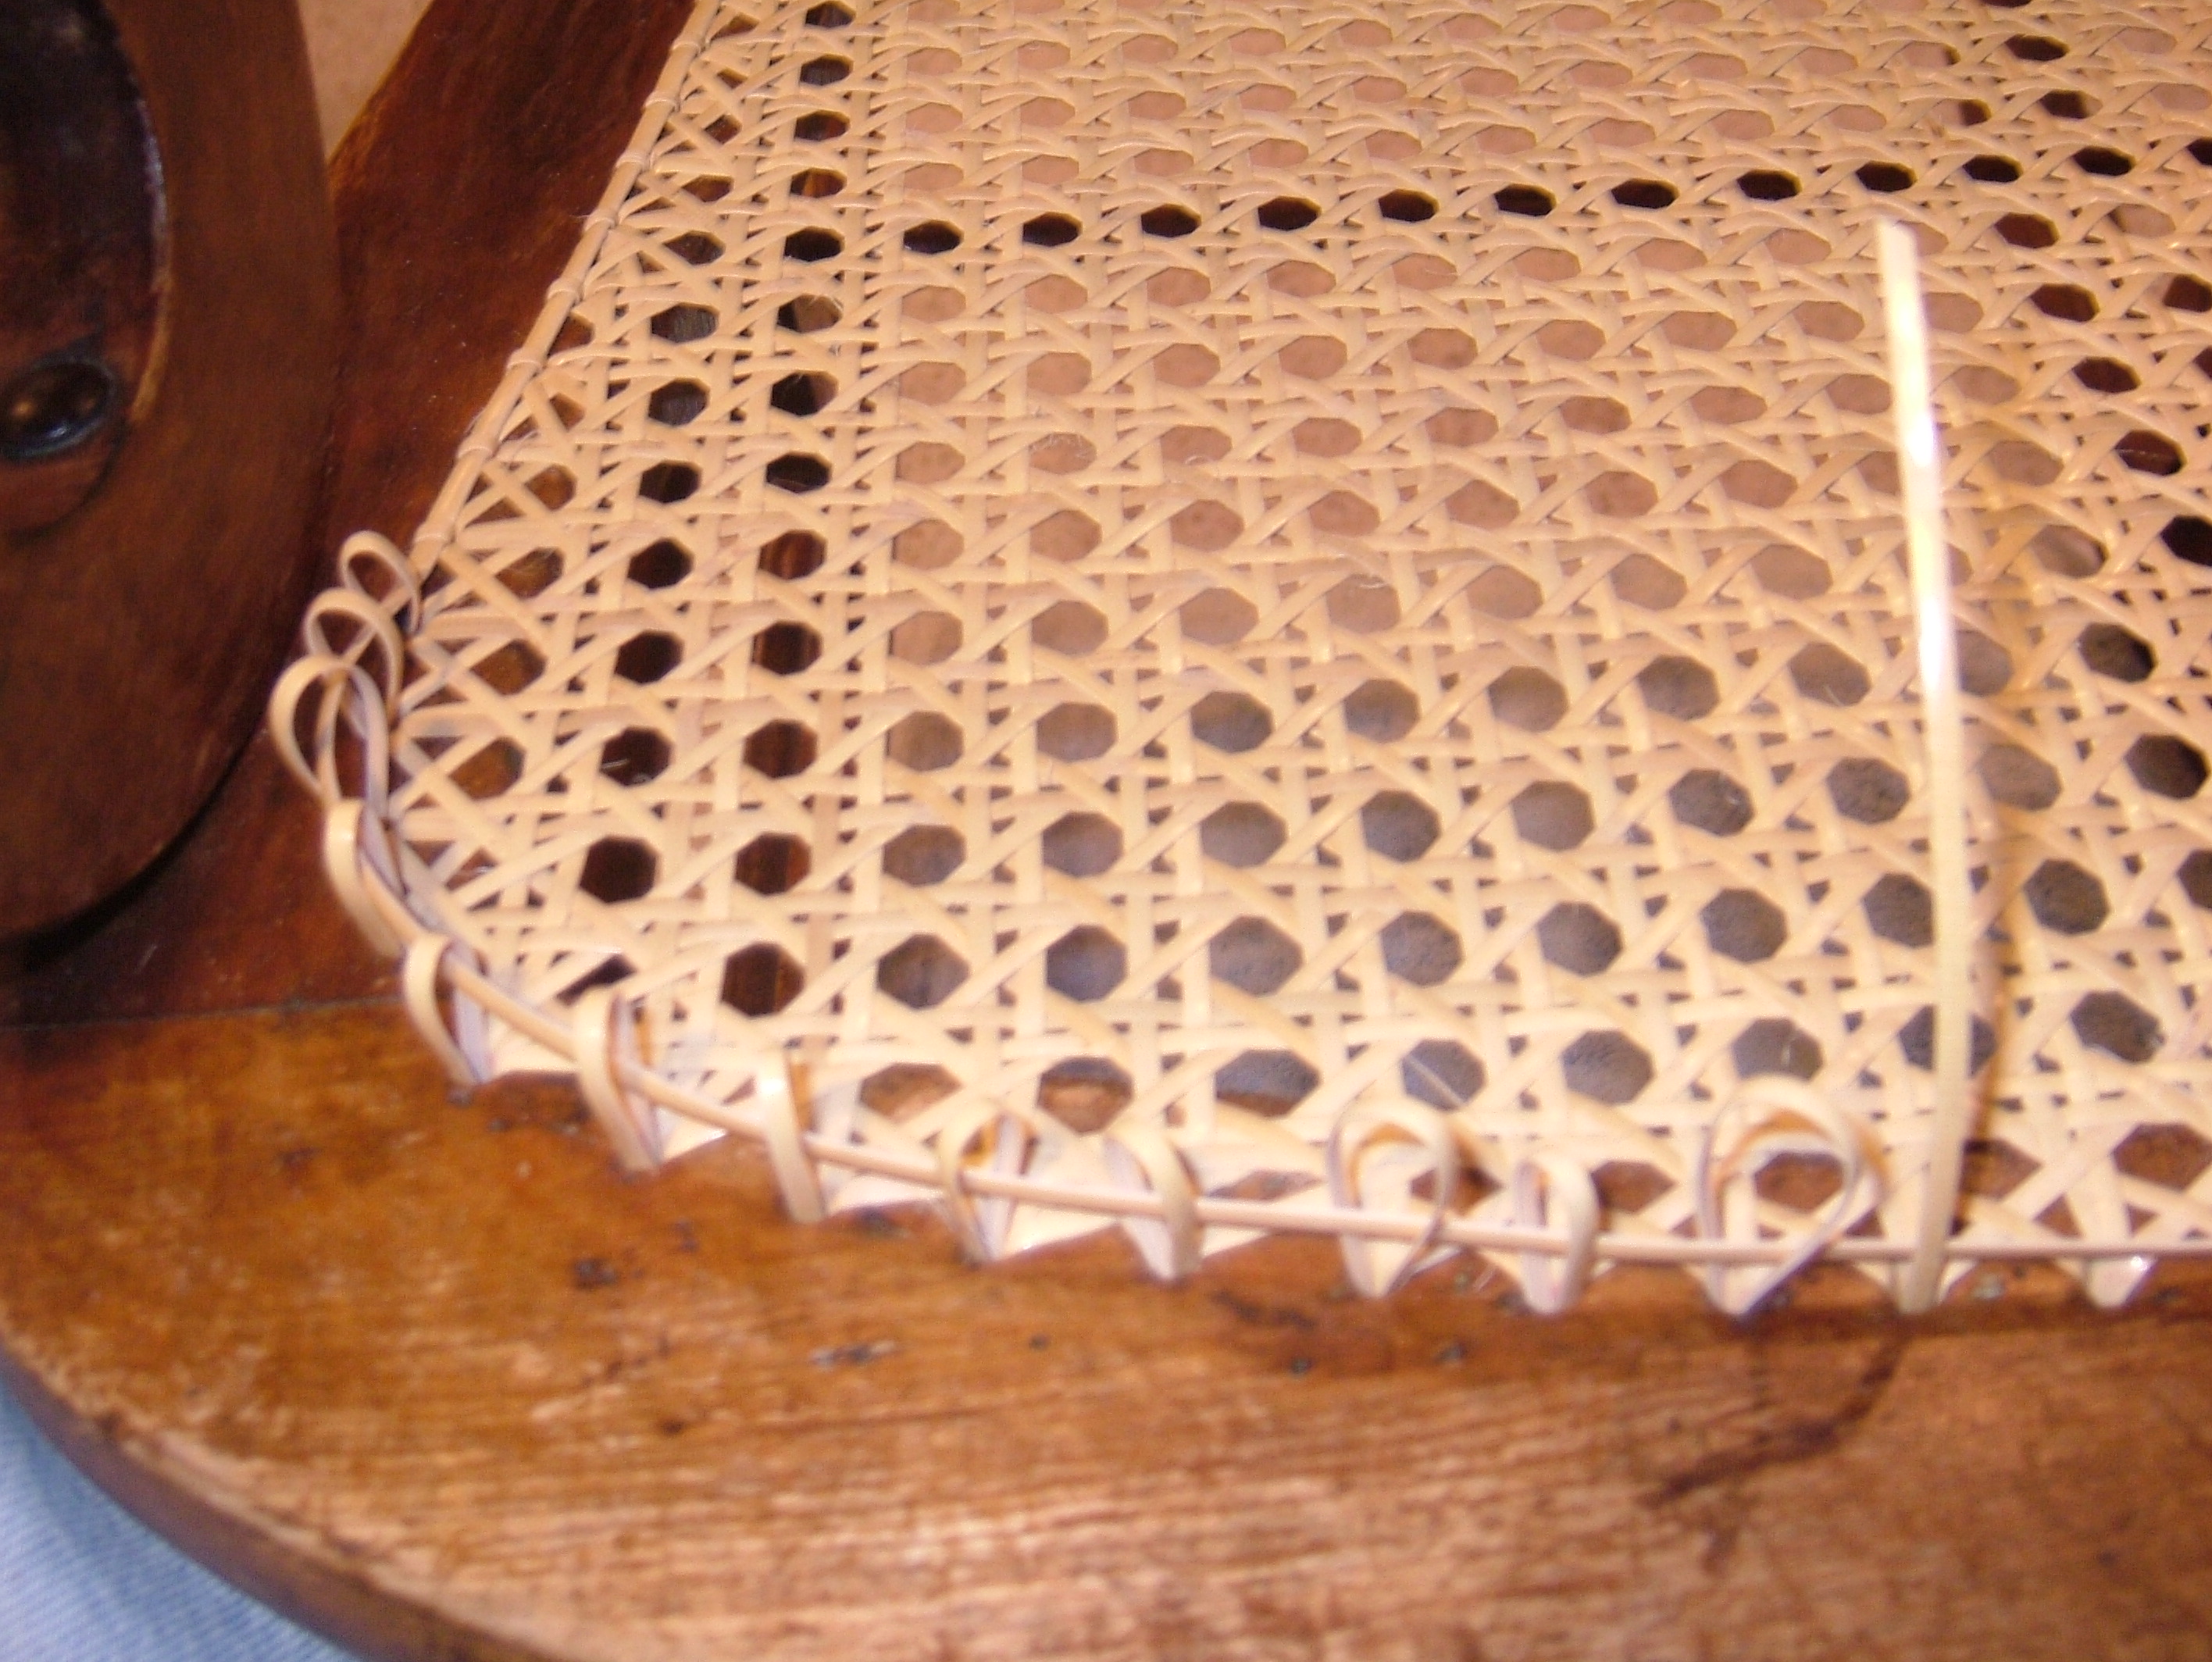
Second Diagonal - Run UNDER both Verticals, & OVER the Horizontals + first Diagonal. Also notice the corner hole used twice & the "X" starting to form on the side rails. The "X" is the signature of a quality caning job.
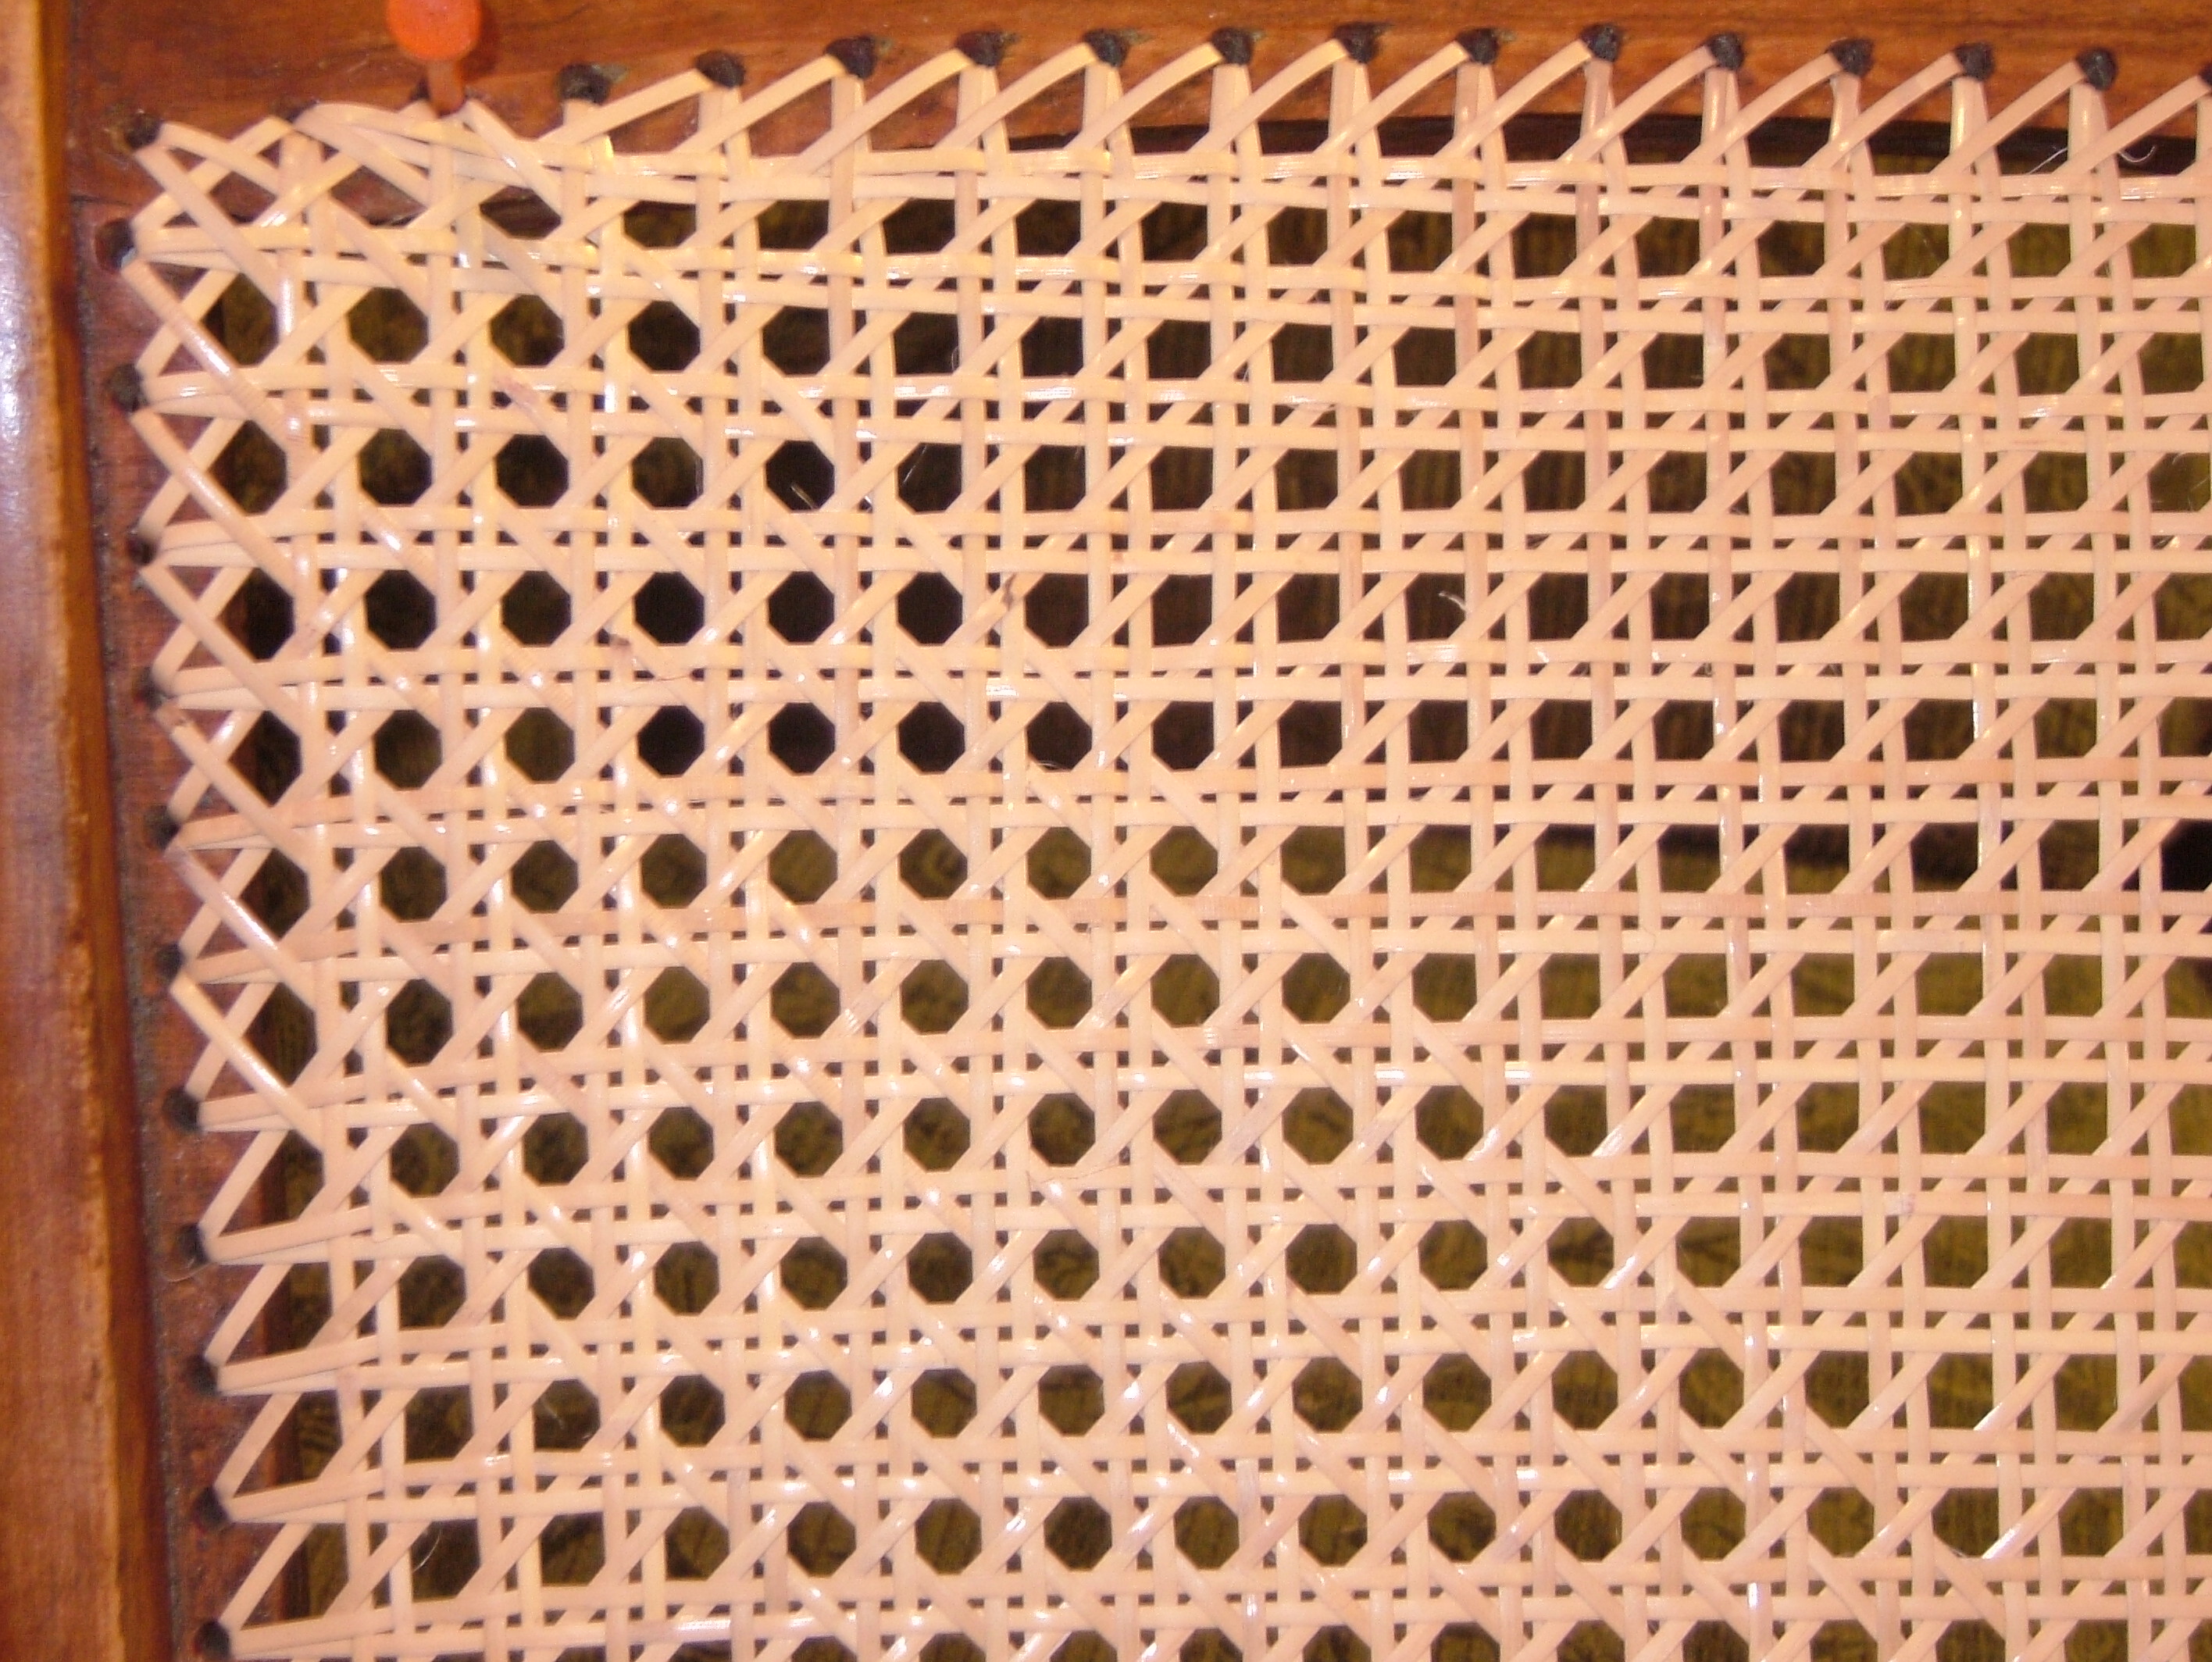
Second Diagonal, Corner view. Again notice the "X" & the double use of the corner hole.
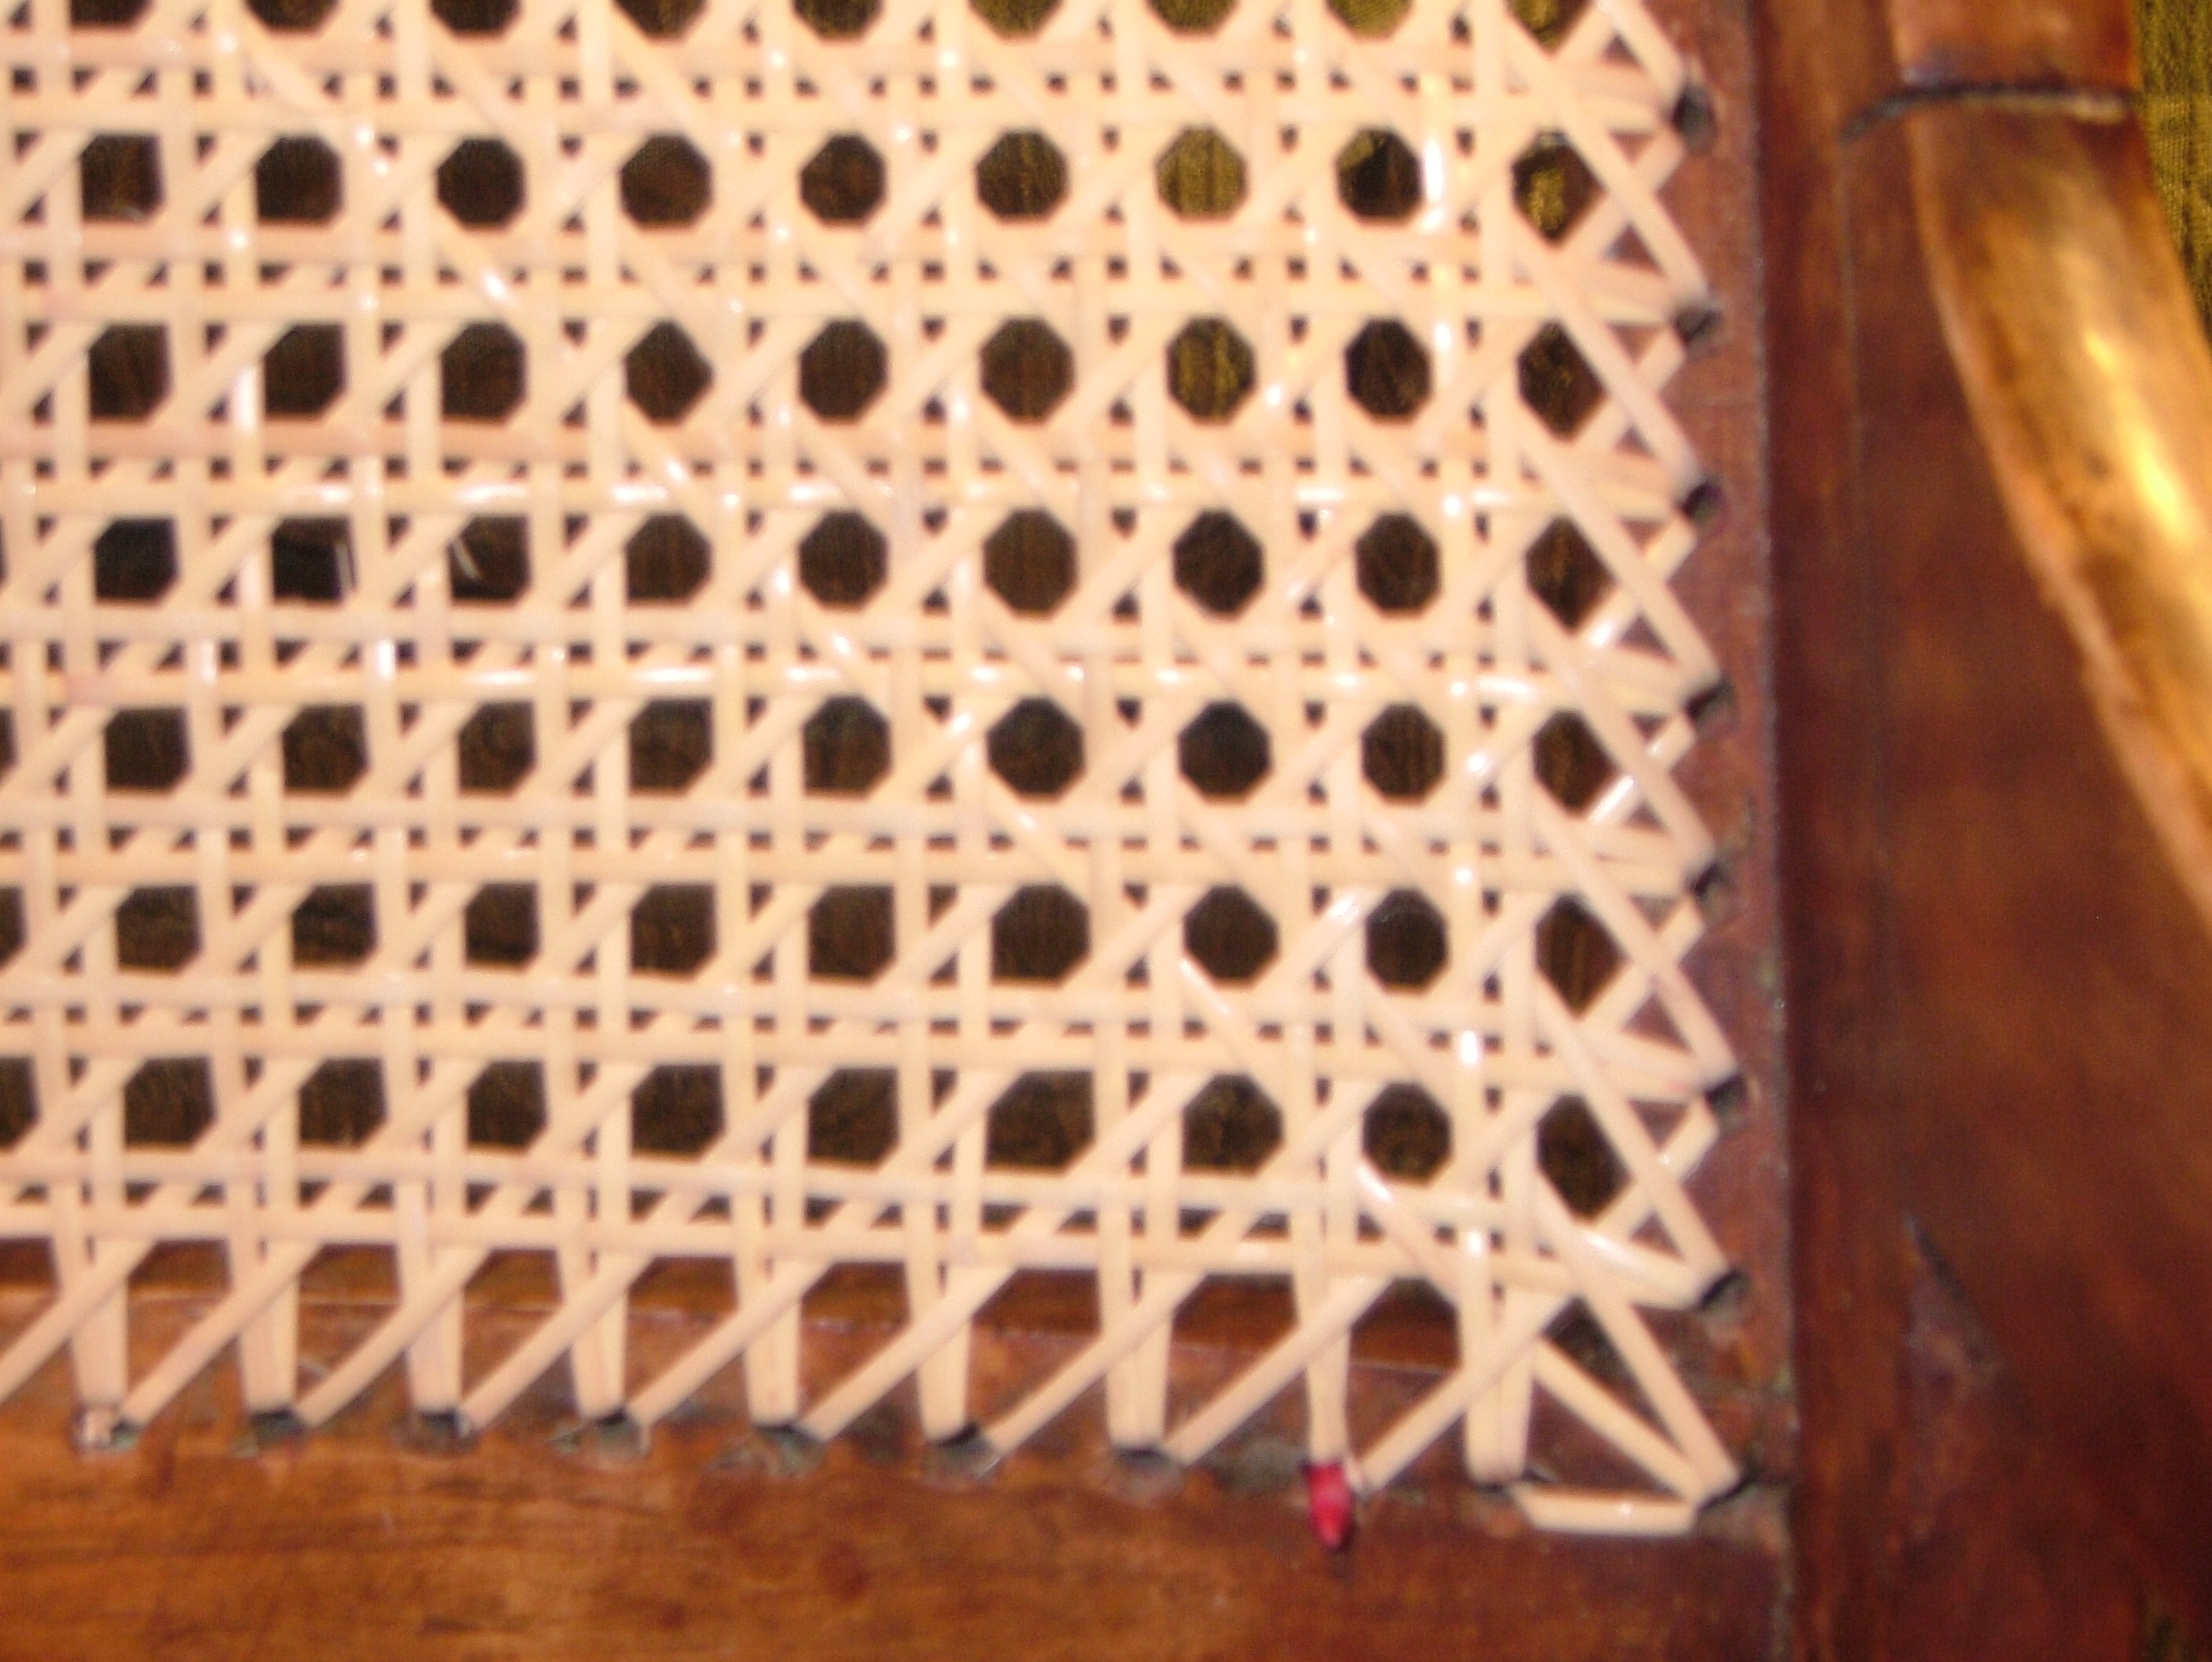
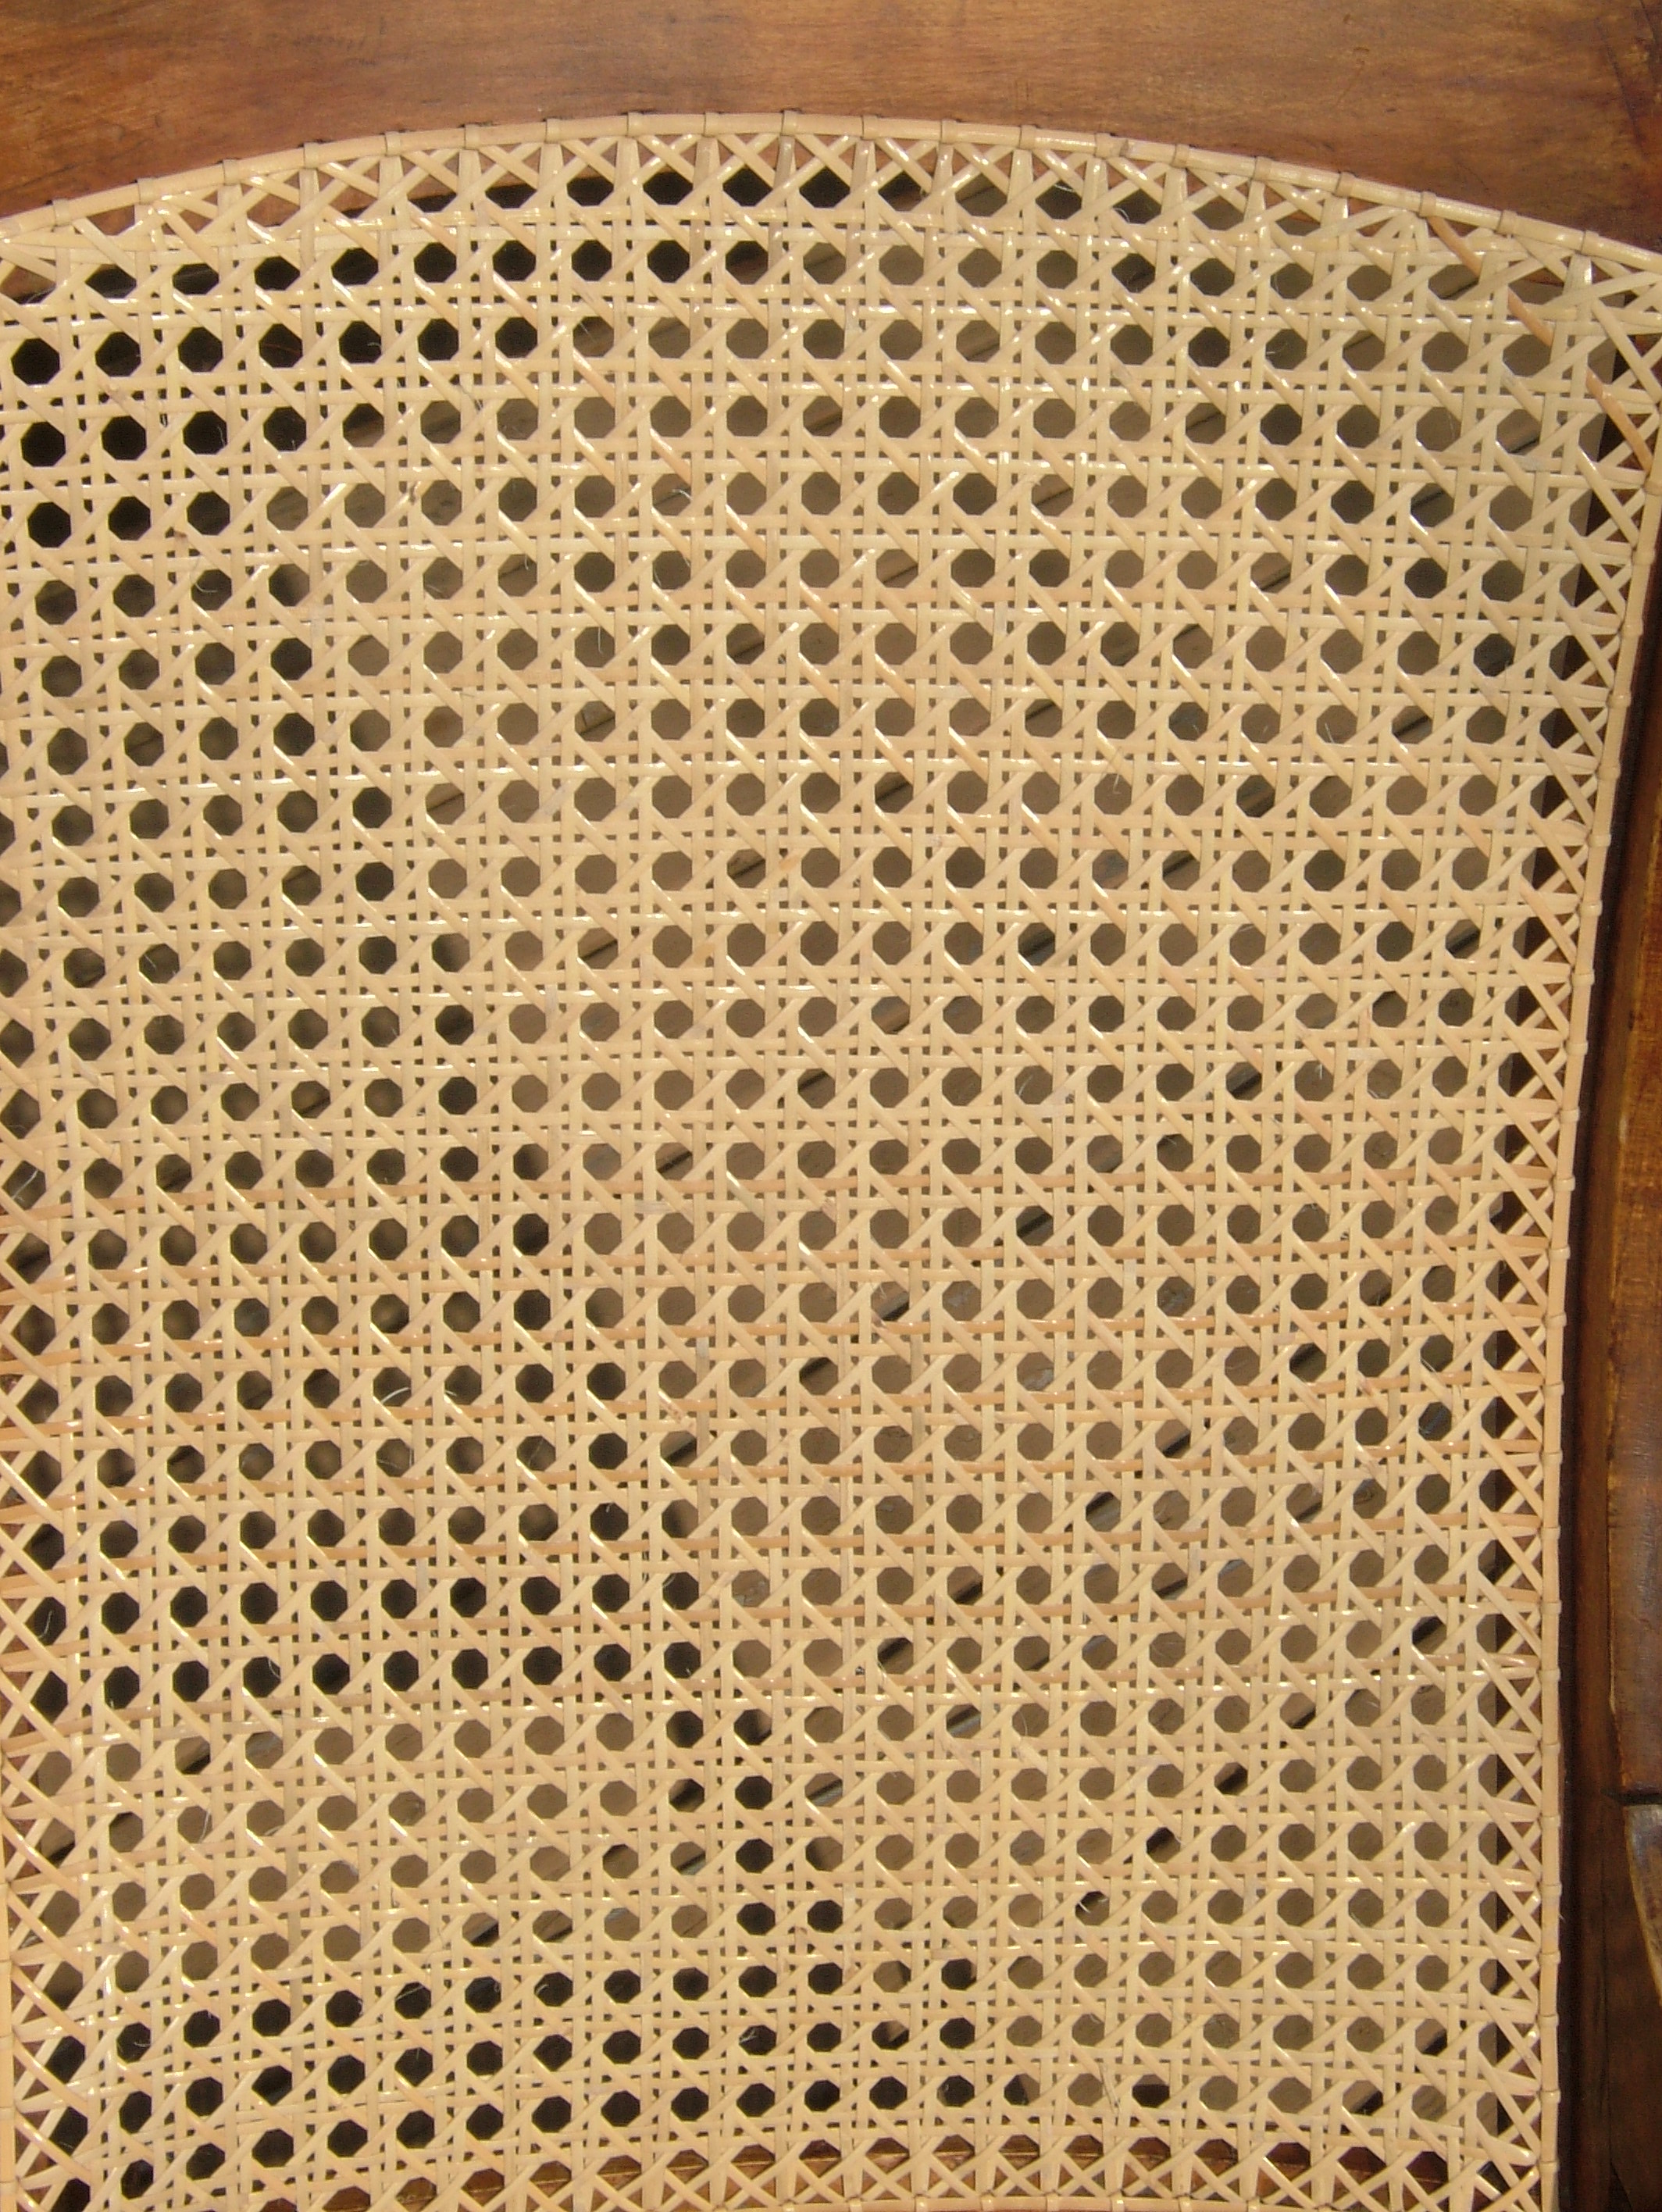
Finished! Yeah! The Back of the Lincoln Rocker is complete. Notice the binder that is the last step. Also, the "X" are prominent all the way around the back rails, including the curved top rail. You can also see the curvature of the back here.
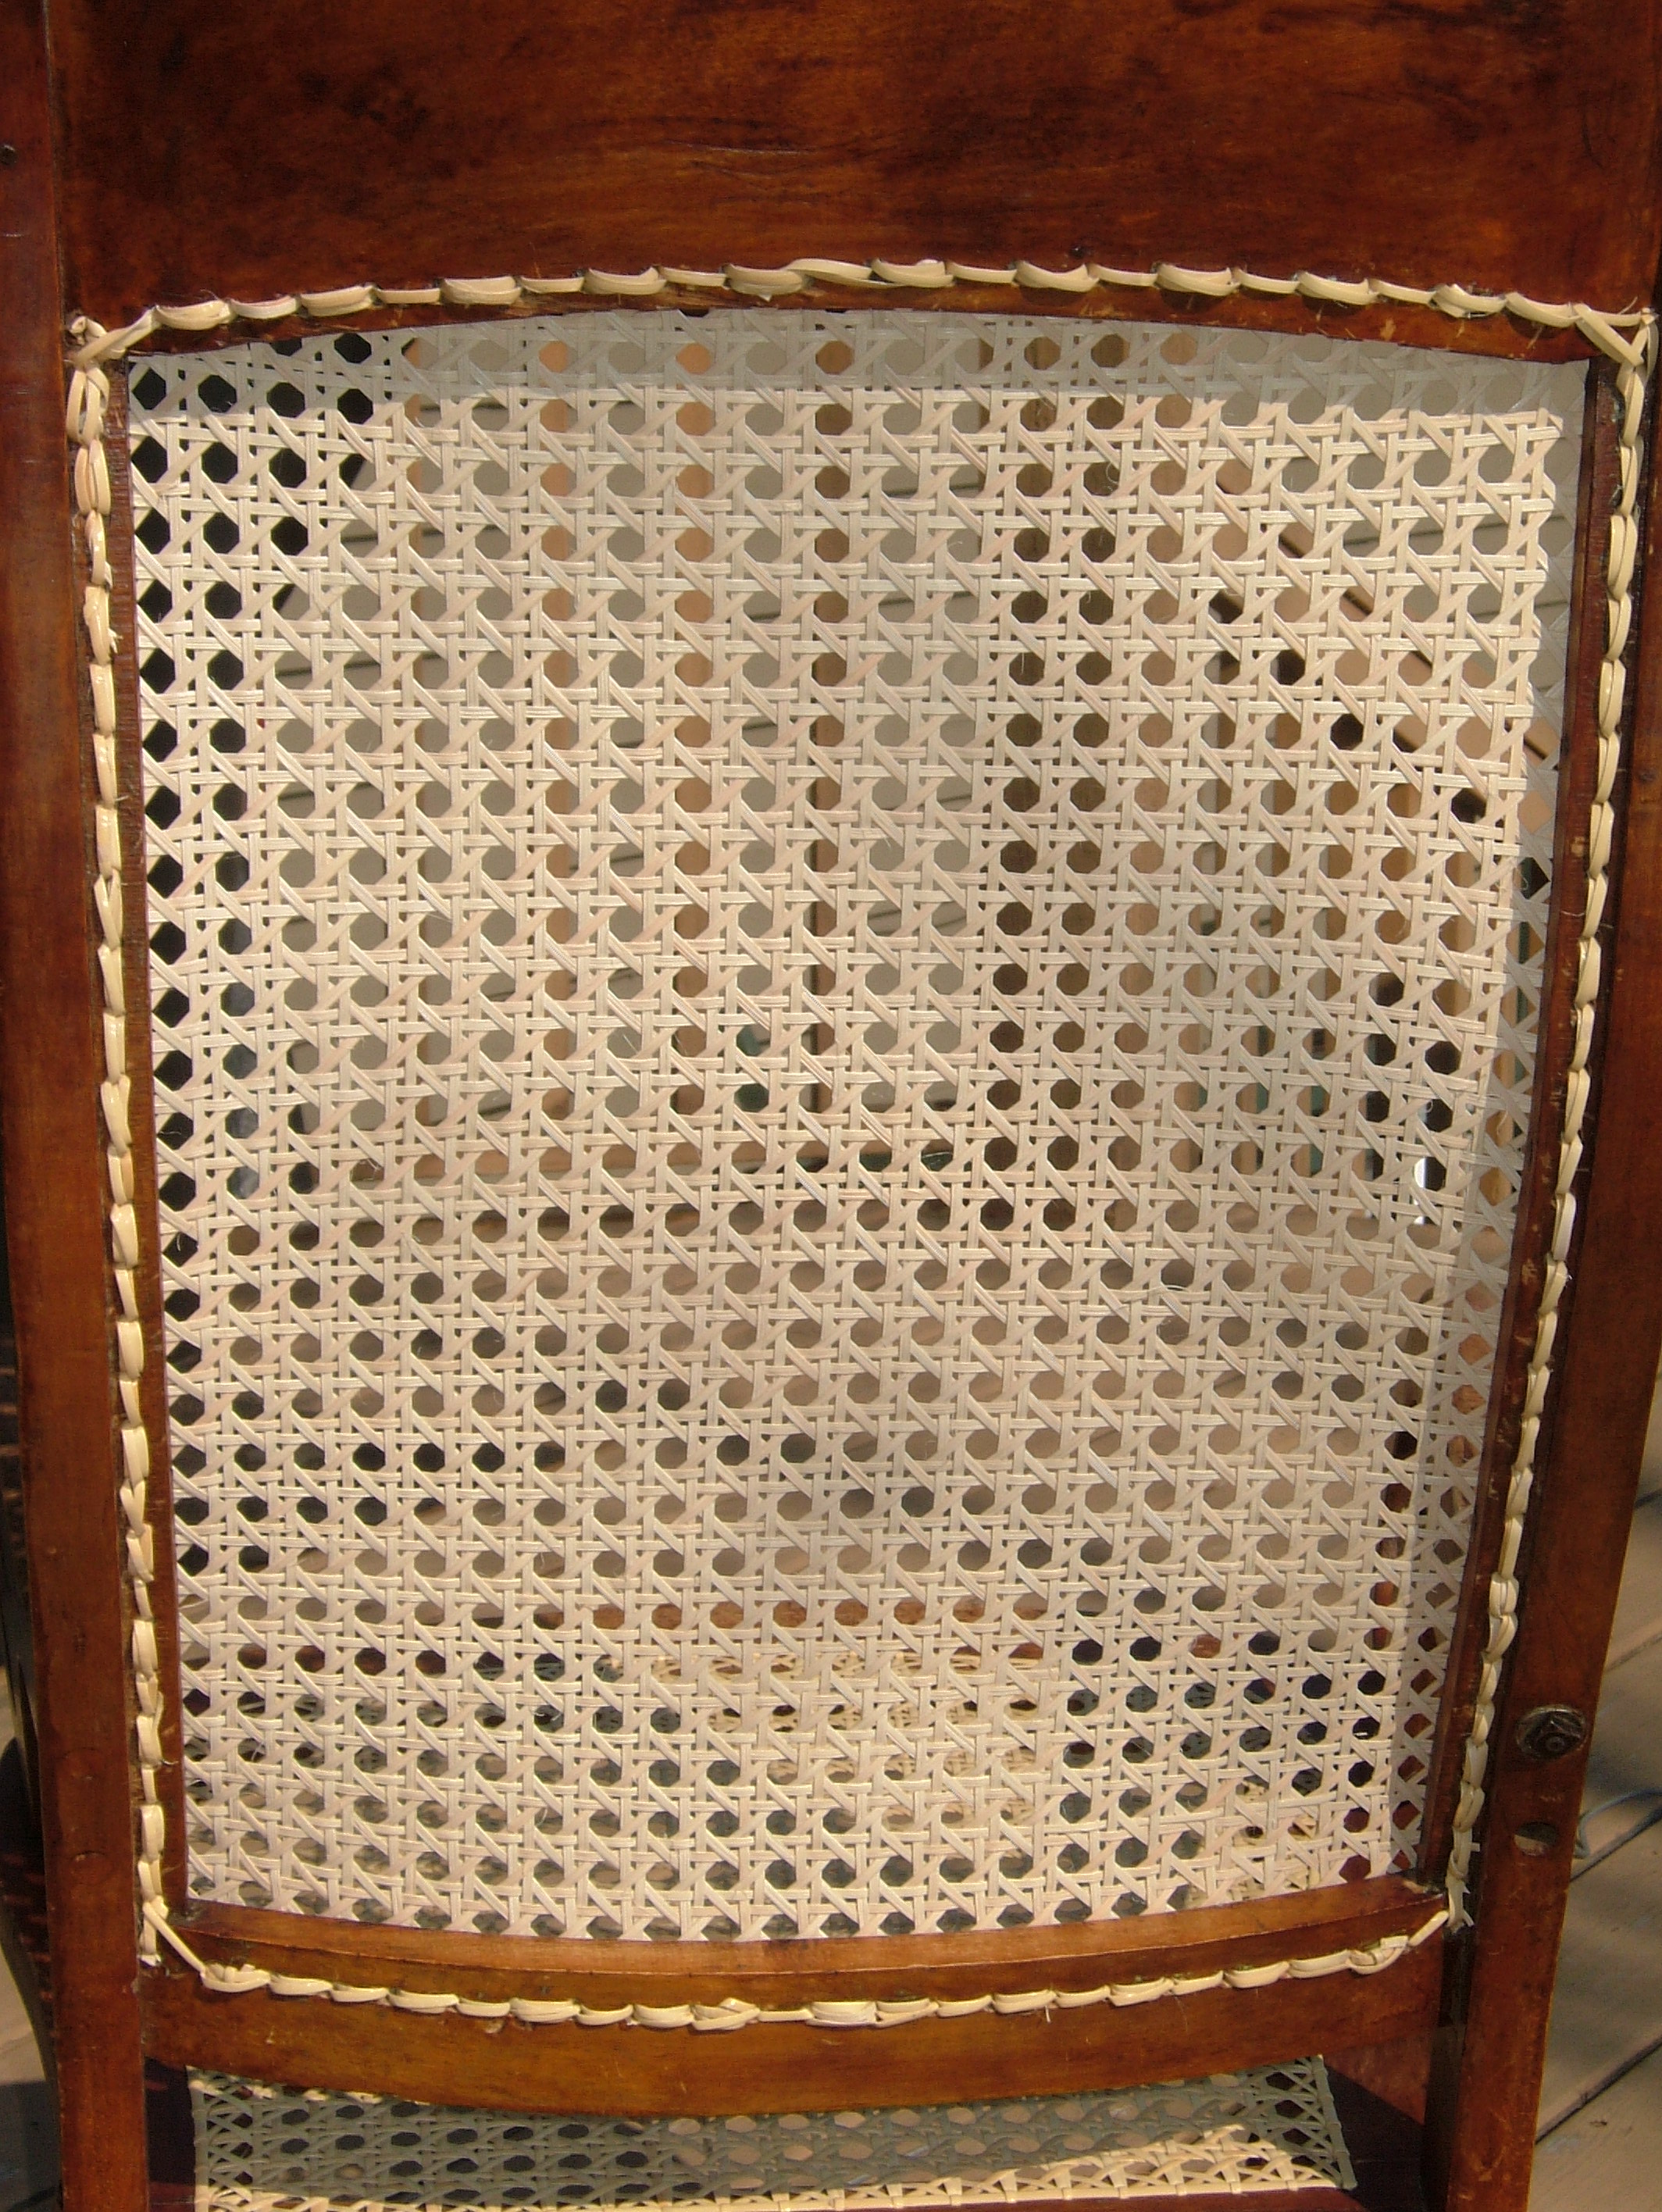
I had not mentioned the Back of the Back or tying off the ends. I tried very hard to keep the Backside neat & minimize Knots. I am not Knotless here yet. But continue to work to improve. I used mostly the "Sandwich" technique on this chair. With the Sandwich technique - you hold the end of cane A by sandwiching it between cane B & the rail. Cane A should be cut so that it runs just up & into the next hole, but not out of it. Pressure from cane B running over it will hold cane A in place. More details on Knots can be found on my website.
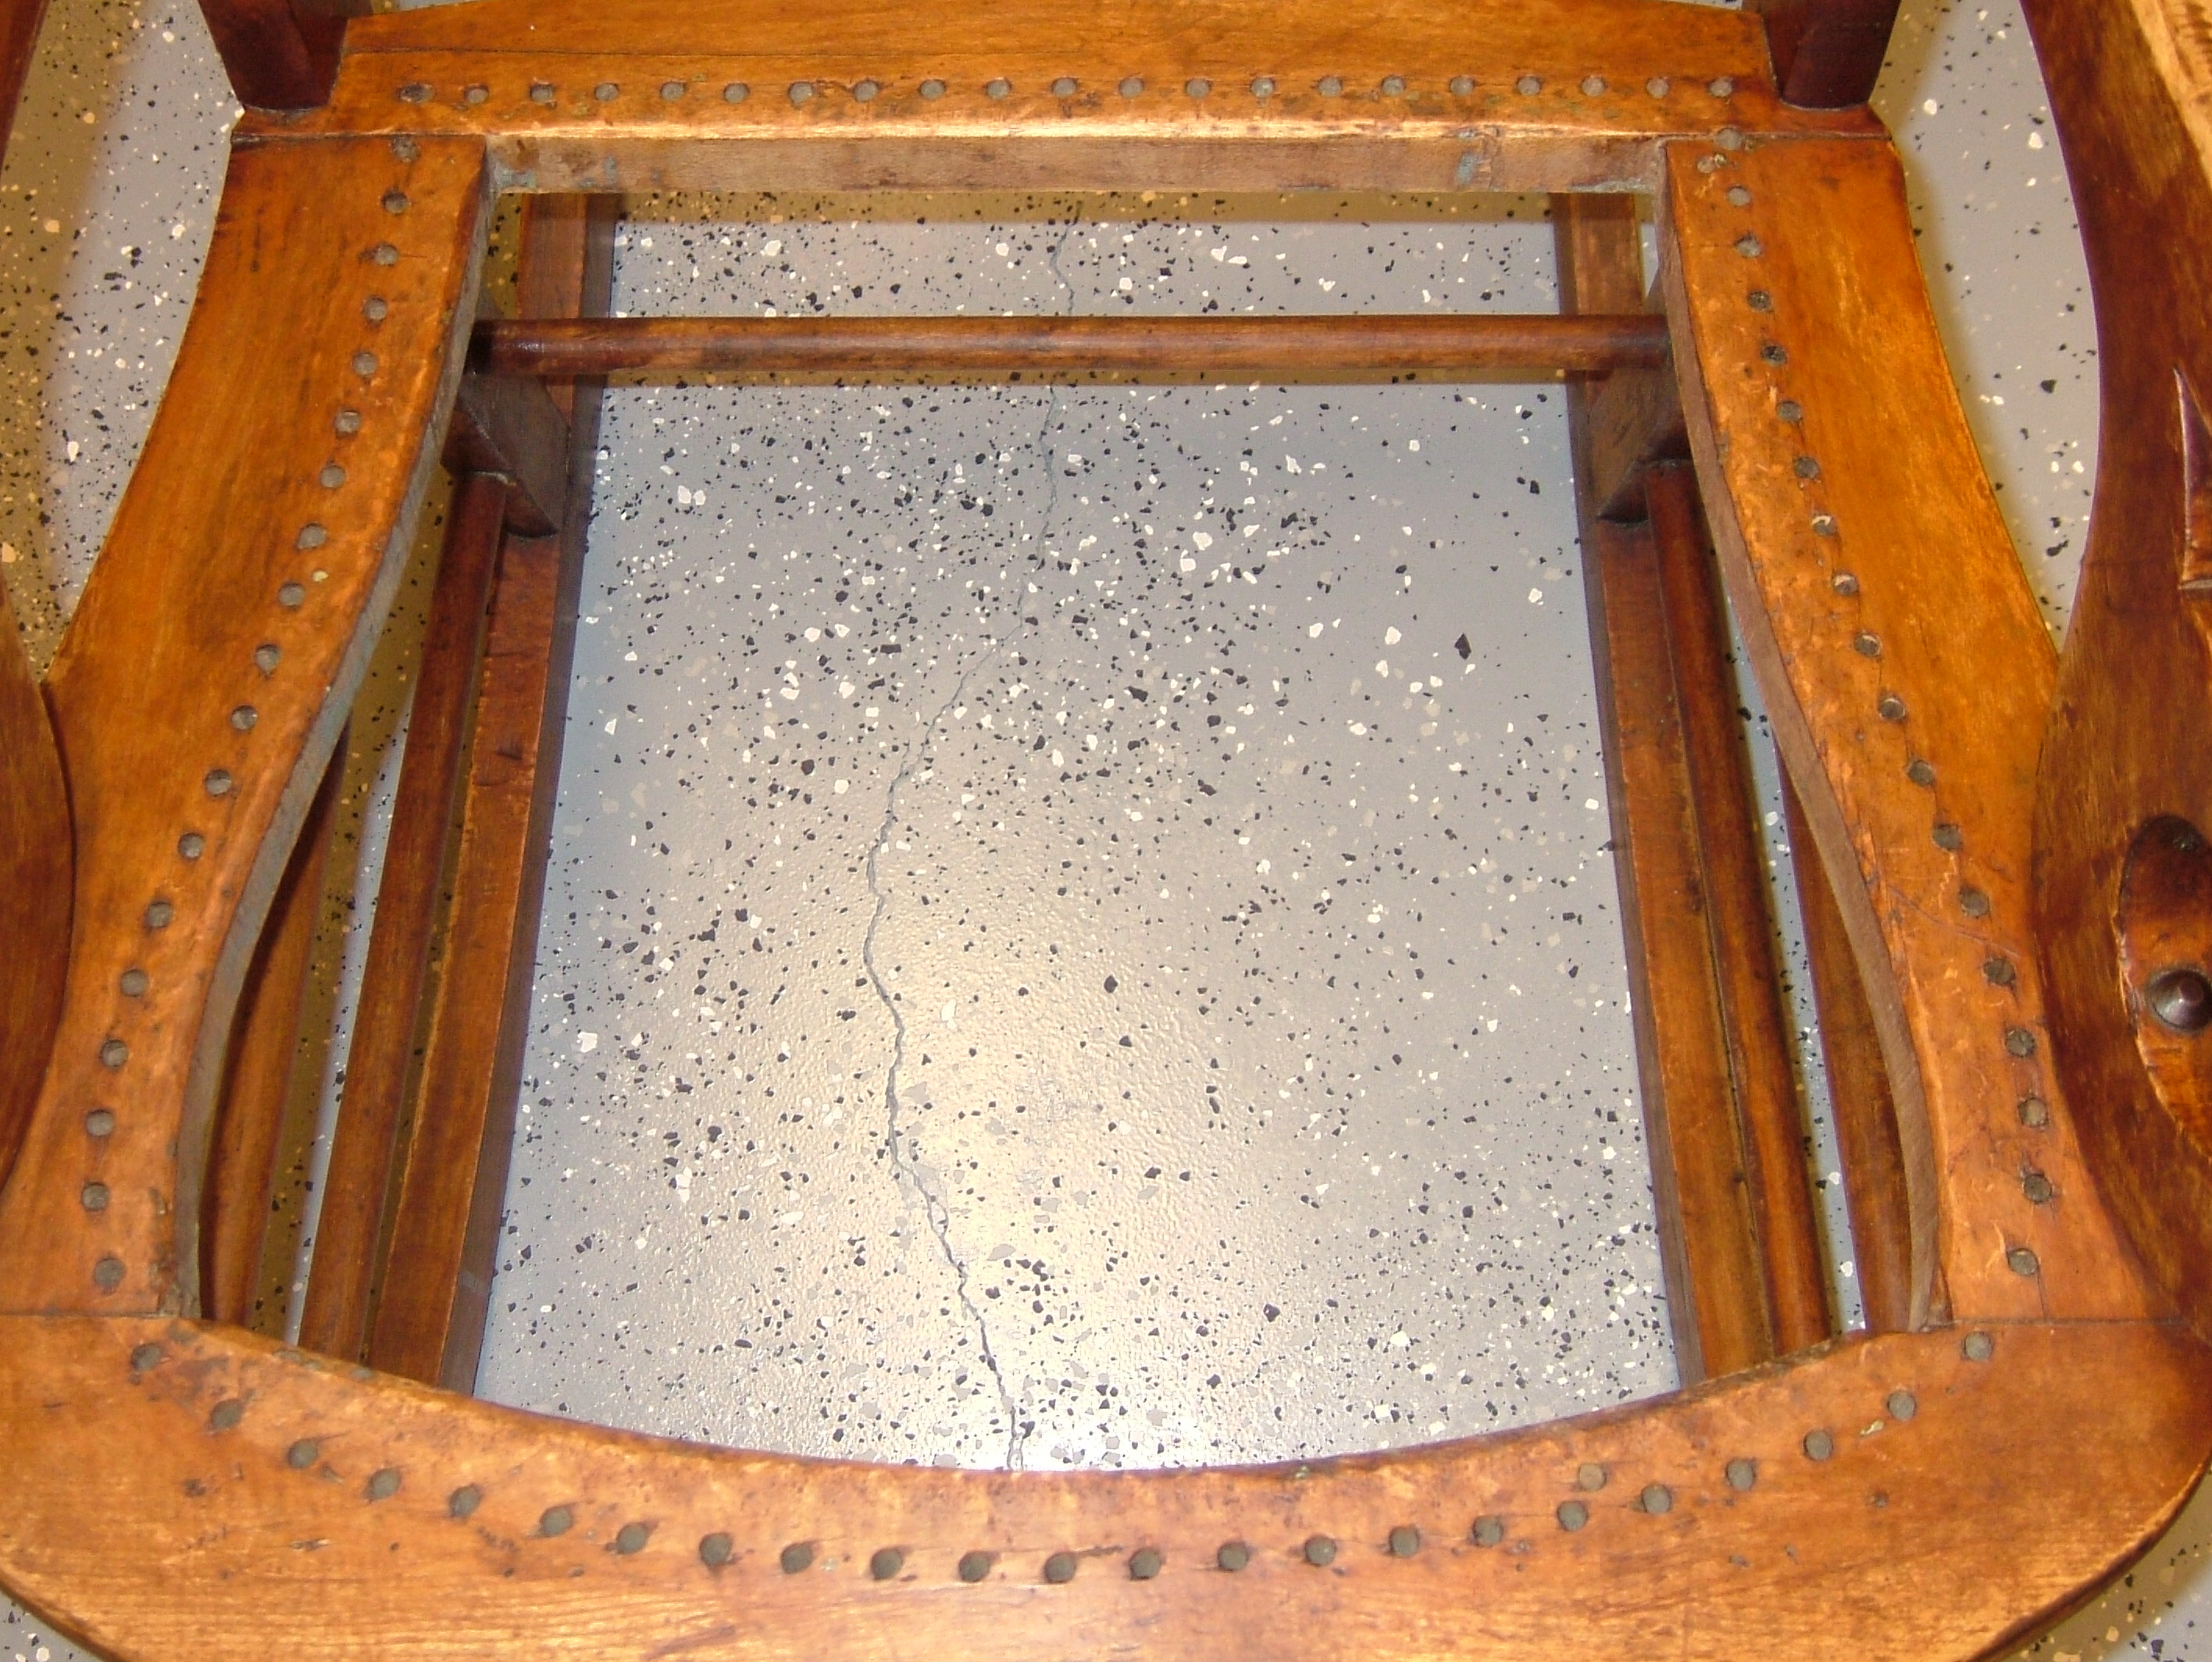
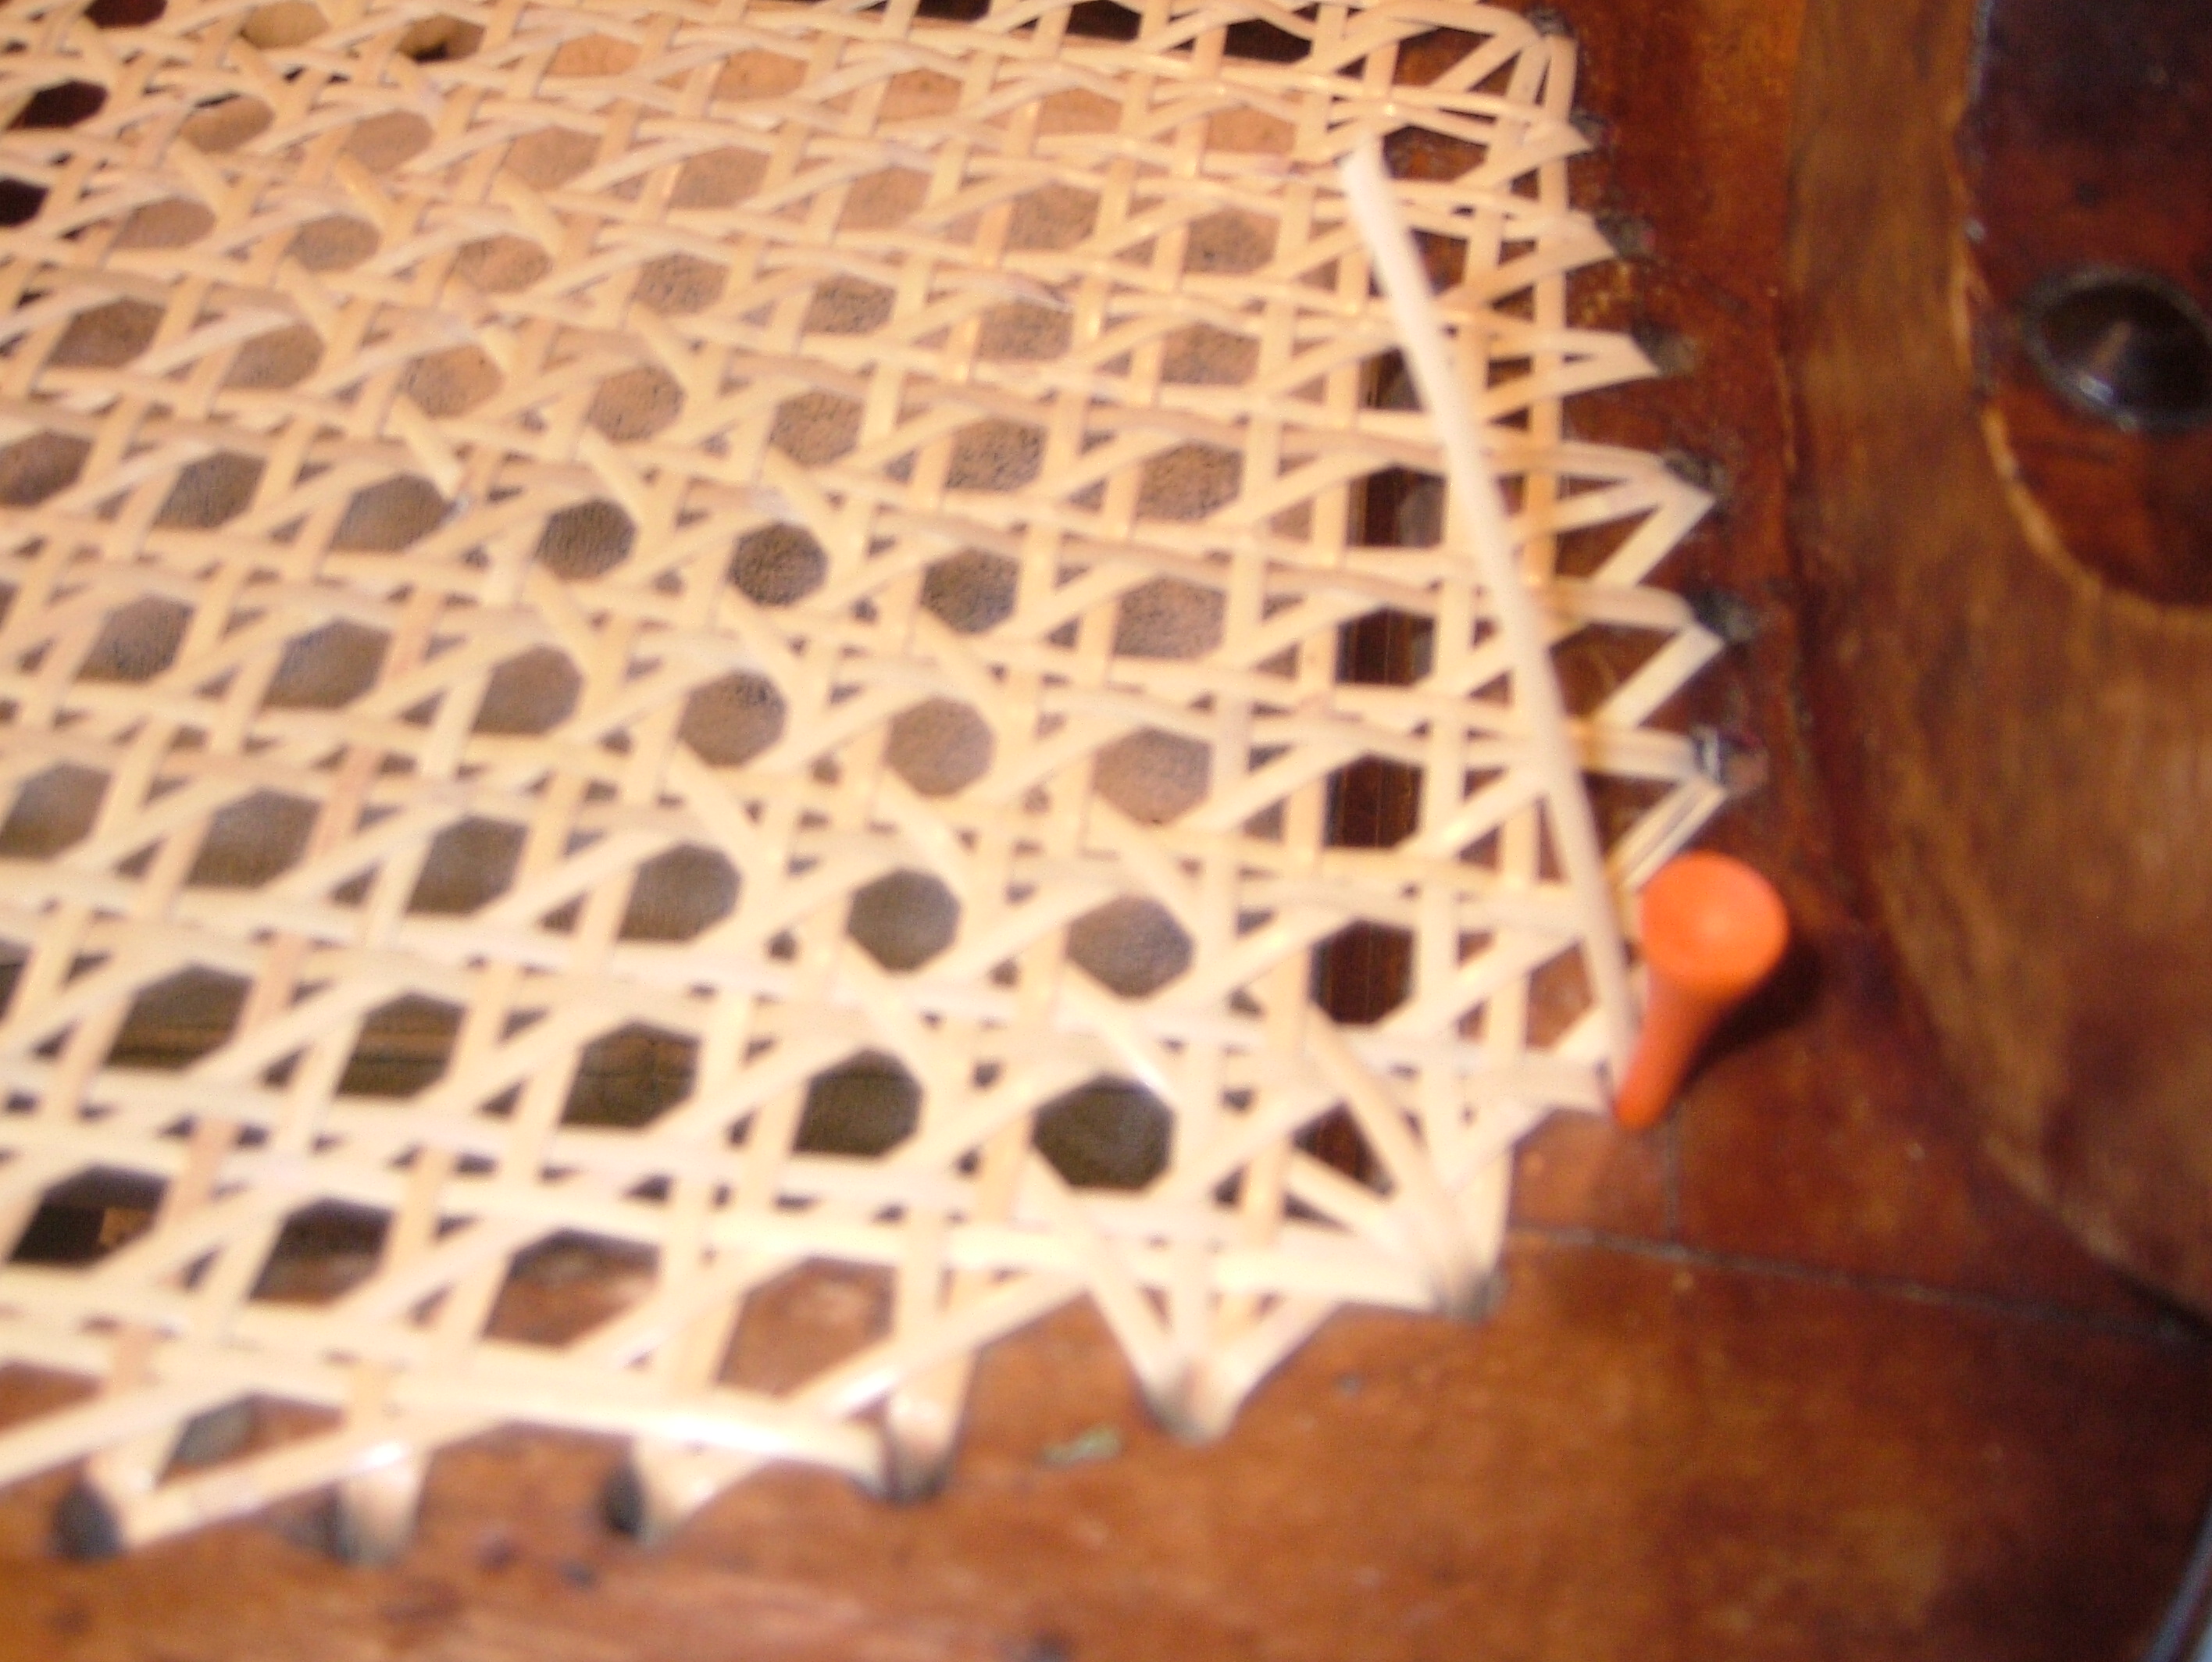
The seat is stripped, repaired & ready to go.
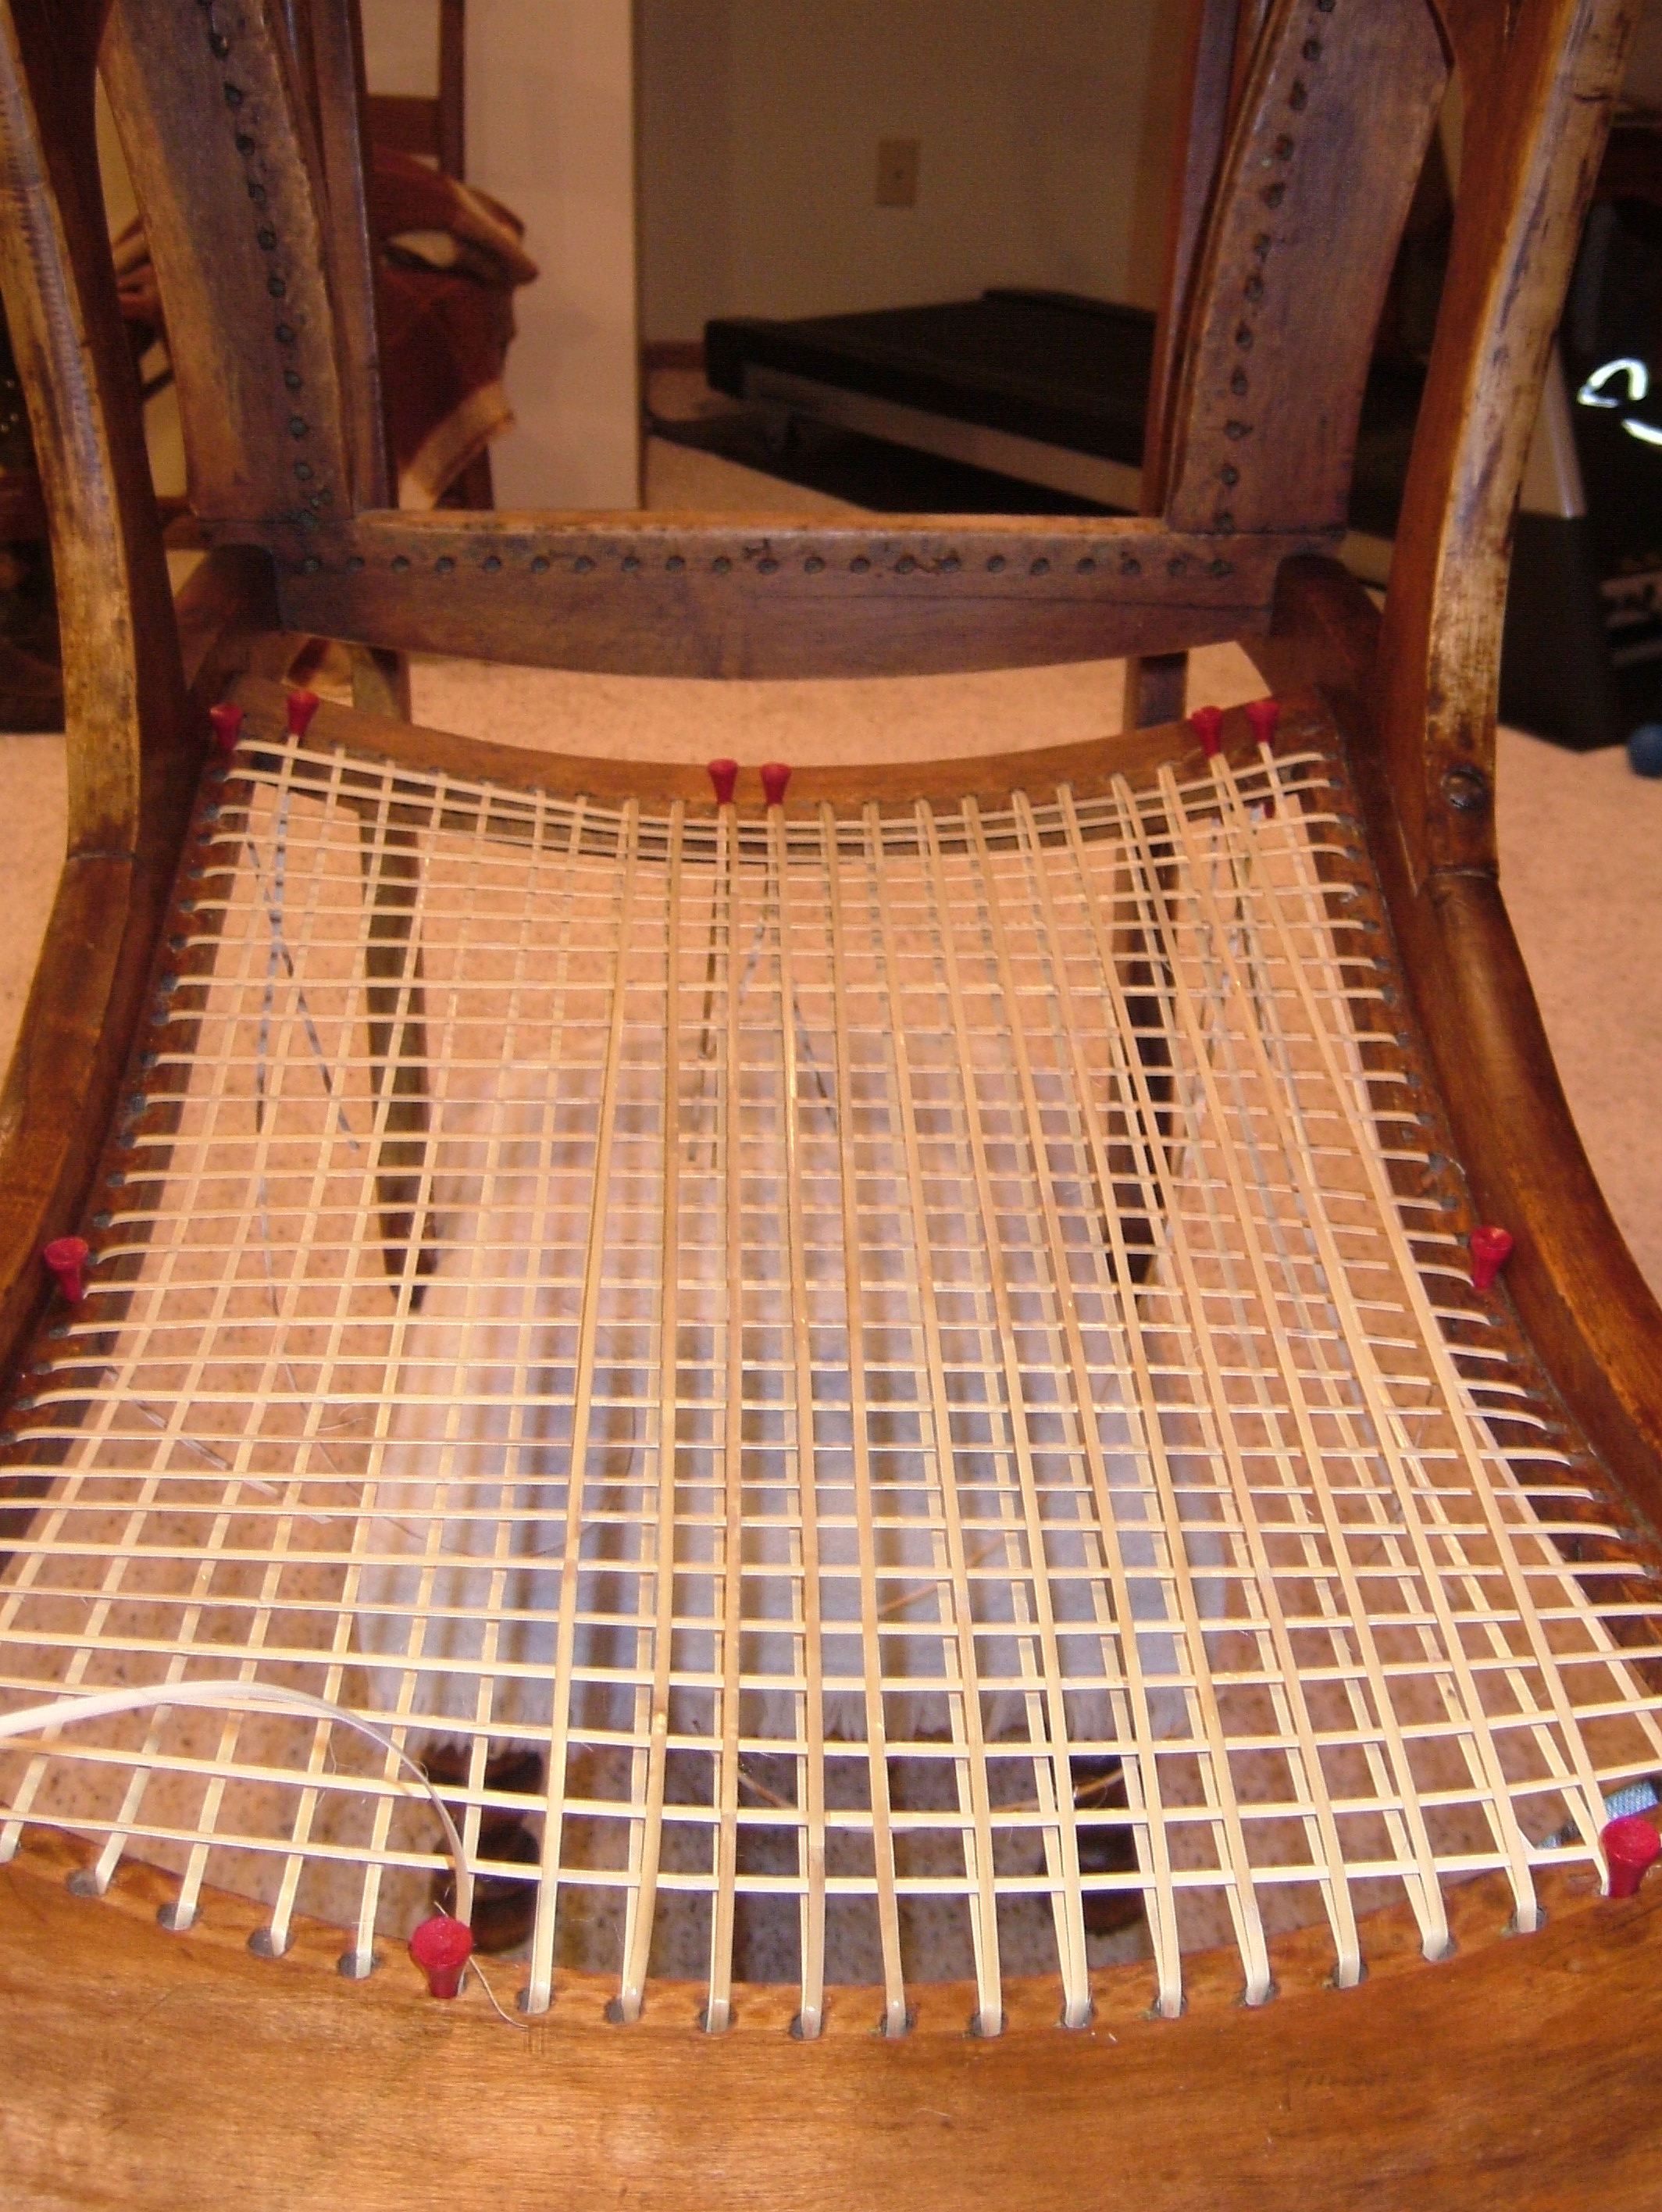
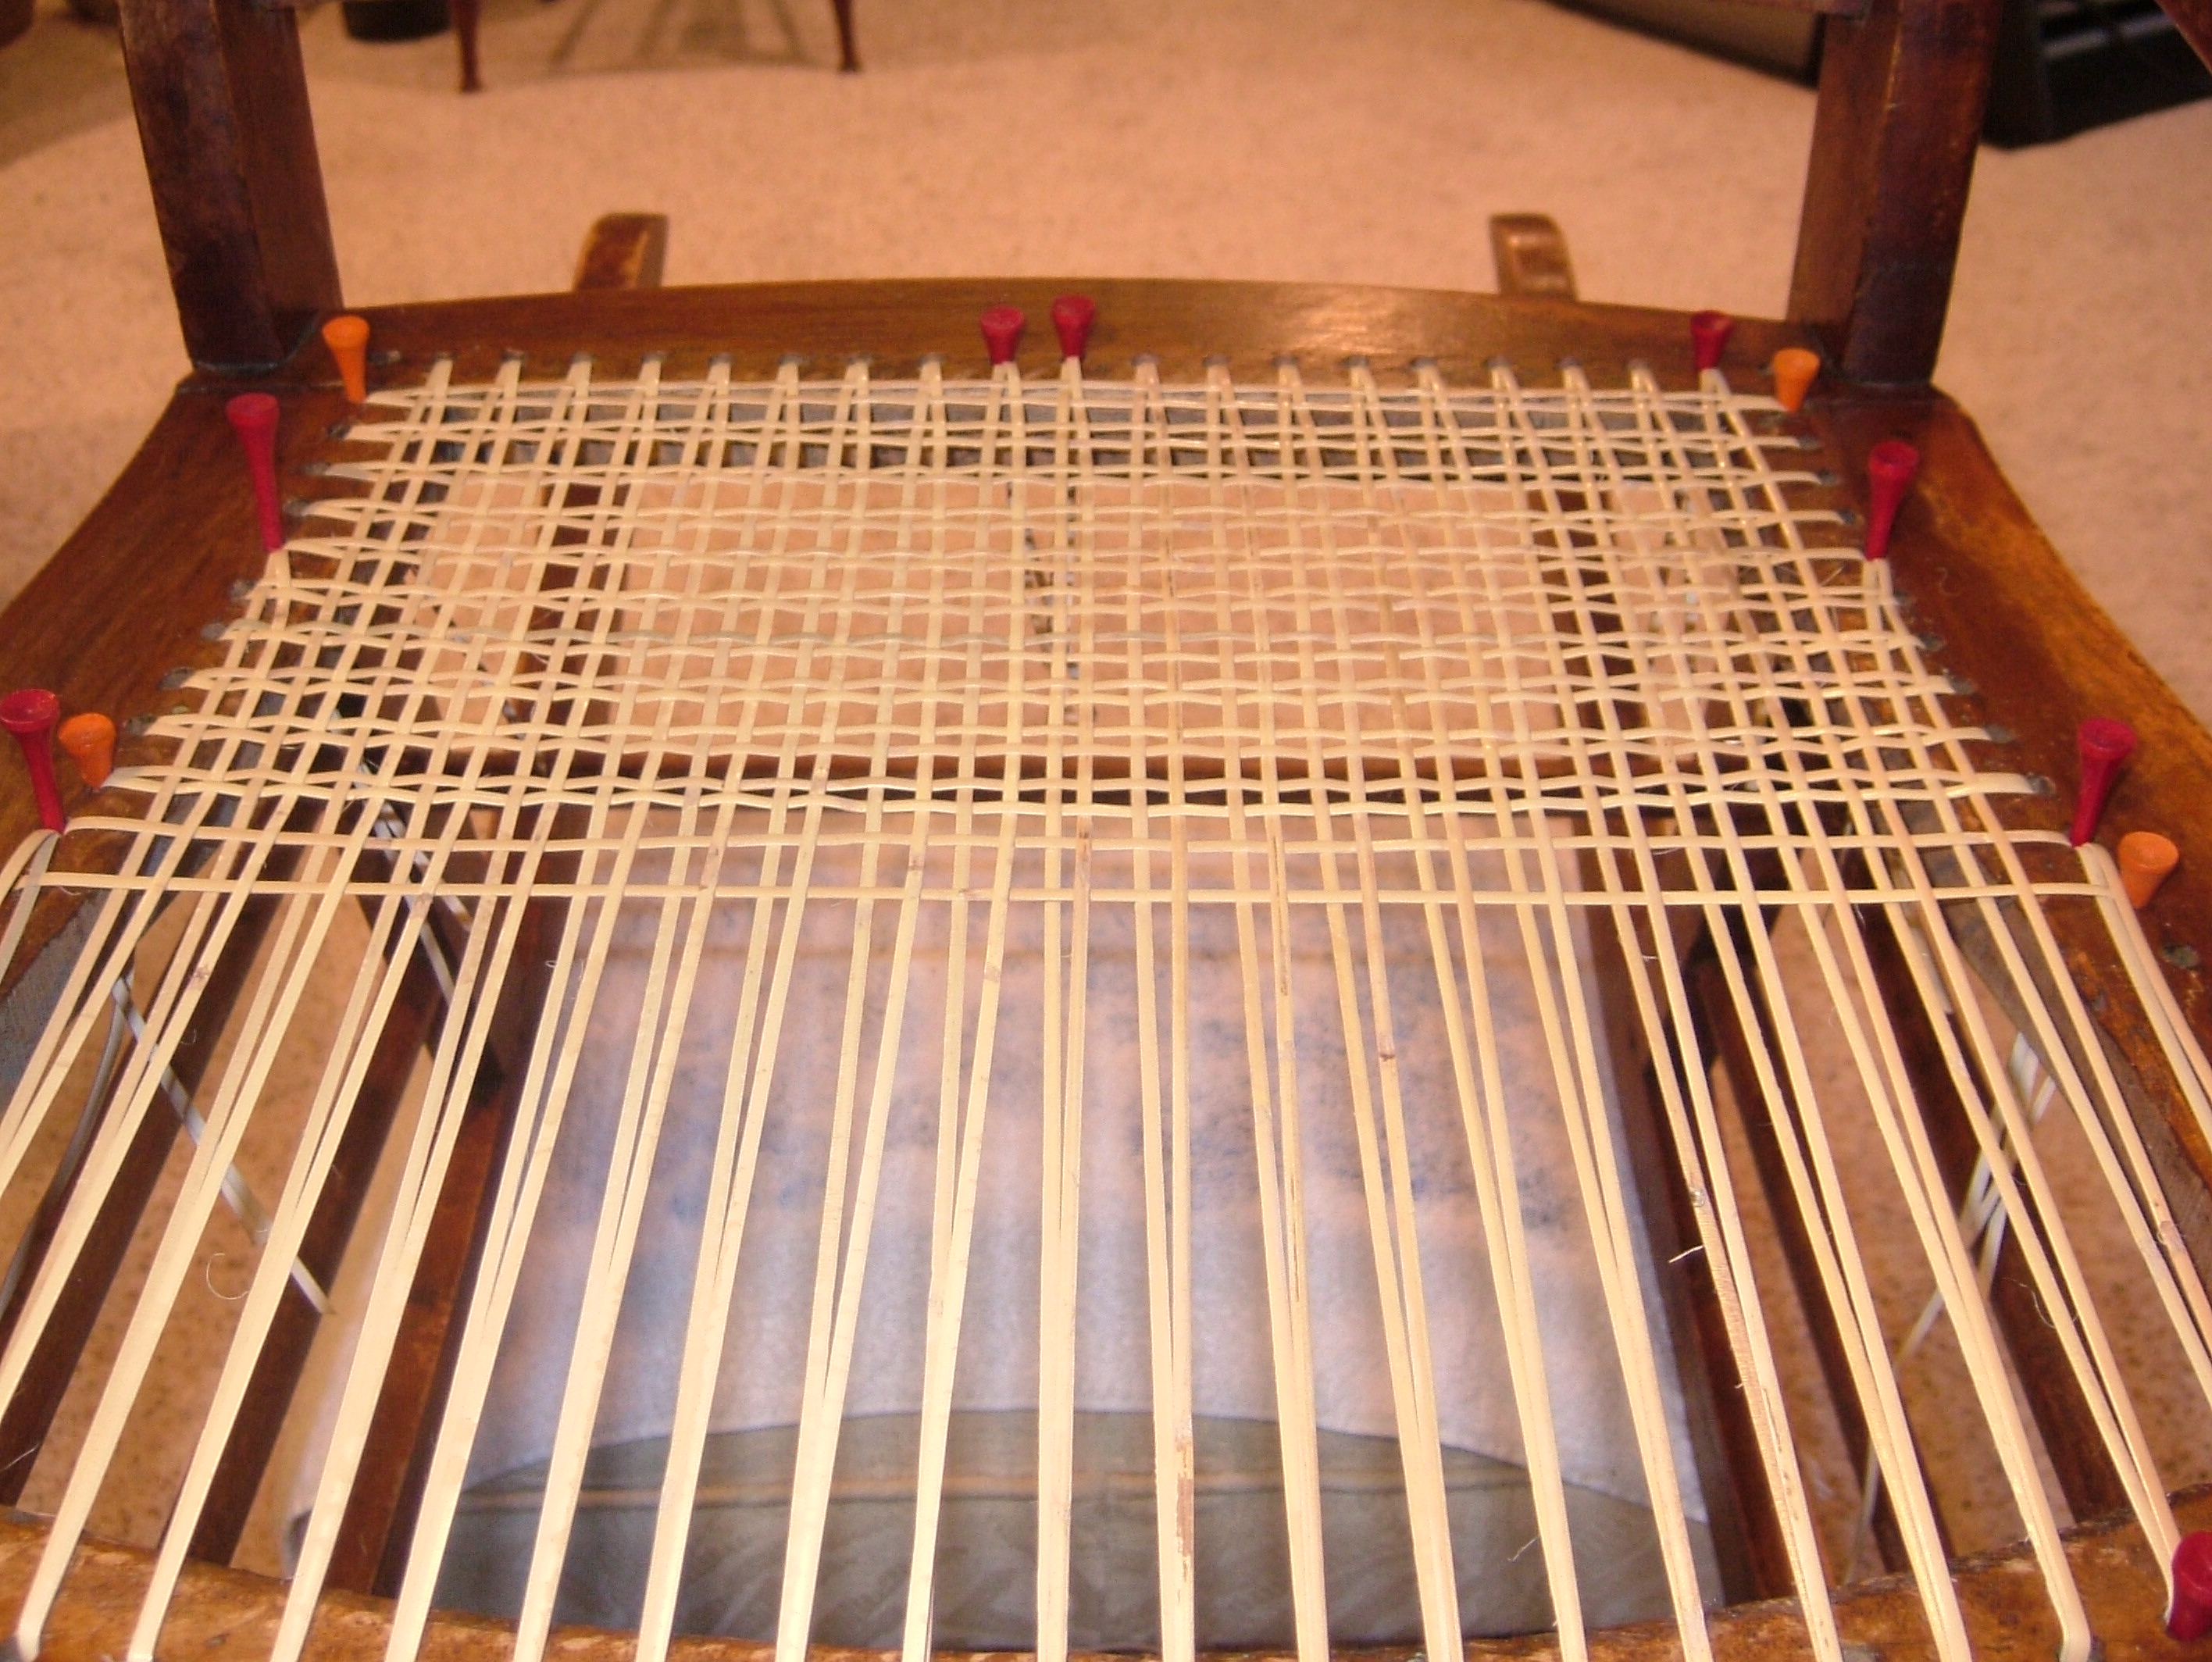
I am trying many new techniques on this project, to expand my knowledge base & to try to speed up my caning. Here I ran both verticals at the same time, with the second on top & to the right of the first. Notice the cane for the side rails were cut just to fit.

I had heard about Caning Needles & had hoped that they would be the secret tool that allowed me to speed up my caning. Here are two types of caning needles. They are long flexible metal used to thread the cane in steps 2 & 4. I am going to give them a try here.

The caning needle is threaded between the horizontals in step 1 & 3. It seemed to work best starting at the top rail & working towards the center, weaving like a loom, with two cane strands. Pulling step 2 verticals in one direction & then pulling step 4 vertical in the other direction. When the cane strands ended towards the middle of the seat, I started new cane strands at the front rail. This allowed the caning needles more room to work, as the seat neared completion in the middle of the seat. At the end, the vertical canes became too tight & I could not use the caning needles.

I did make many errors with the caning needles. I continue to question myself if they are actually a help to me or not. A person more used to working with a loom will probably find caning needles easy & efficient.
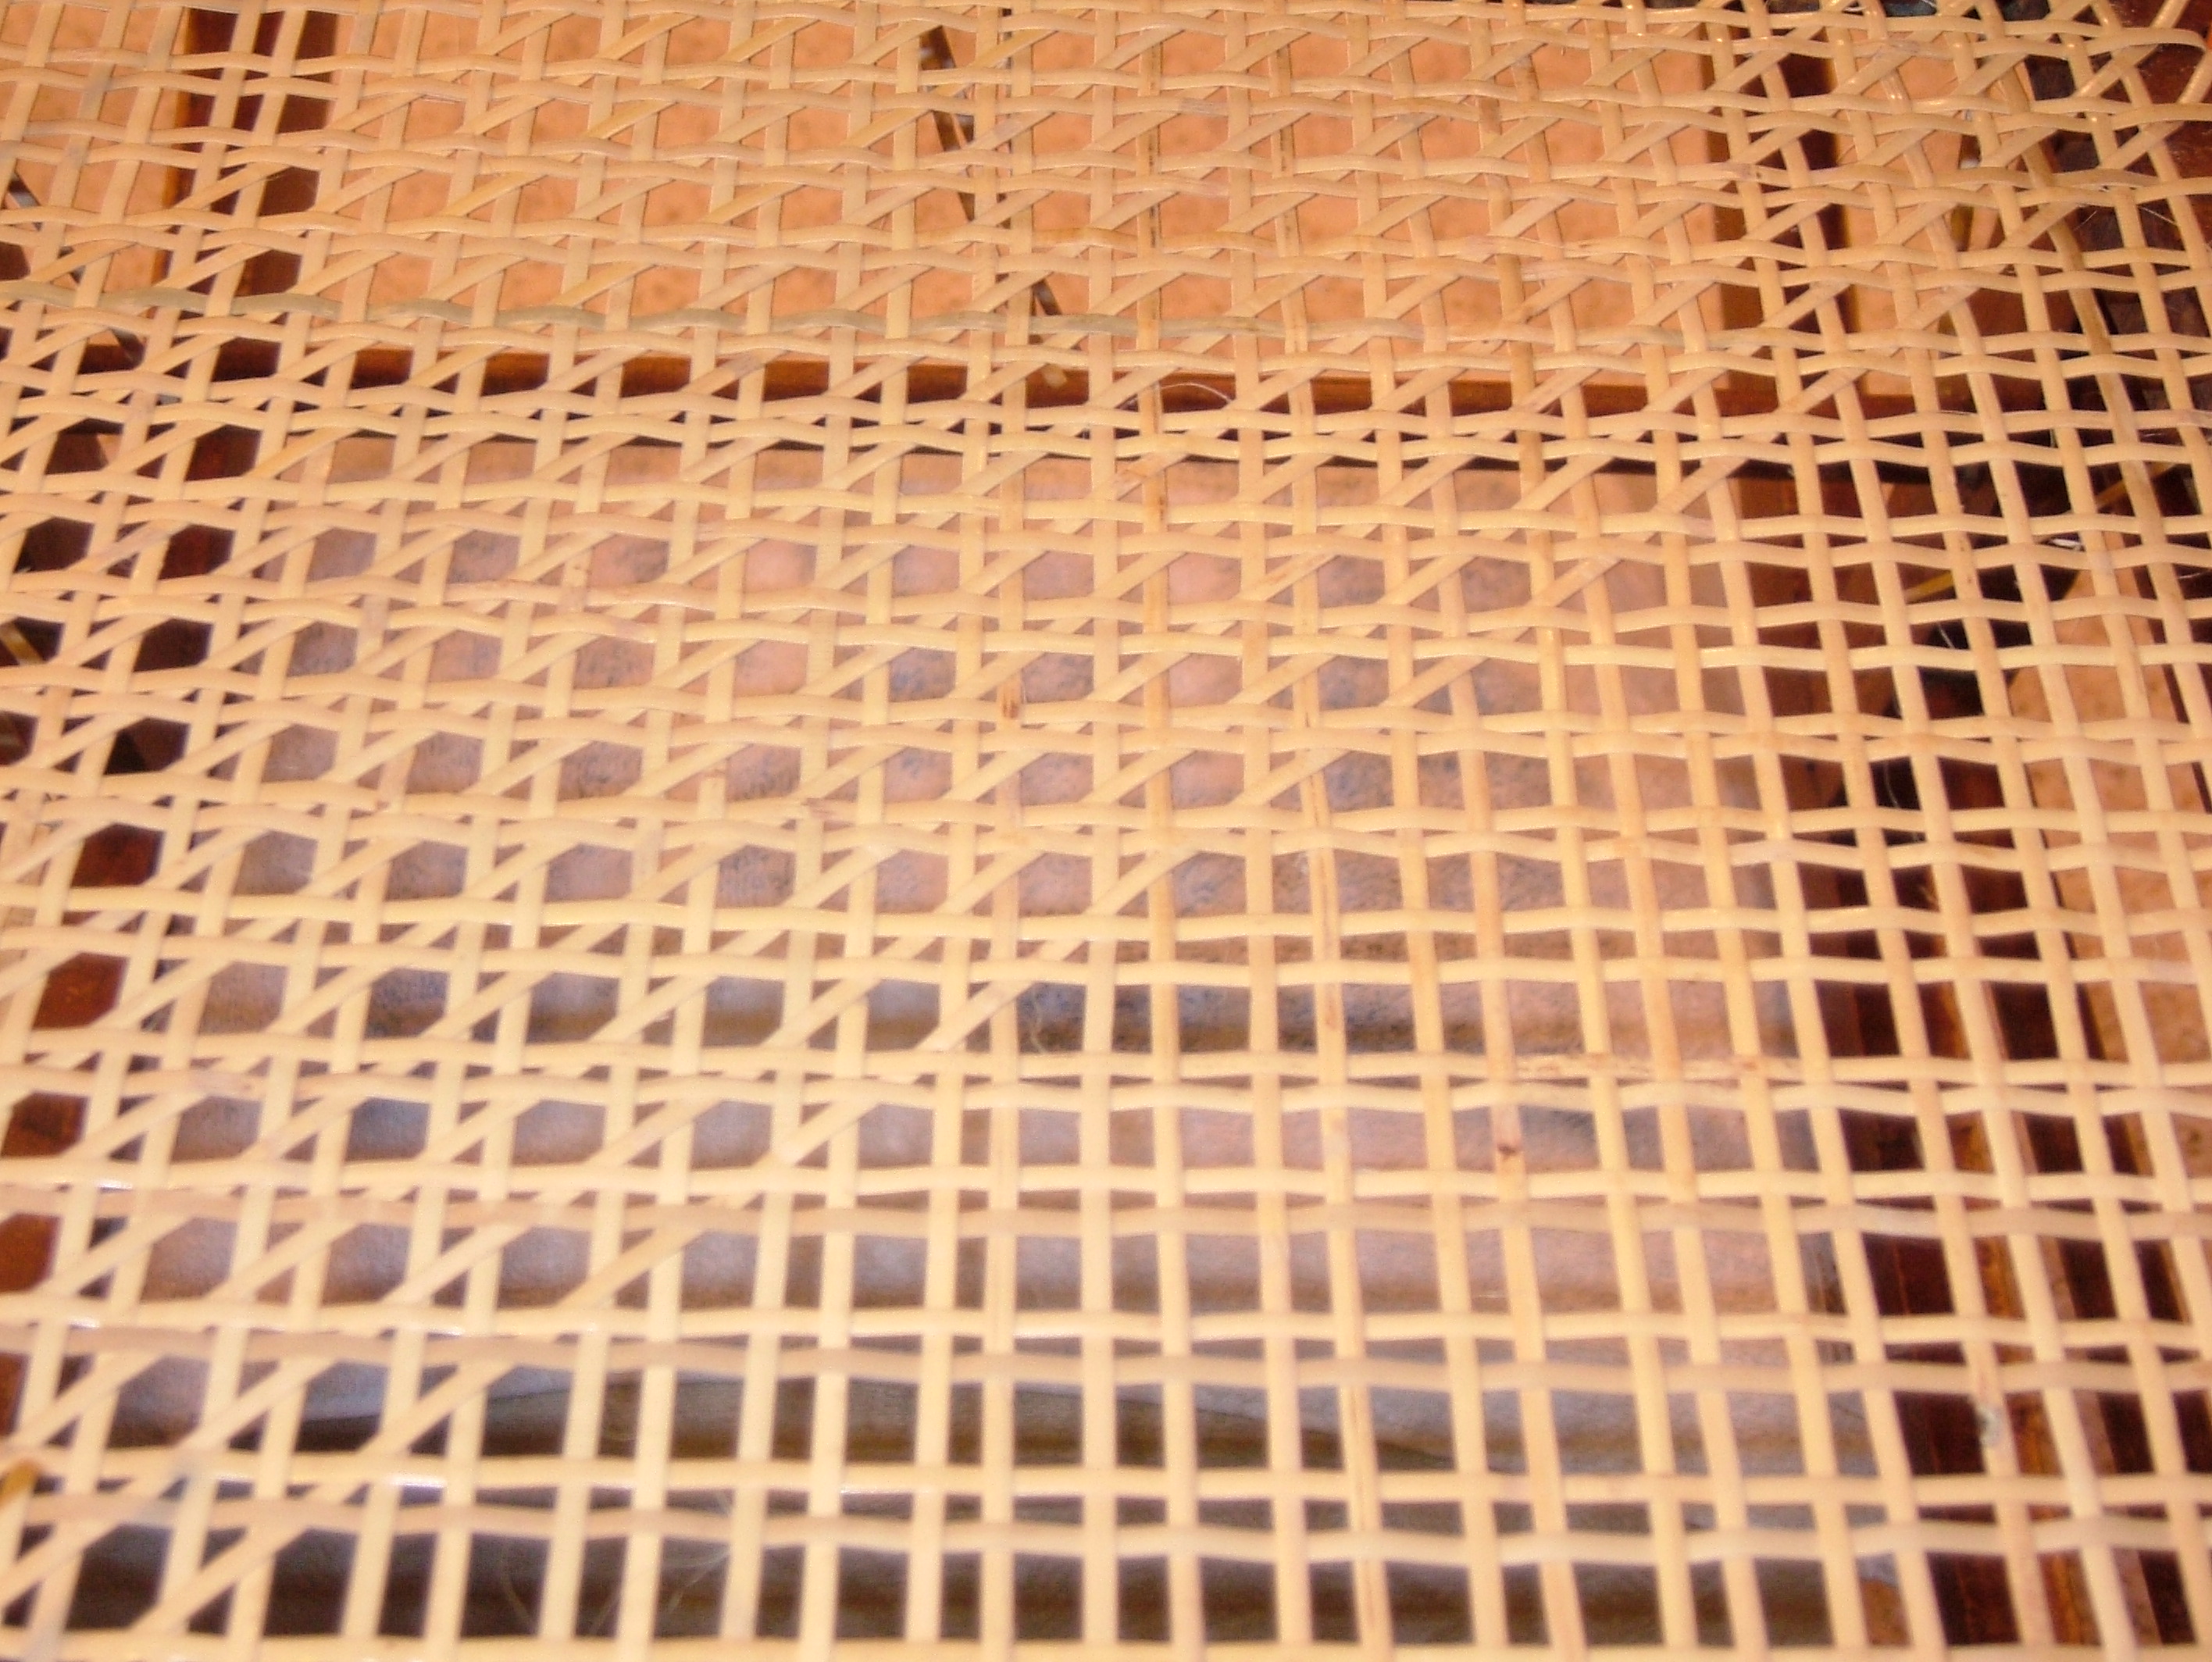
Vertical Steps 2 & 4 half way done.
Vertical Steps 2 & 4 complete.

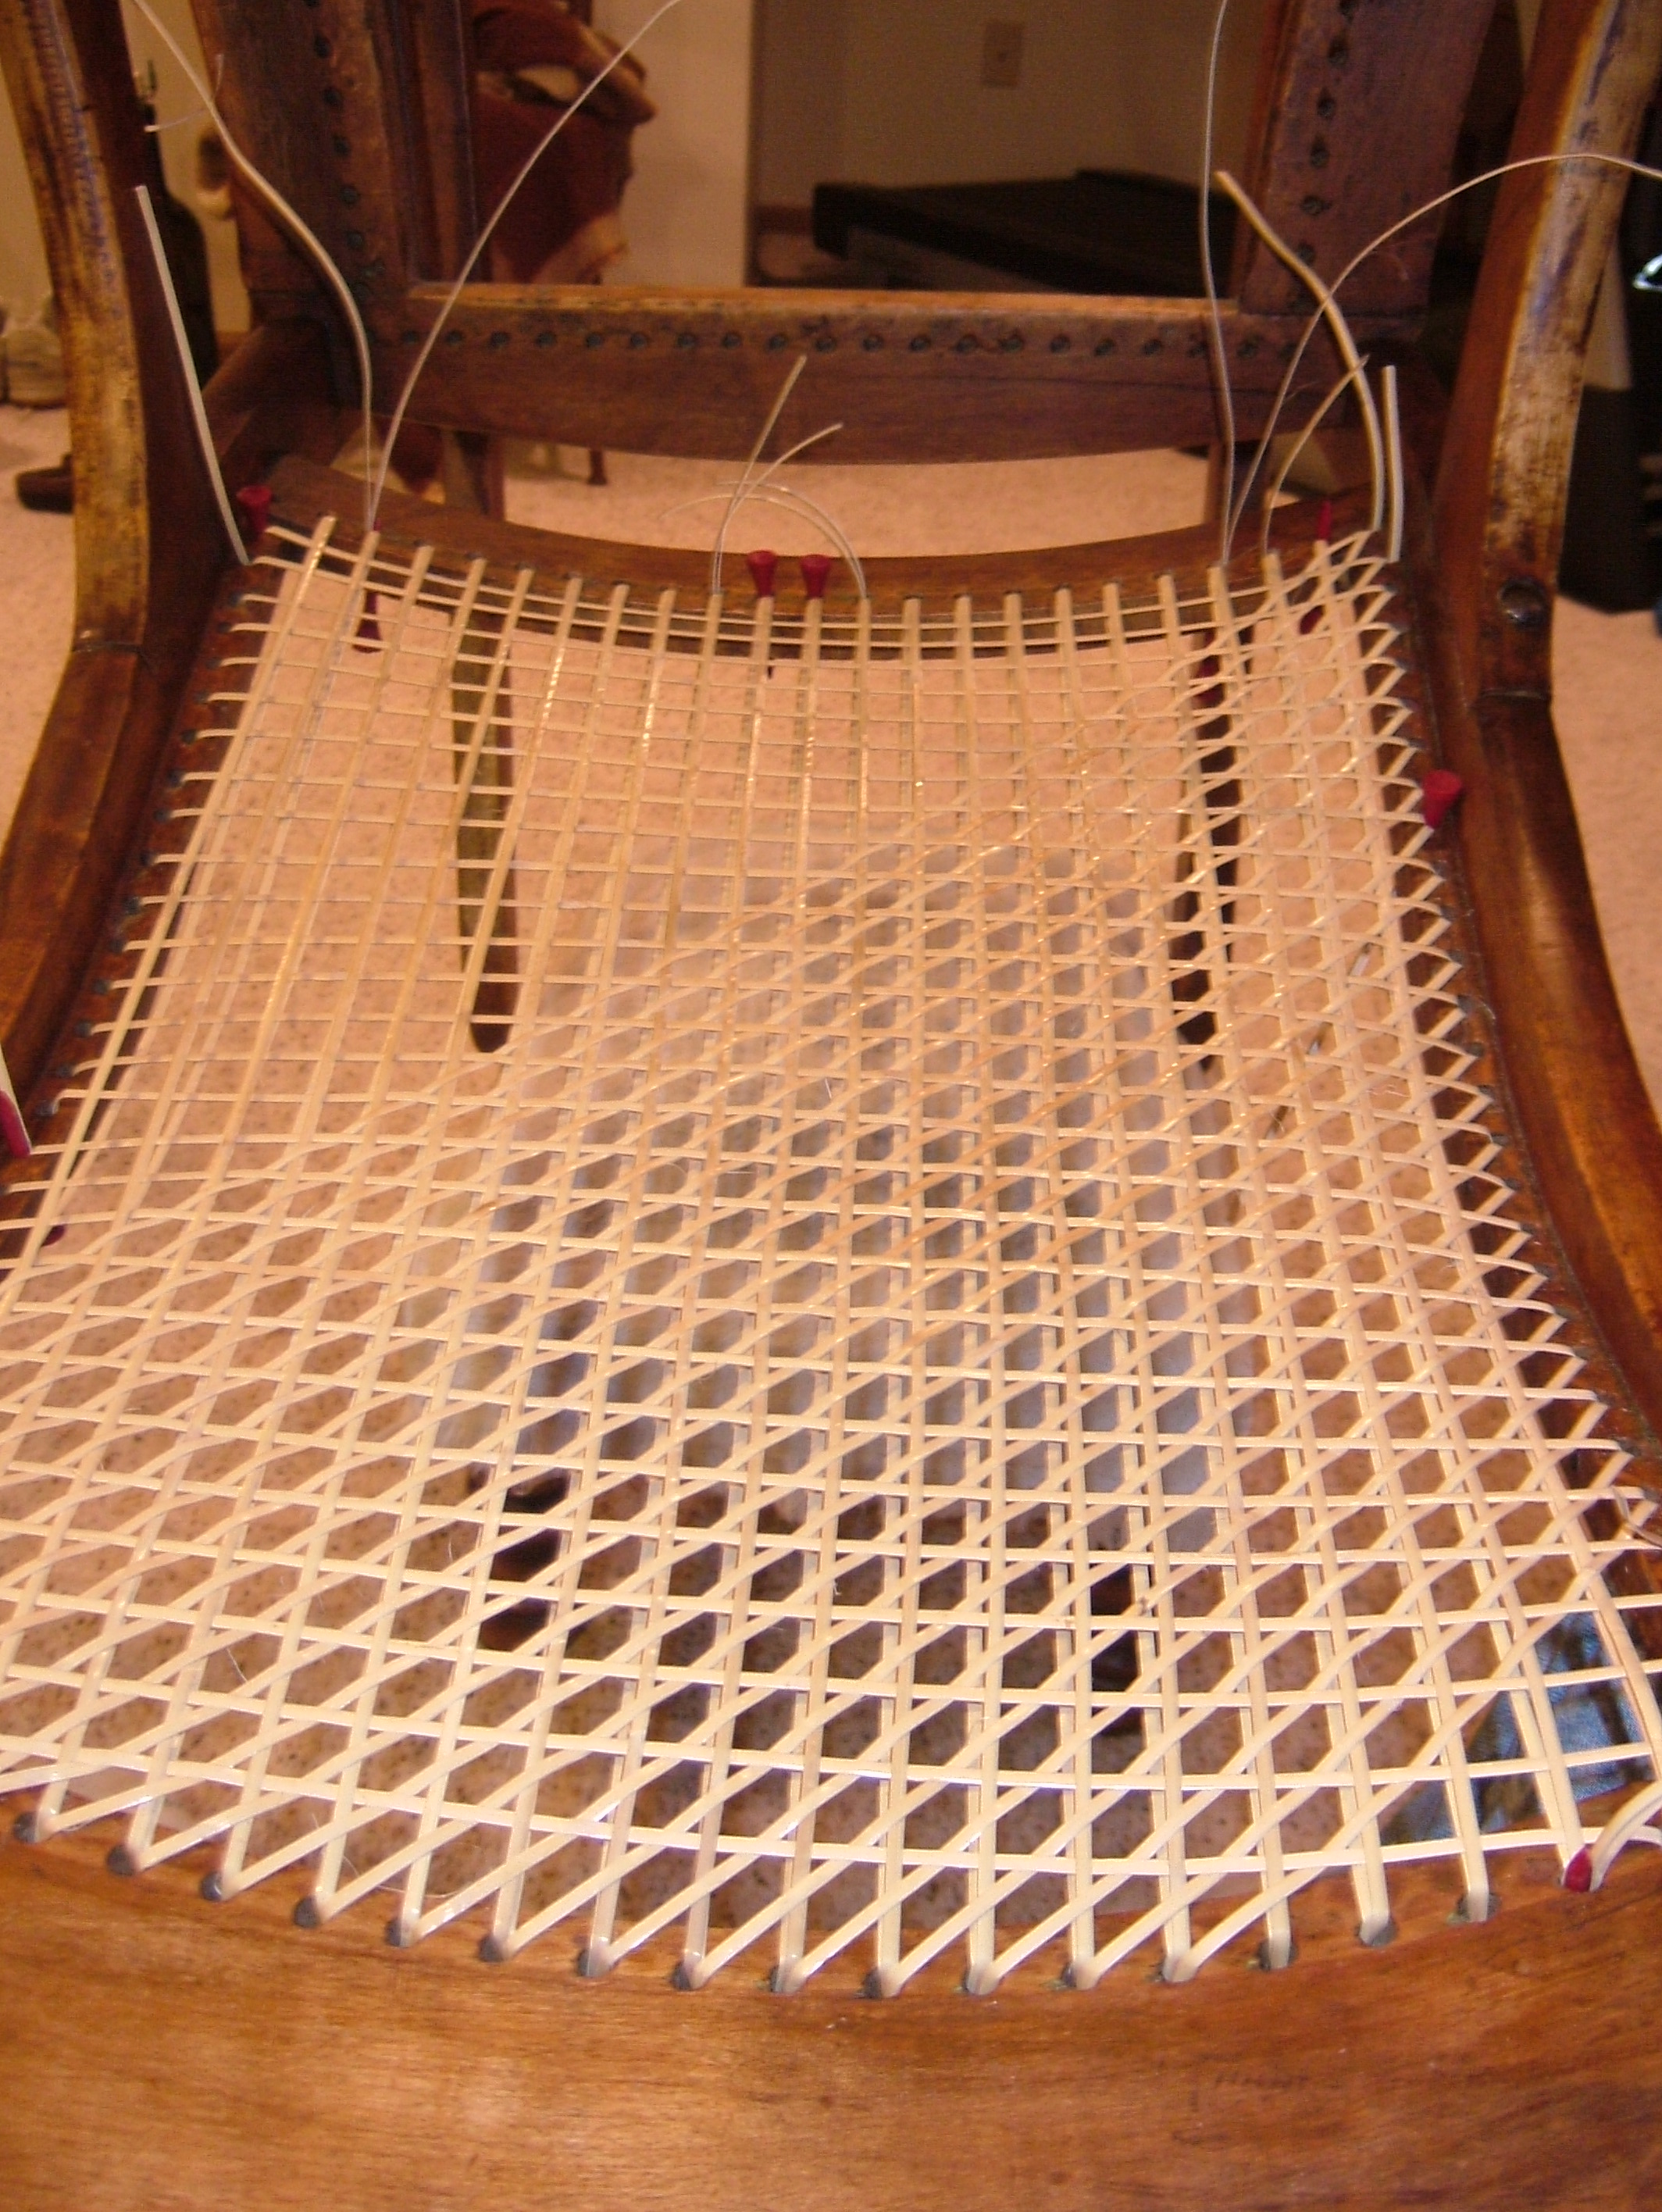
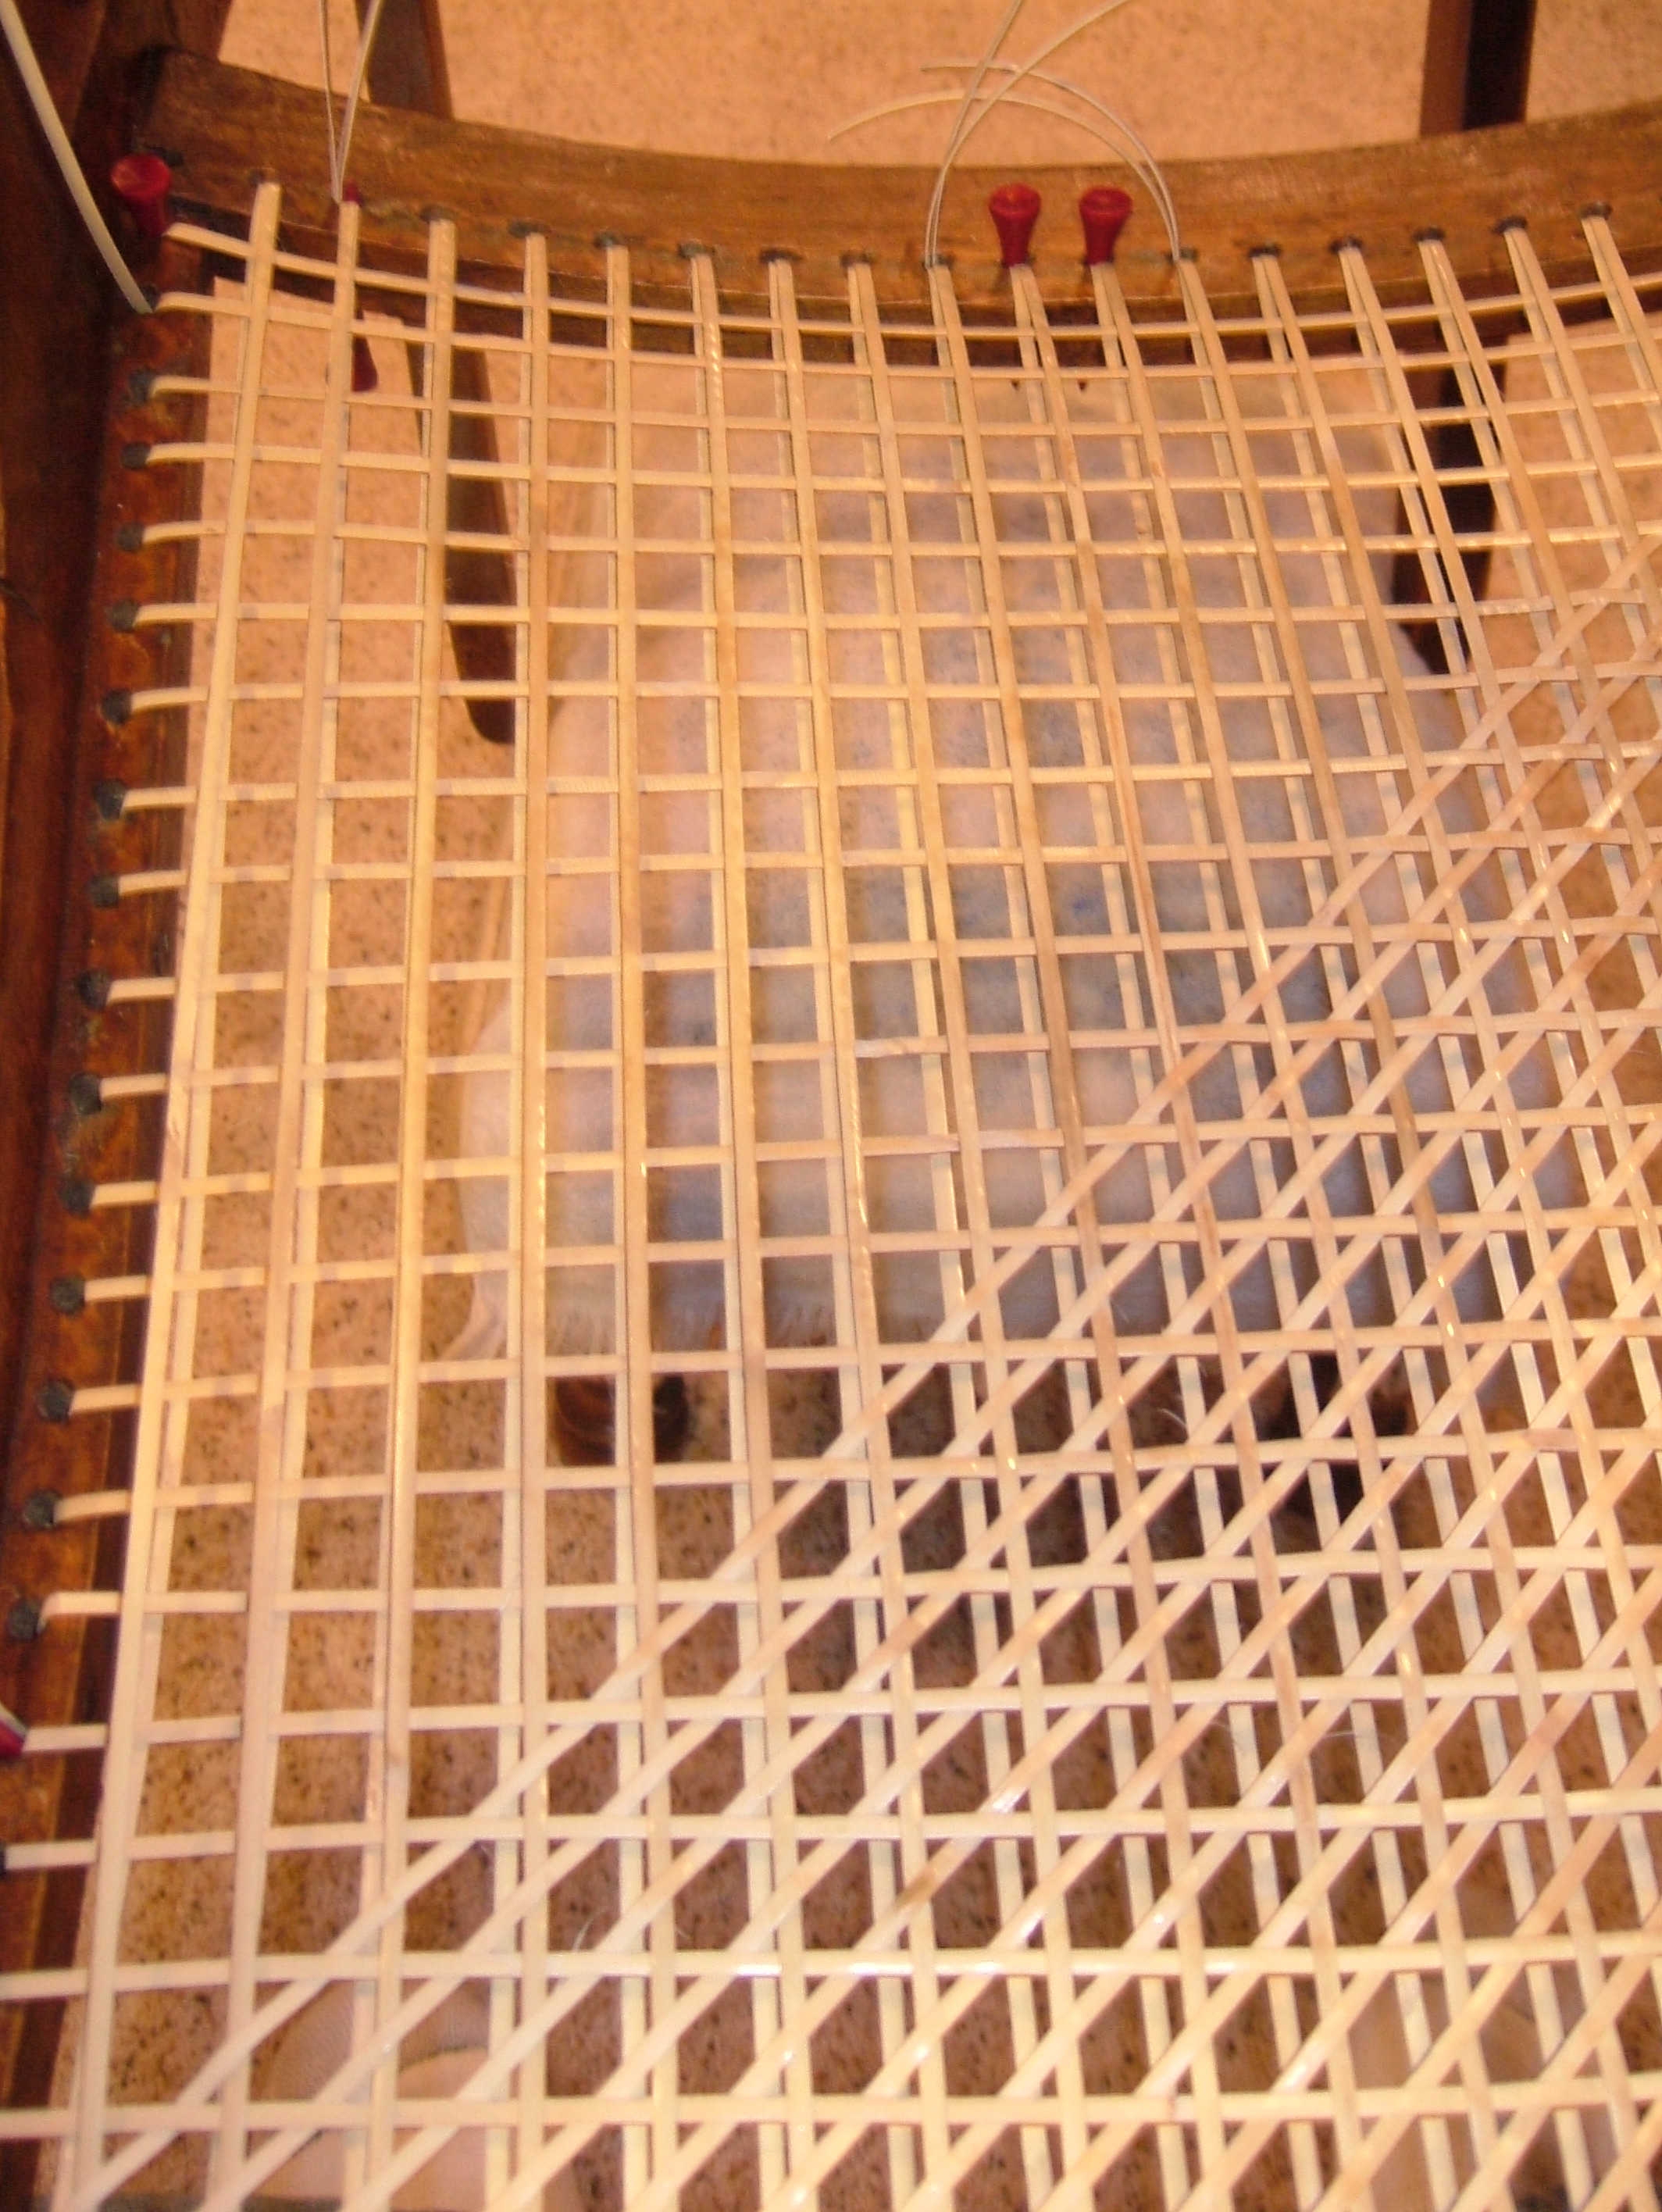
First Diagonal - OVER the Verticals & UNDER the Horizontals
Starting the Second Diagonal from the corner hole, OVER the Horizontals & UNDER the Verticals.
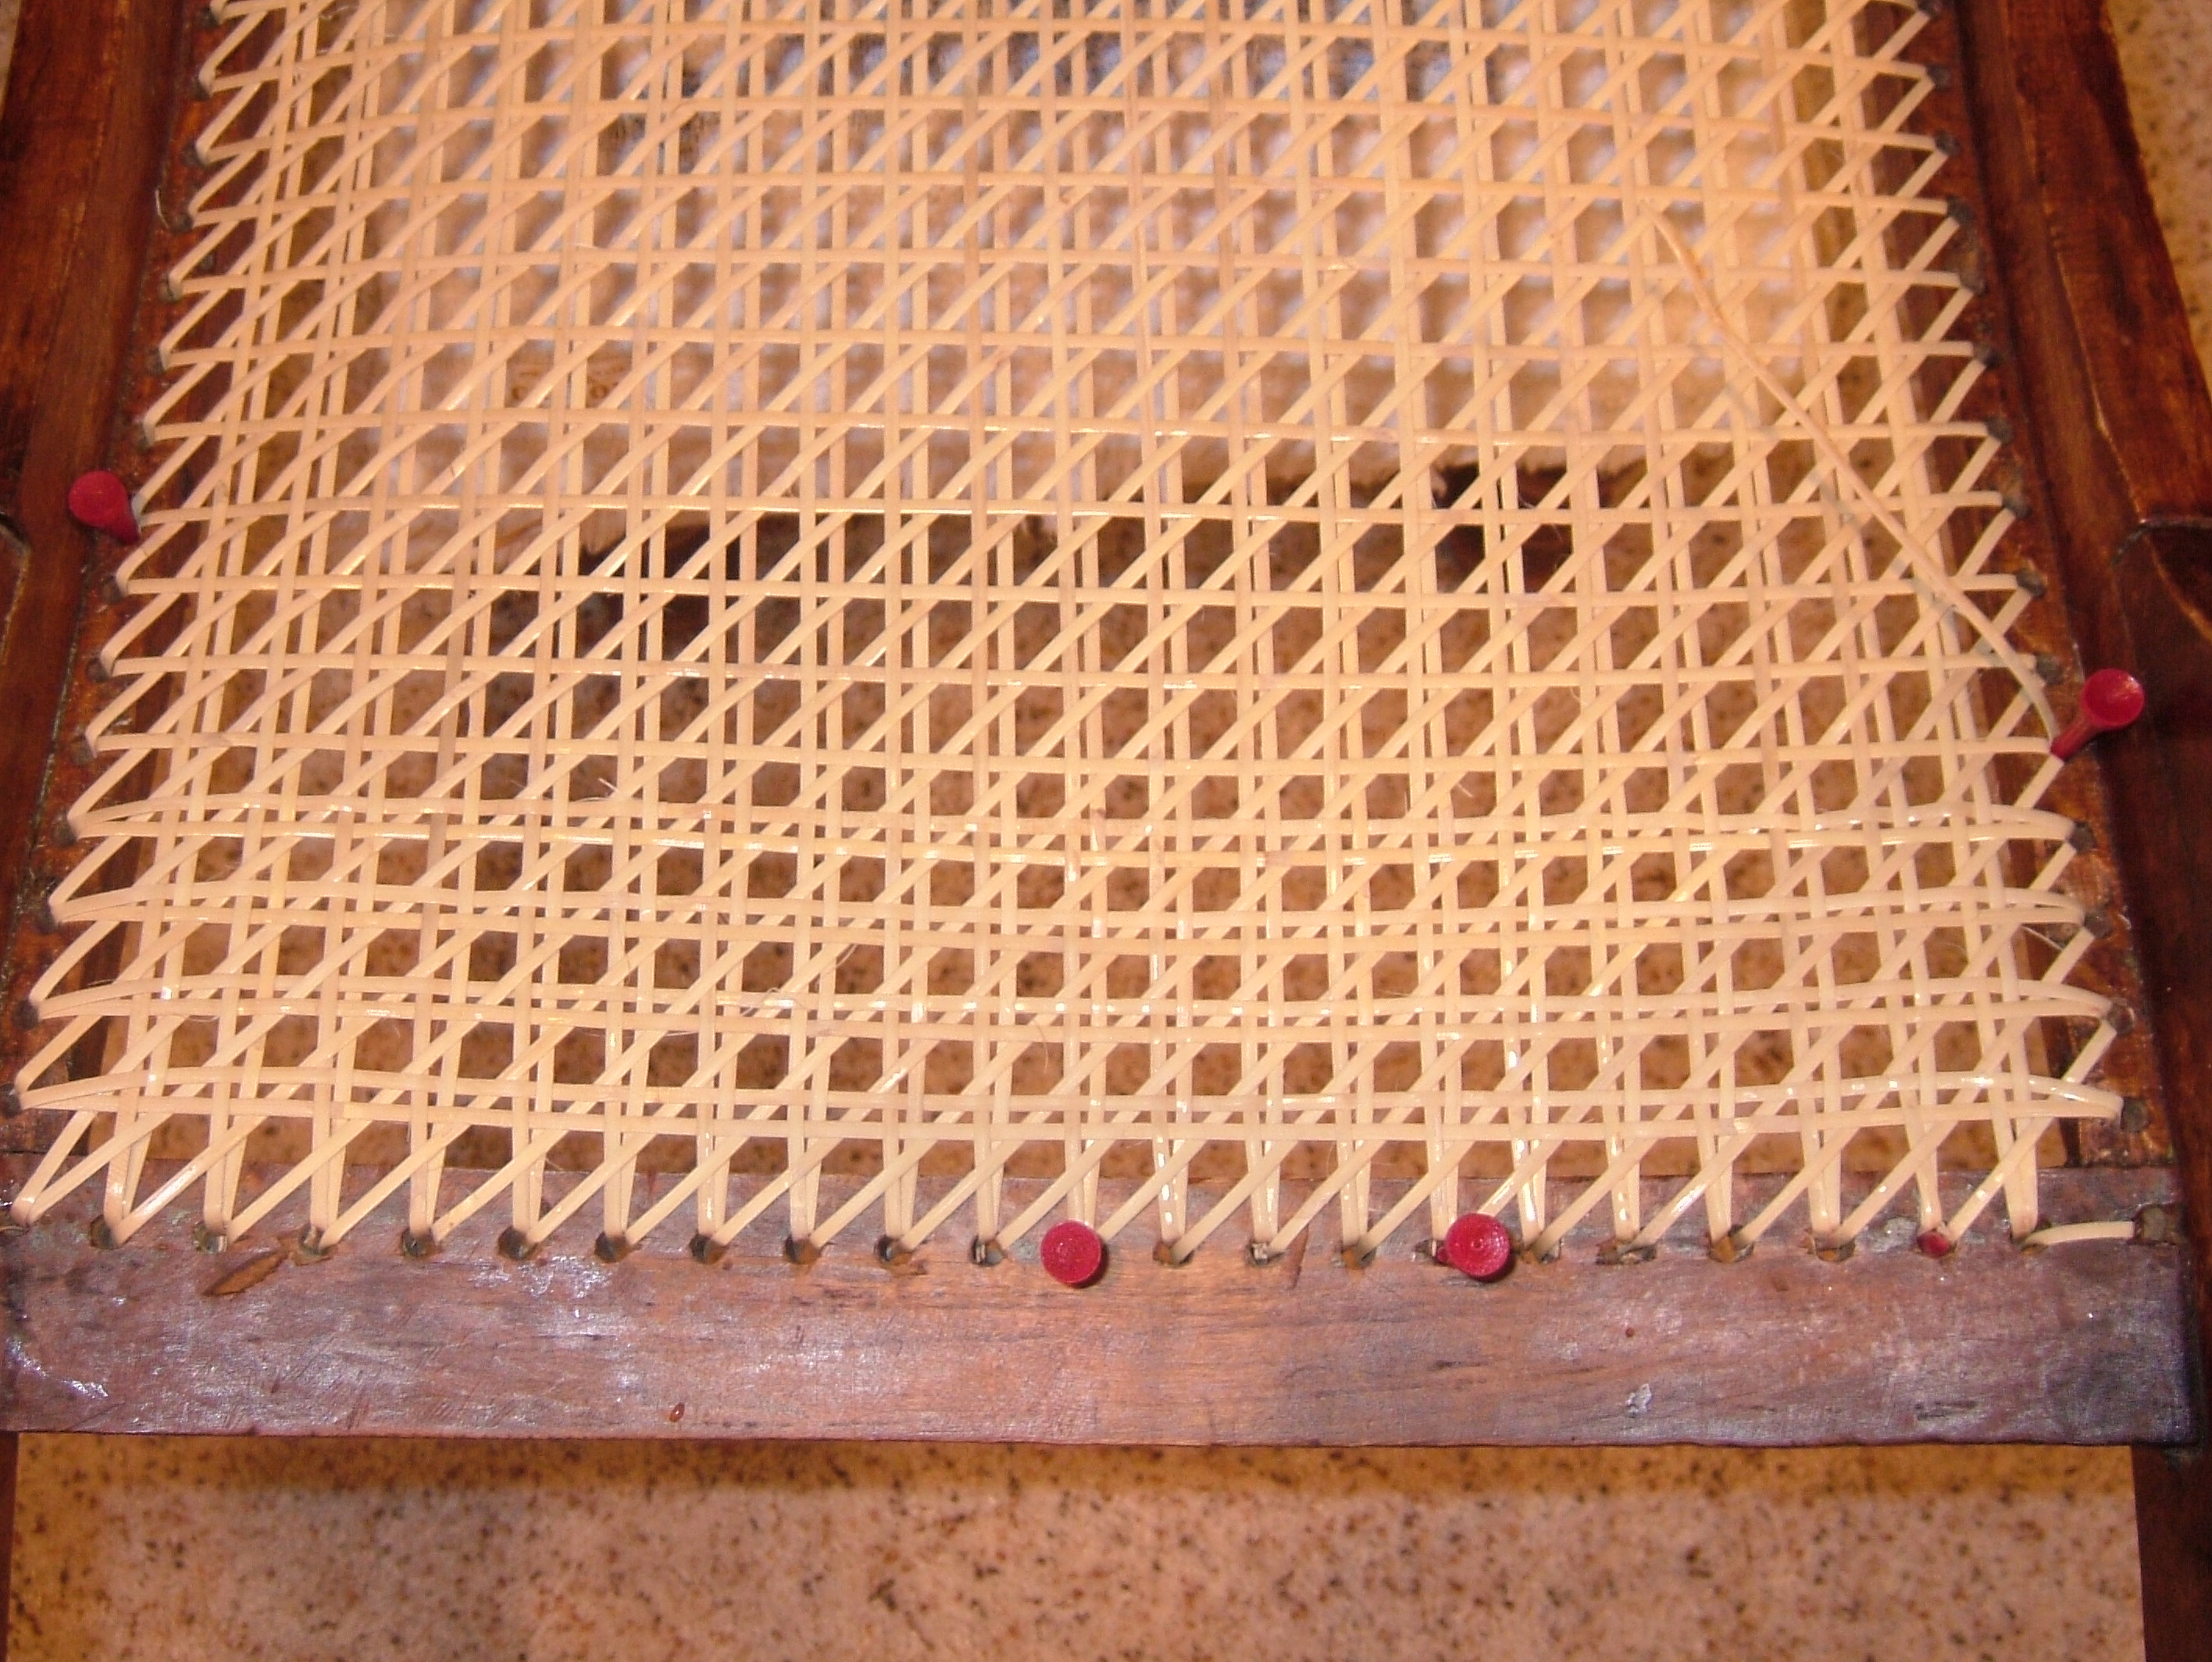
Corner hole "Fisheye", using the hole twice.
Notice the "X" starting to show on the front rail & the "fisheye" on the side rail, used to ensure "X" comes on the sides.

Running the binder around the corner on the front rail. Keep it taught on top & bottom for a neat look.
Finally, the finished product. I am VERY Proud of the work I did on this & other Lincoln Rockers. It is like I have helped to re-create history. It is my hope that these beautiful, comfortable rockers will provide comfort & peace for their owners.
Created & Caning by Wayne Sharp 2009. All rights reserved. For Creative Community use & improvement only. Not for commercial use without my authorization.