In the Fall 2004, Martin emailed from Bournemouth, England. We started an email conversation on caning & Pegging (see also Martin's instructions on Pegging). Martin was nice enough to share pictures of his work, as he was refinishing a "Nursing Chair". This is a great demonstration of quality craftsmanship.
I will let Martin show you his work & tell the caning story.
THANK YOU, Martin, for sharing with the Caning Community.
Wayne Sharp.
______________________________________________________________________
Martin writes:
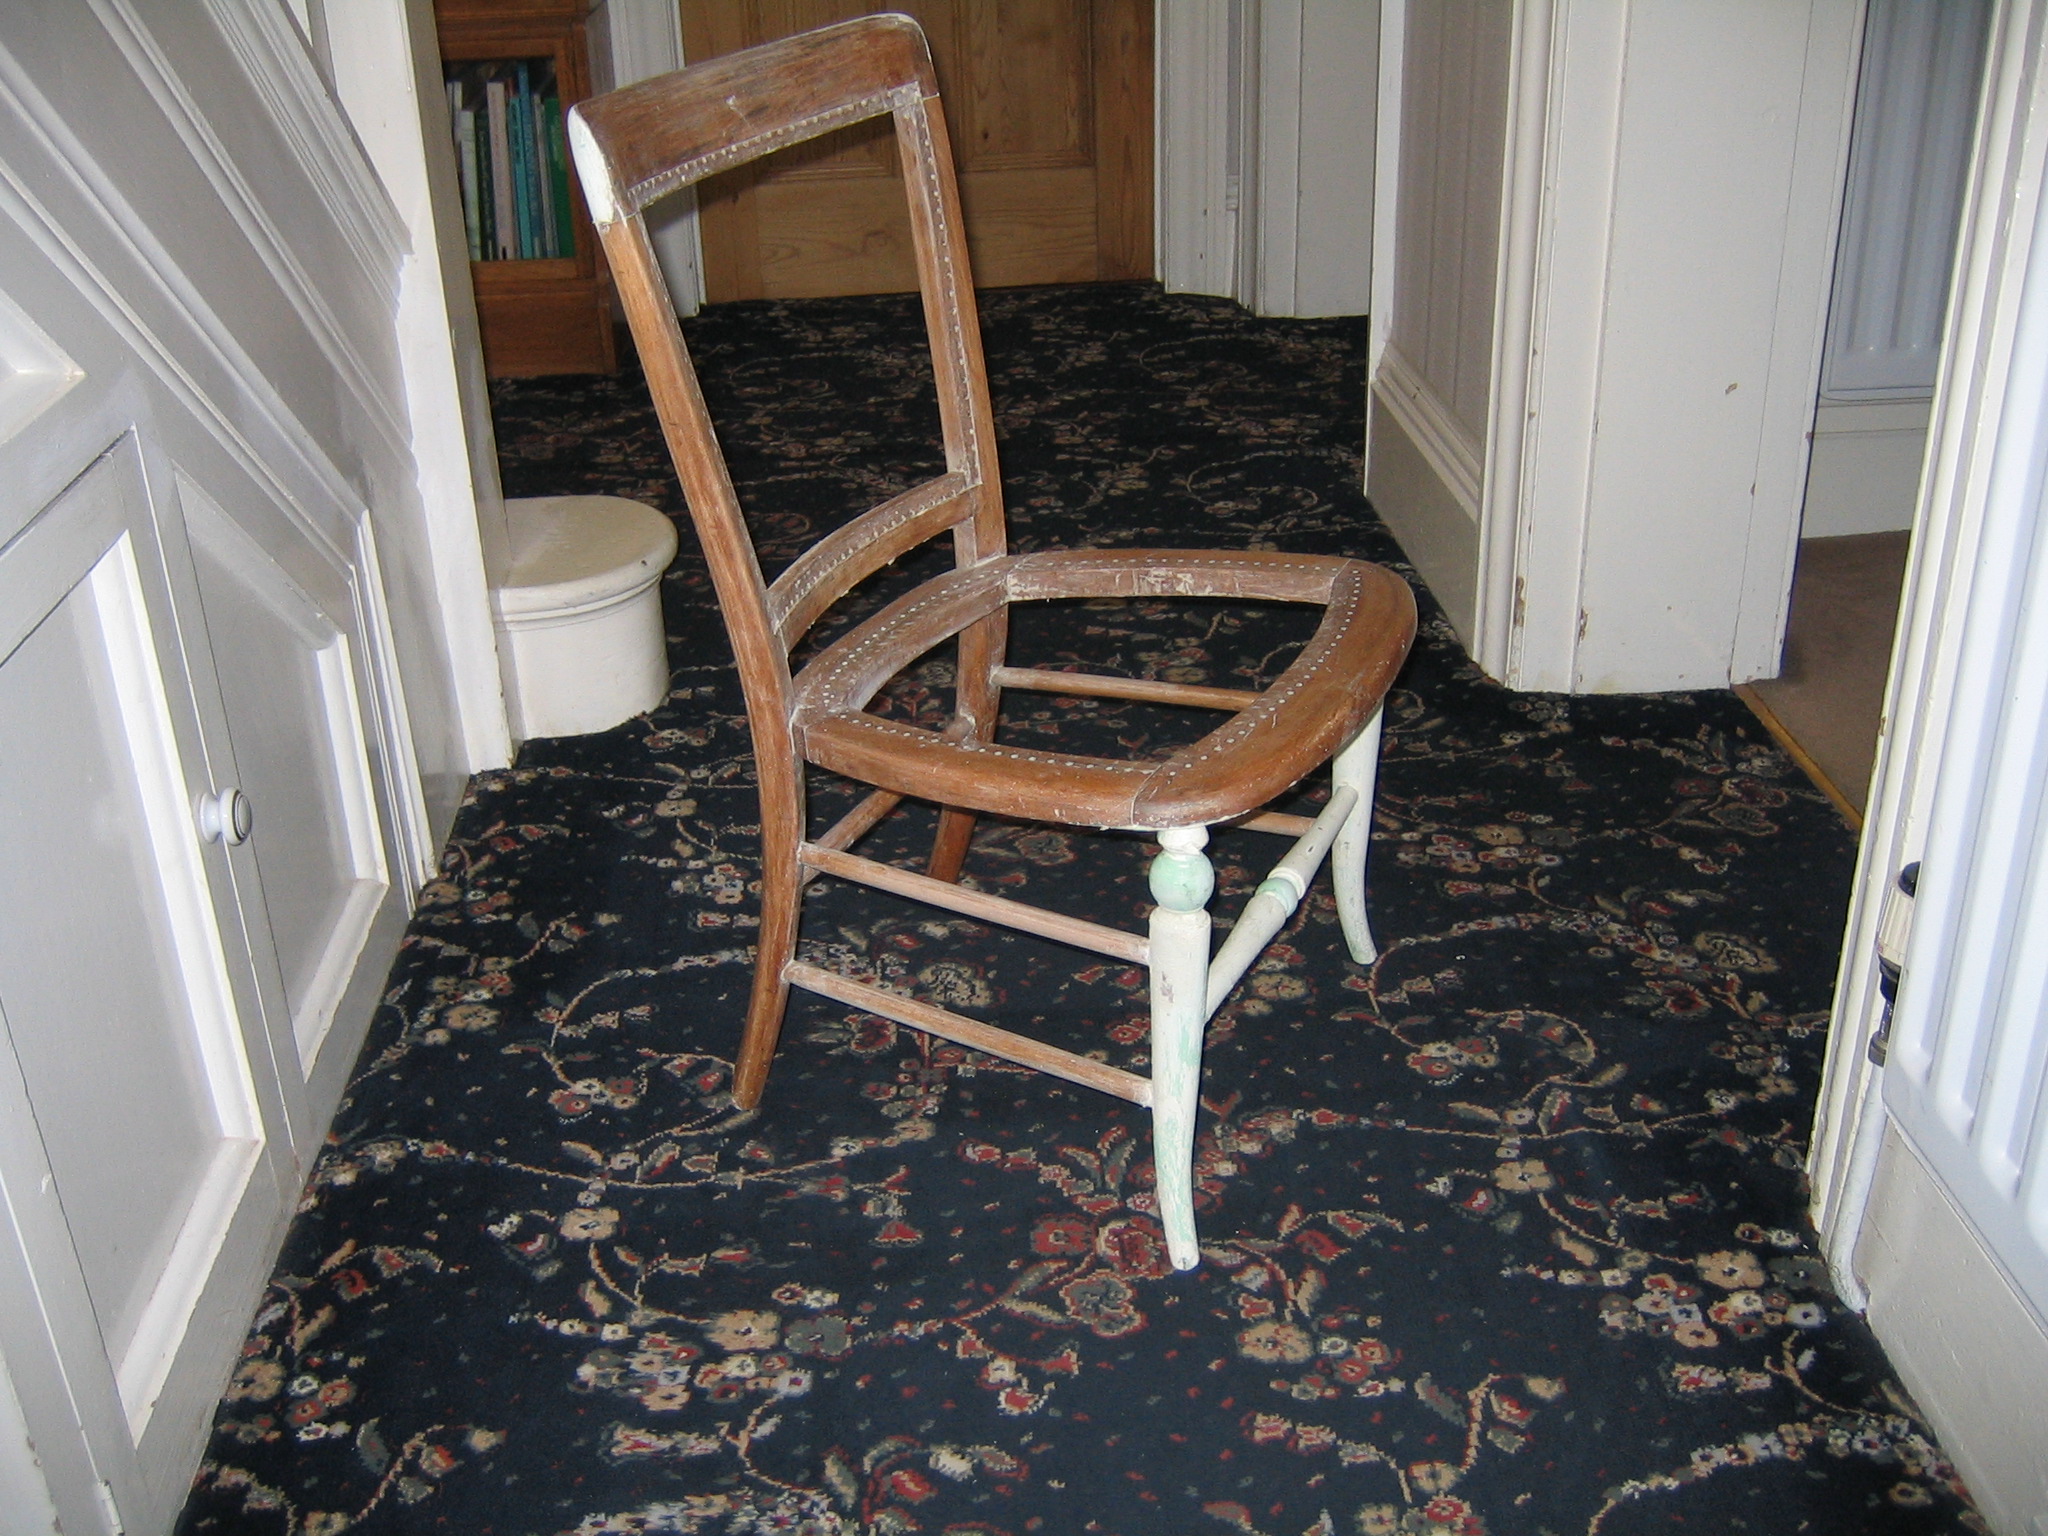
The chair was found by my wife Alyson at the local tip. It still had some
broken cane on the seat and back but the complete chair had been painted
white with some green banding and a plywood seat over the broken cane. It
was looking very sorry for itself, but the style, workmanship and the
standard of the woodwork looked alright for us to pay £1 and take it home.
The paint was really on in layers and after cutting off most of the old
canework, I made a start carefully stripping it off the paint layers to
reveal the original wood. Even now I am still not absolutely certain of the
wood used to make the chair (believe mahogany) and I have yet to research
the likely date of manufacturer. There are no makers marks on this piece.
Having stripped off the paint by hand with a commercial stripper and picked
out many of the tiny paint specks that get caught in the wood grain, the
chair frame was cleaned with White Spirit, using a very fine 0000 grade of
wire wool. A light shade of wood stain, tack nail holes filled with a colour
wax filler, a couple of applications of teak oil, again with the fine grade
wire wool and then a clear wax polish using wire wool, to bring back the
fine colour and grain of the chair.

The caning for all stages uses a 2mm cane. The seat has quite small holes so
it was important to keep the cane tight in the holes and check that the cane
is tidy underneath as well as on top. Watch for the neat X's and when to
form the fish-eyes, as always you need to check the spare holes both on the
sides and top and bottoms on Stage 5 and 6 to ensure that the cane spacing
will work out correctly and give a really neatly finished job.


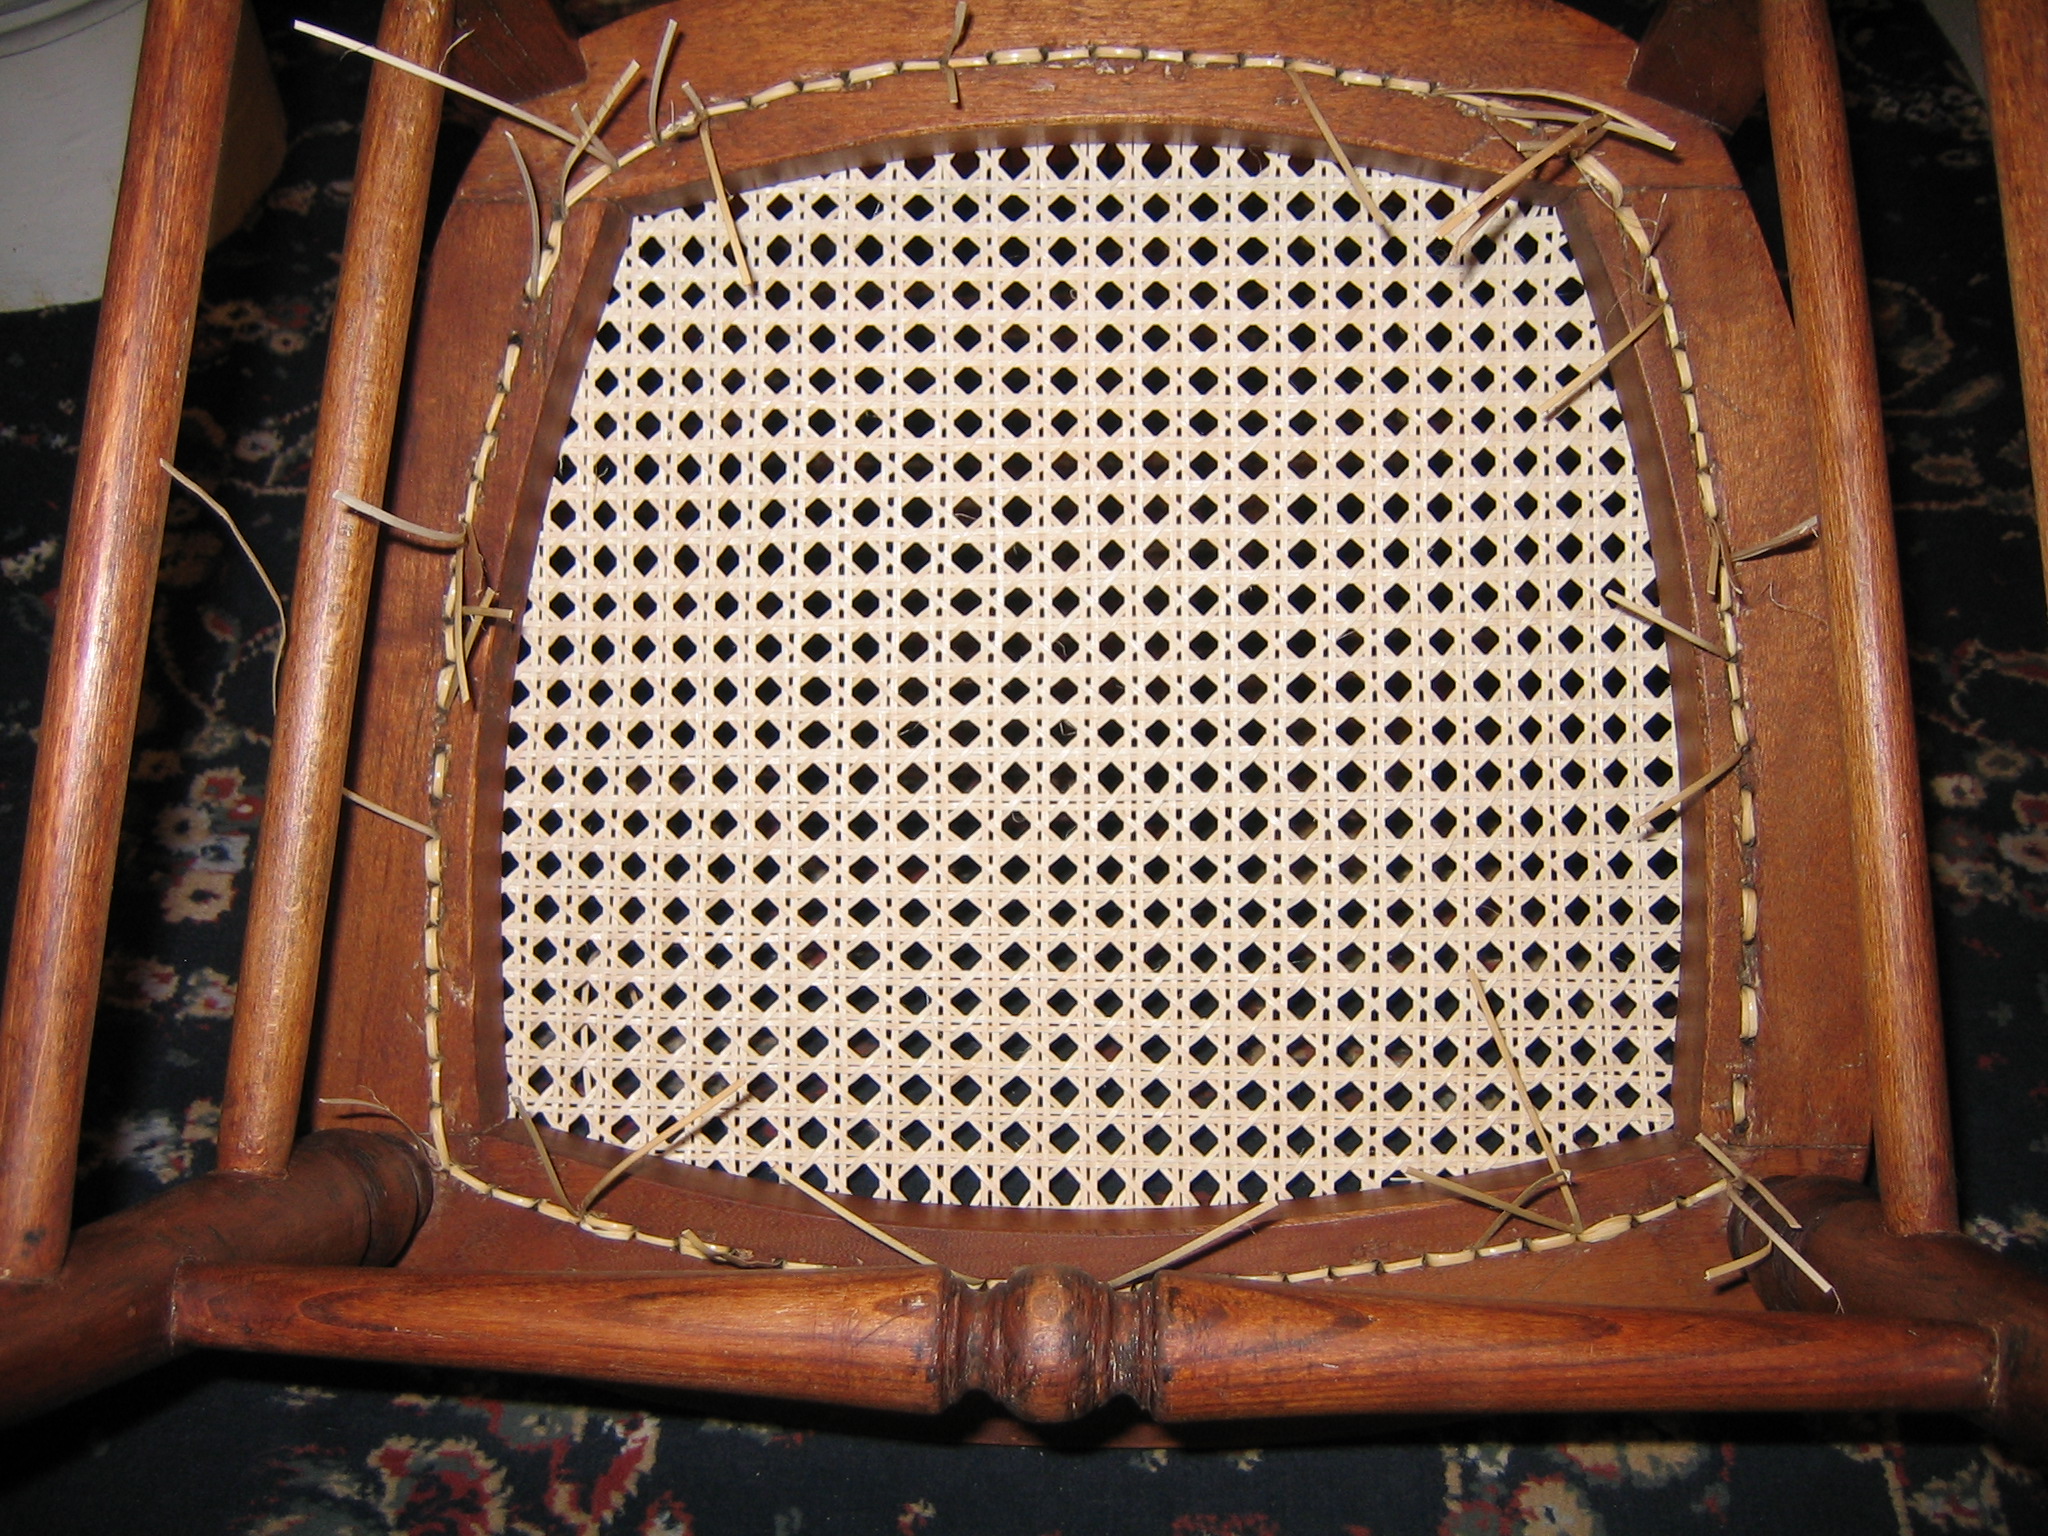
At the end of Stage 6 all the loose cane ends are left hanging out
underneath, held in place by the temporary pegs. This is when I have to work
out how the Stage 7 binder will work and which holes need to be permanently
pegged. (See my notes on PEGGING).
At this stage of caning I always use a steel crochet hook or bradawl to
insert into each hole, carefully so as not to pierce any canework and then
'wiggle' the hook to tighten up and pack the cane within the hole to create
as much space as possible for the pegging and binder ensuring the cane is
tight against each other in the hole.
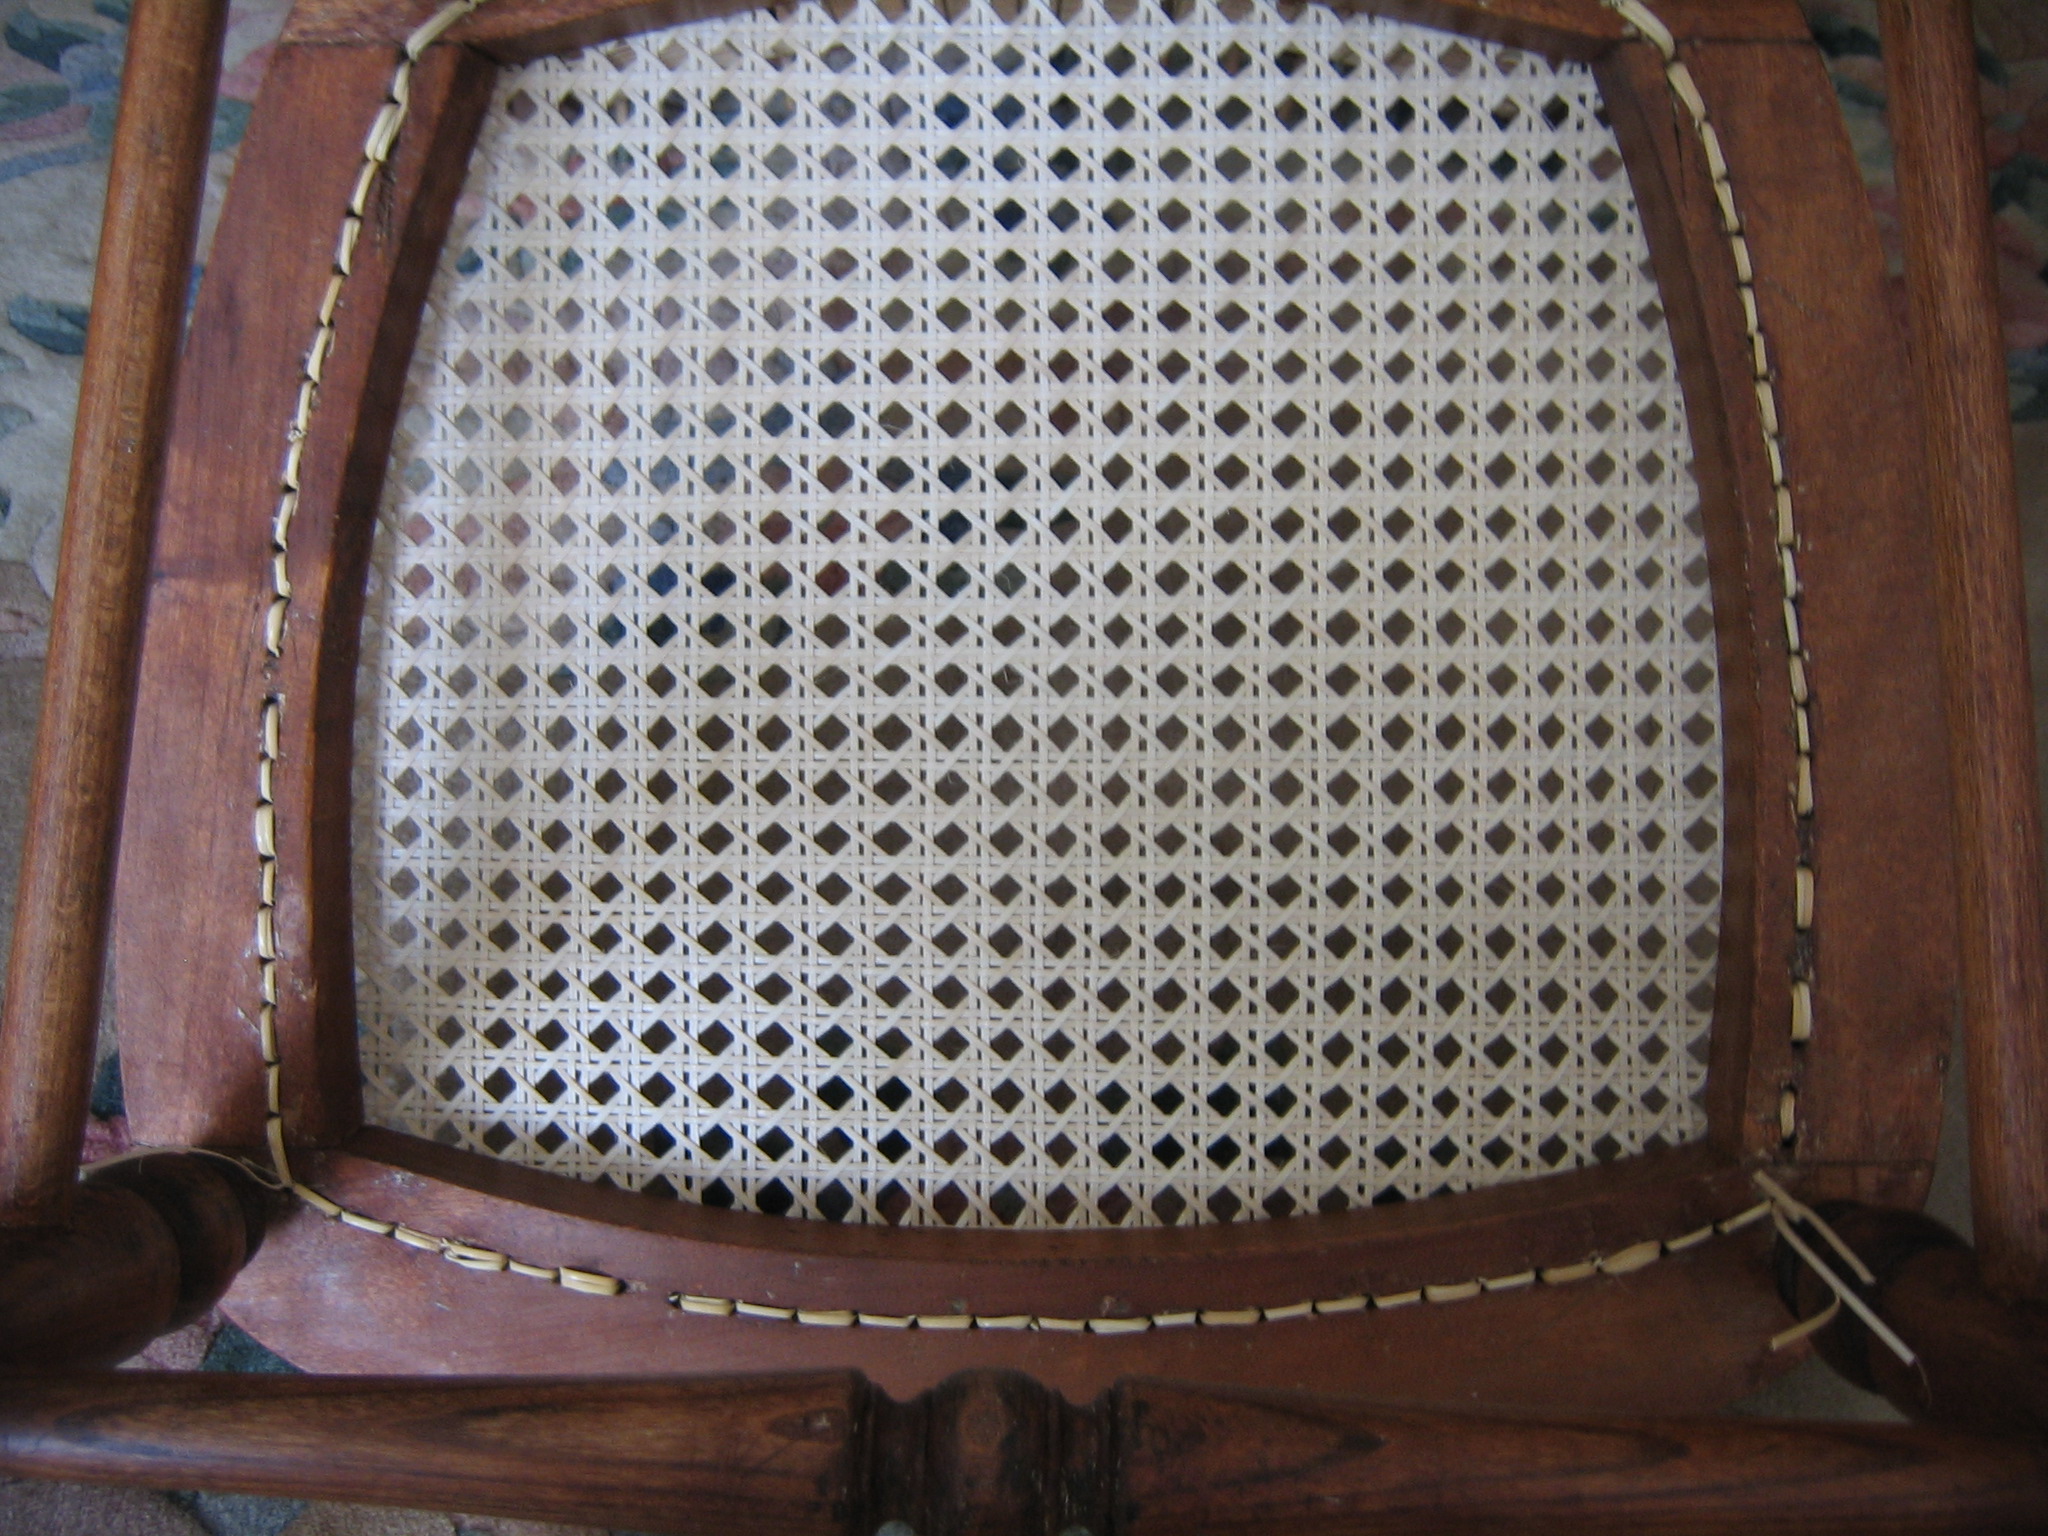
The Stage 7 binder cane will run all the way round from the front LEFT HAND
corner, around the back of the chair seat to the front RIGHT HAND corner.
There will be another binder running across the curved front rail between
the two front corners. The fine 2mm cane which will loop around the binder
cane will be continuous (no knots), cutting across the front corners from
side to front rail, missing out the actual corner hole and finally finishing
up coming up out of one of the front corners.
Pegging was then started from one of the corners. The front corner hole and
the next adjacent holes ( both sides and front rails), were to be left OPEN
and from then on every other hole would be CLOSED (pegged). Loose cane ends
from any hole that was to be OPEN were fed up through adjacent holes ready
to be pegged.

The Pegs are short lengths of 4mm/4.5mm cane dowels, each has to be
carefully cut down to form a tight fit for each individual hole. Keep the
loose ends tight when pegging to ensure the cane is tidy underneath. I use a
pair of pointed nose pliers to gently push the peg in the hole, if it seems
just a little too tight, ease it out and whittle it down a little. When all
the pegs are firmly in position CAREFULLY cut off the loose ends, as close
to the peg as possible. Turn the chair over, and again cut all the loose
ends from underneath as close to the hole as possible. DO NOT CUT YOUR
CANEWORK!
NOTE. Sometimes when pegging a hole where the hole is large and the dowel
would be a loose fit, cut short lengths of cane that you have been using,
slightly shorter than double the length of the dowel. Place the cane over
one end of the dowel to form a U around the dowel end and gently push in the
dowel and the short U cane length which should then make the 'peg' a tight
fit. On some chairs you may even have to use two U cane lengths.
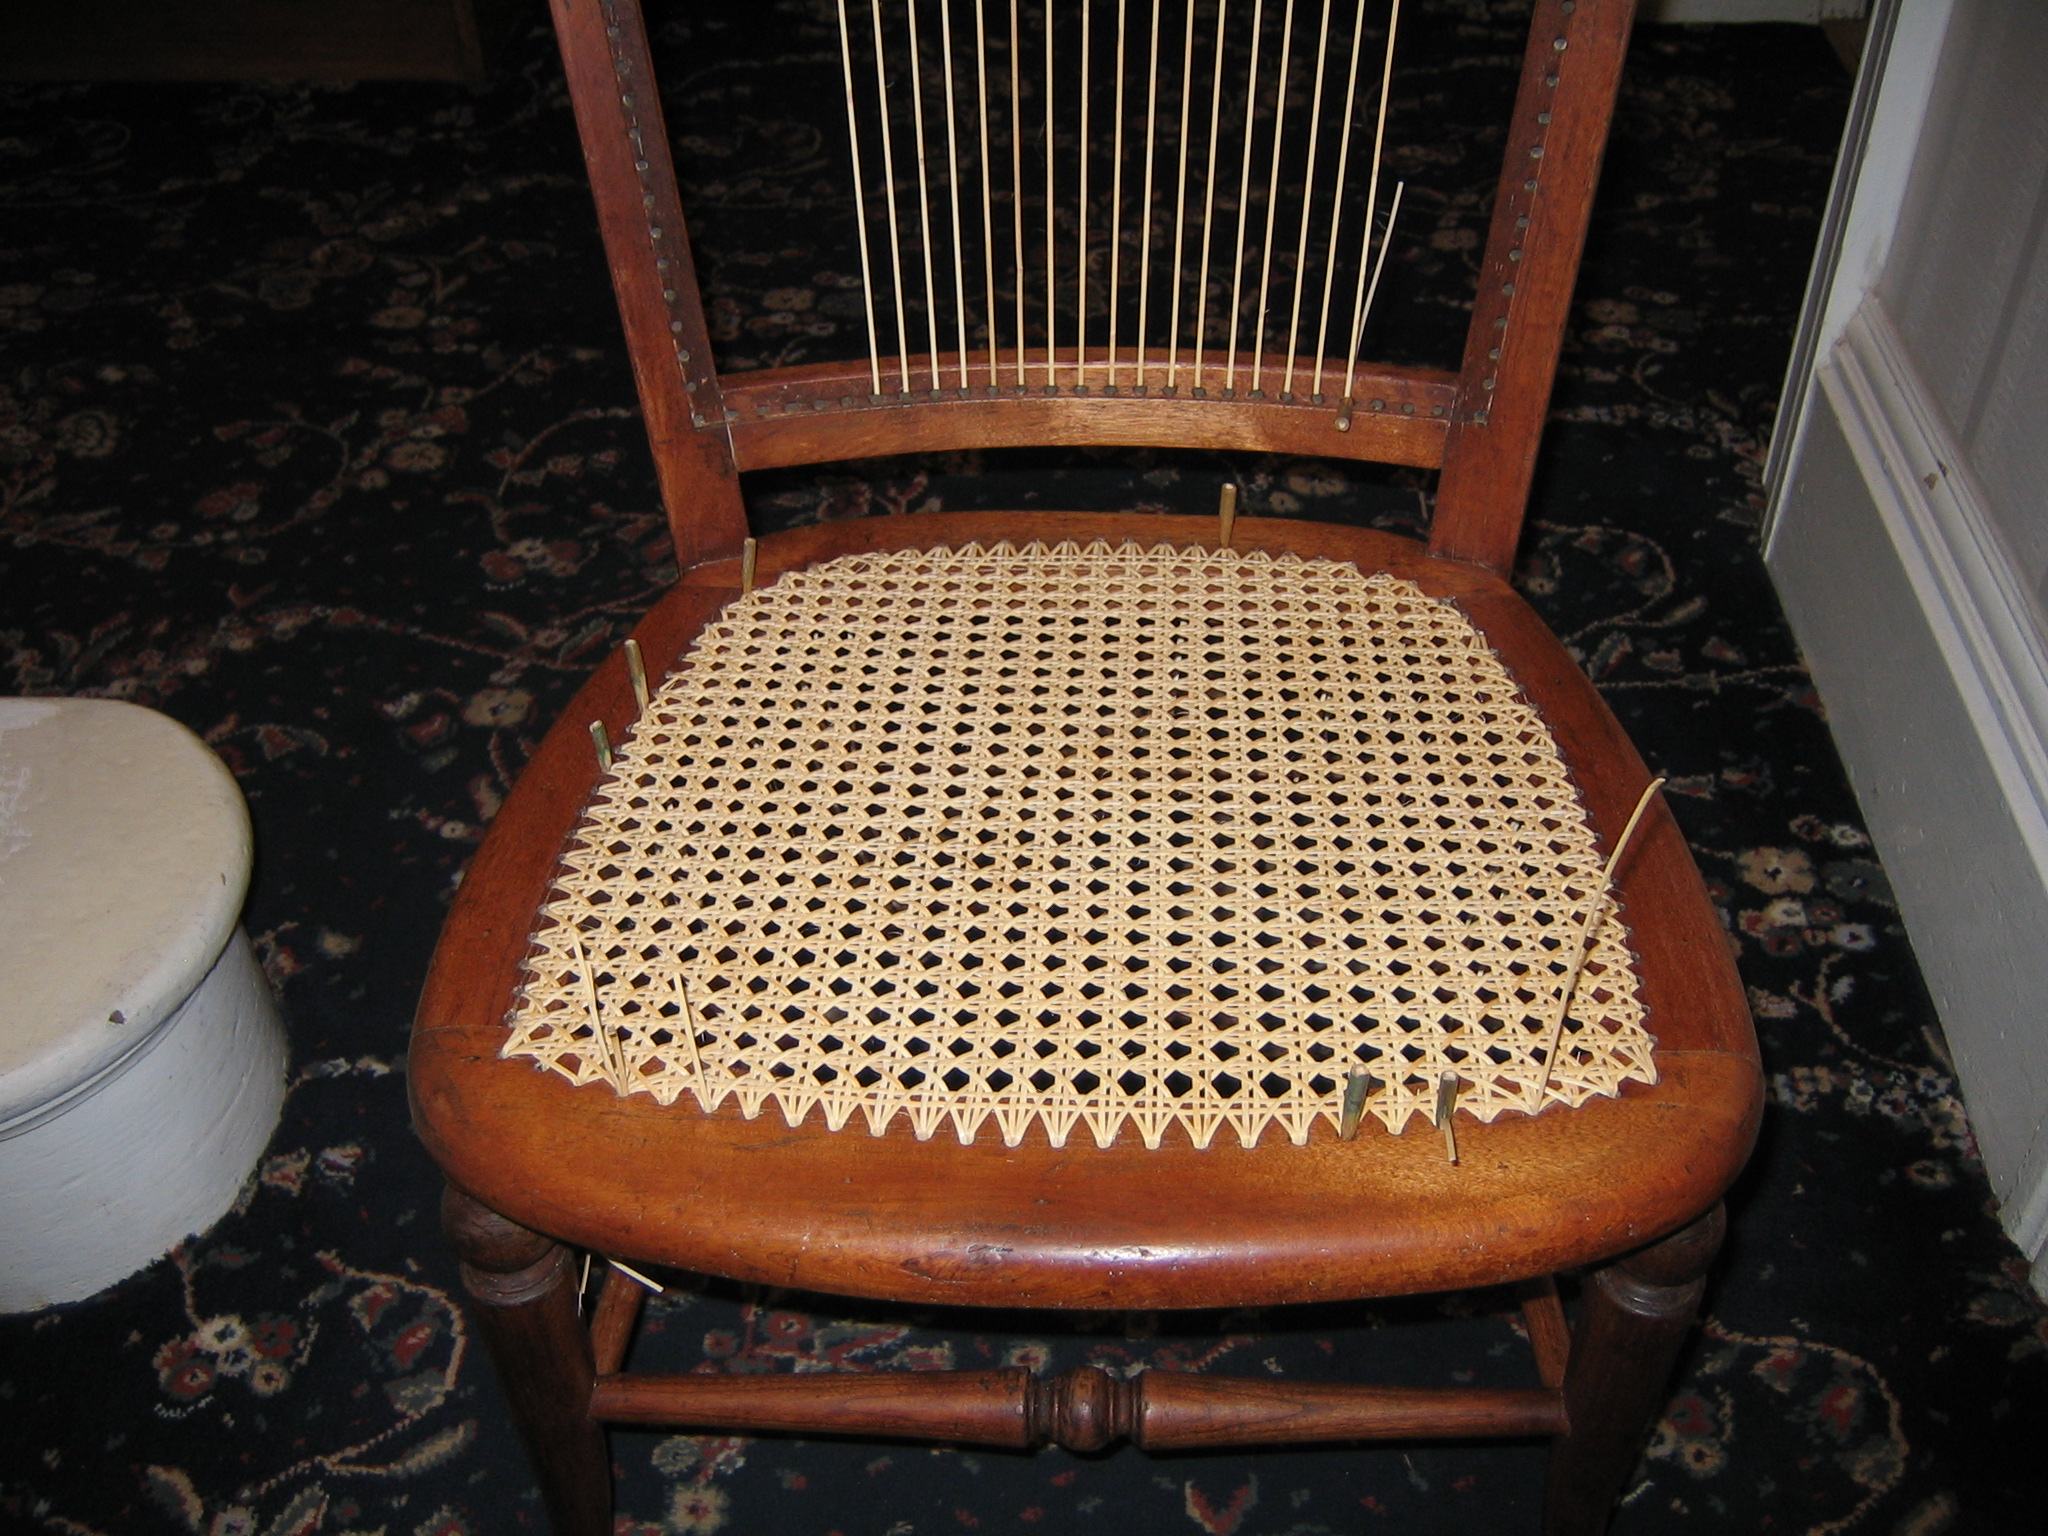
The finished chair seat both top and underneath
I have now started on the back. Again using the 2mm cane.

Because of the curve in the chair back, Stage 1 and Stage 3, the verticals,
were completed before Stage 2, which is carefully fed between the two
verticals runs by gently pushing the cane from one side and with a single
finger ensuring the end goes between the two canes in the right order (On
TOP of the Stage 1 cane but UNDER the Stage 2 cane). The Stage 2 is shown
now partly completed and held in the correct curve by the Stage 3 already in
place. Stage 4 will be the first horizontal weave that will follow next. The
caning will then follow the standard 7 Stage caning method and the final
Stage 7 binder in this chair will be 4 lengths, one for each side with all
corners pegged.

This is another old chair still in its 'as found condition'. The frame is in a bit of a broken state, badly neglected and has metal plates underneath holding the two side rails together. The chair frame is mahogany and it has been overpainted with some gilding down the legs. It shows the pegging method which is found on many of the old English cane furniture where wooden pegs are placed in alternate holes and the loops for the Stage 7 binder show being passed through every other hole.
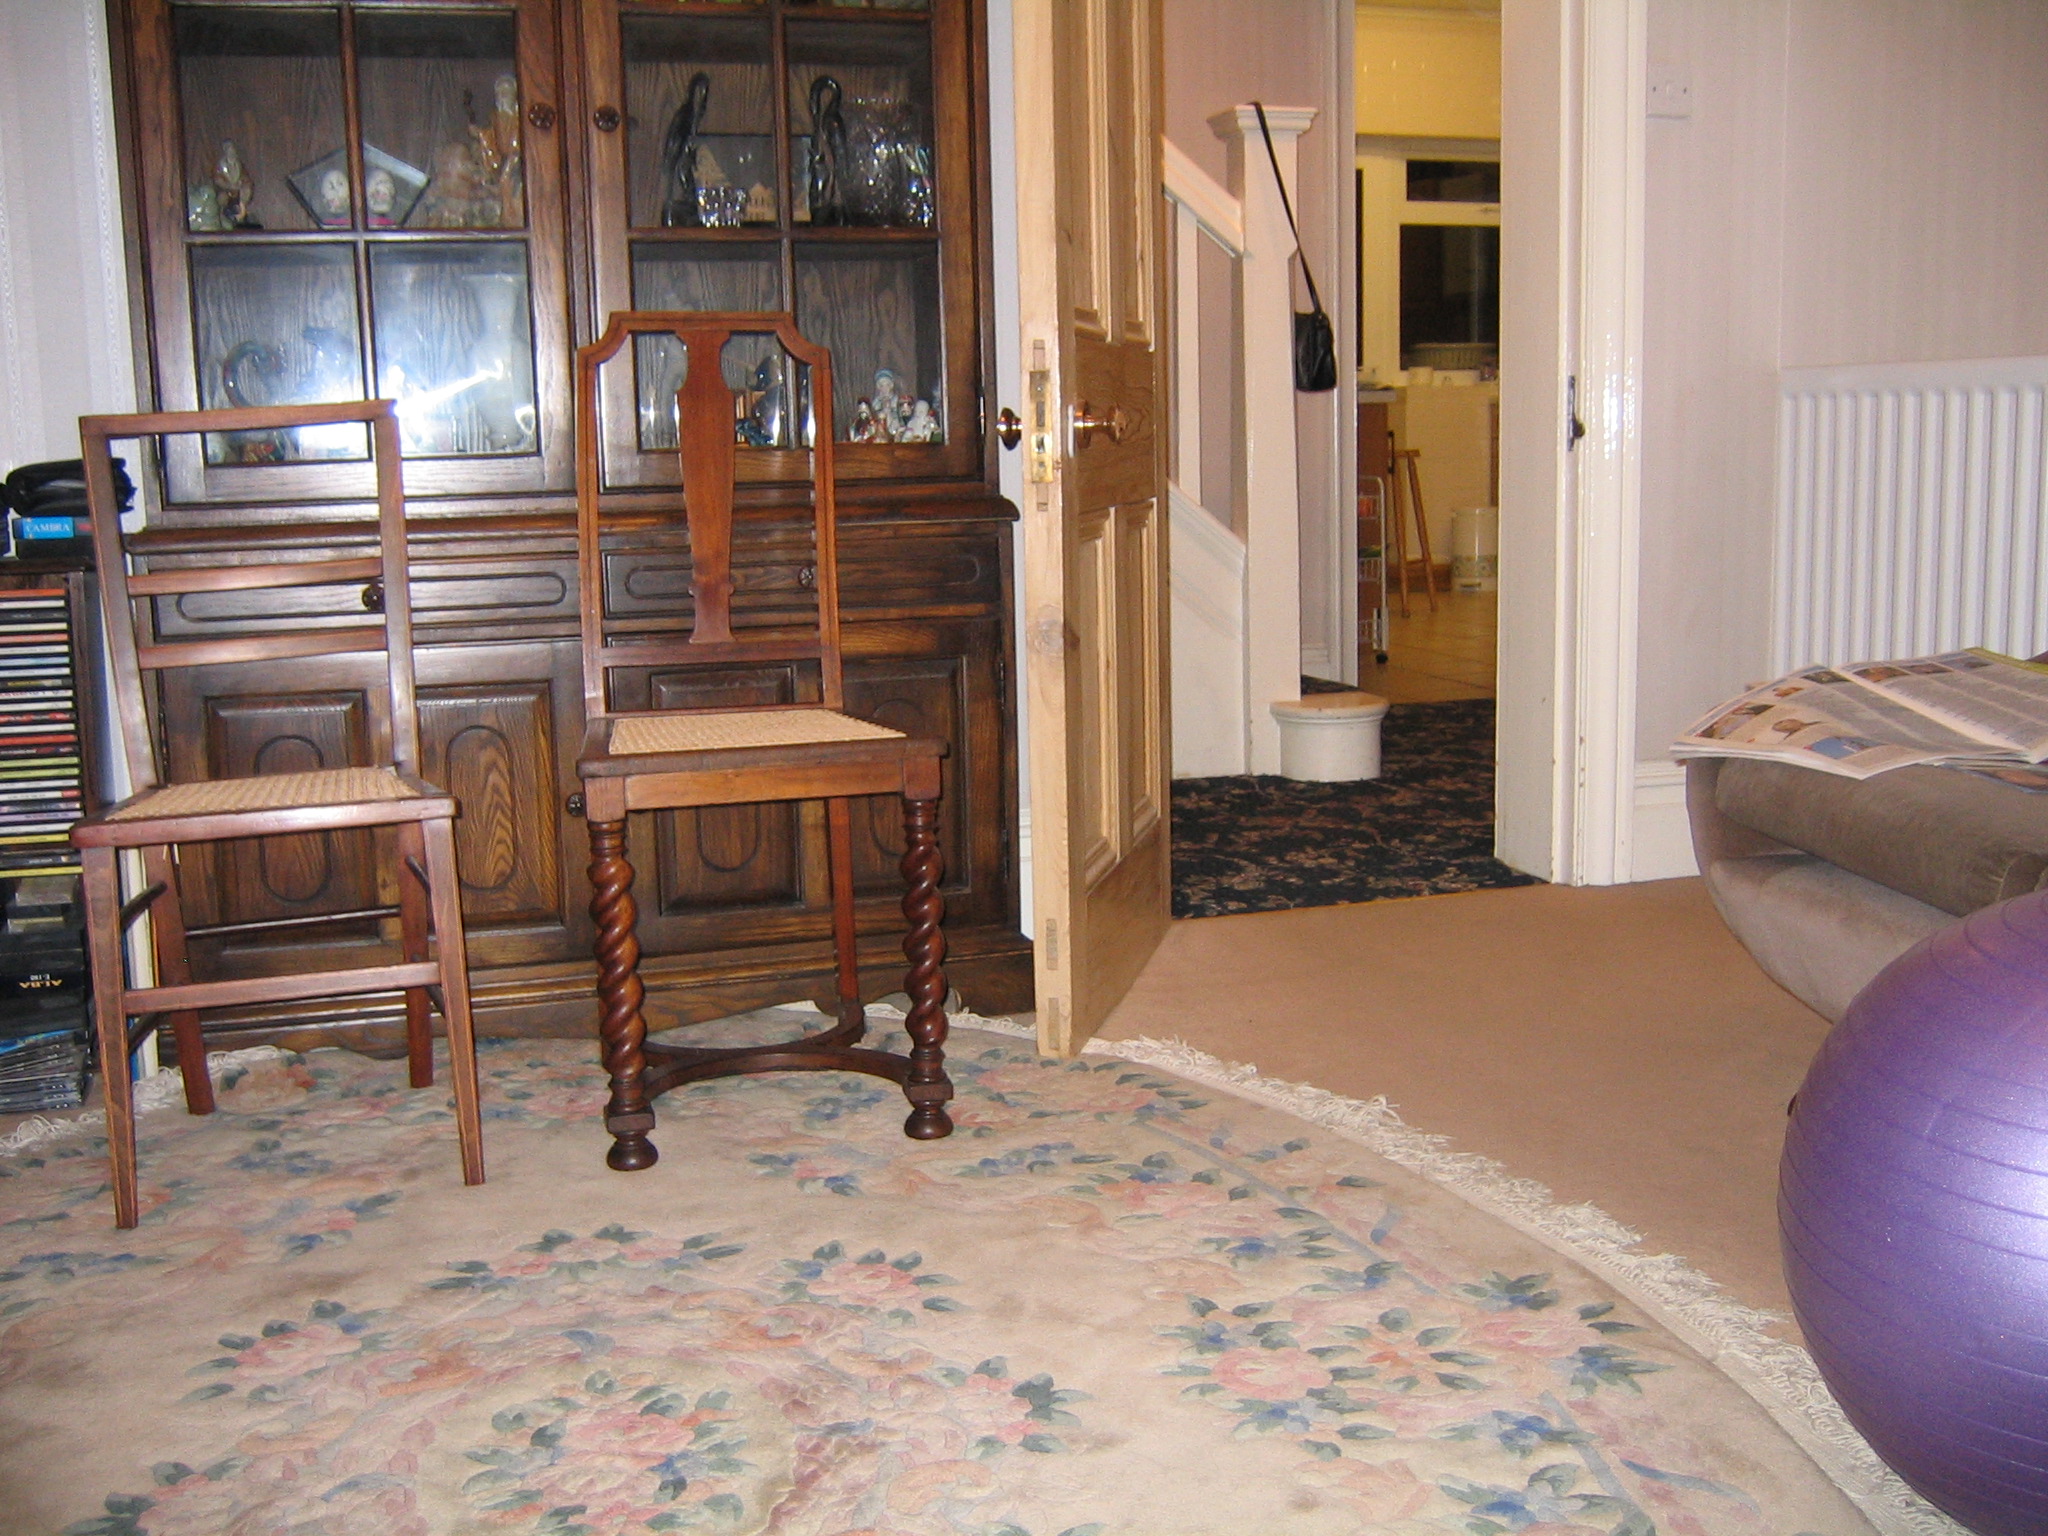
Some other chairs recently finished. Both of these were 'rescued' and were in a sorry, broken state.
_____________________________________________________________________