Chair Caning Instructions - Daisy & Buttons.
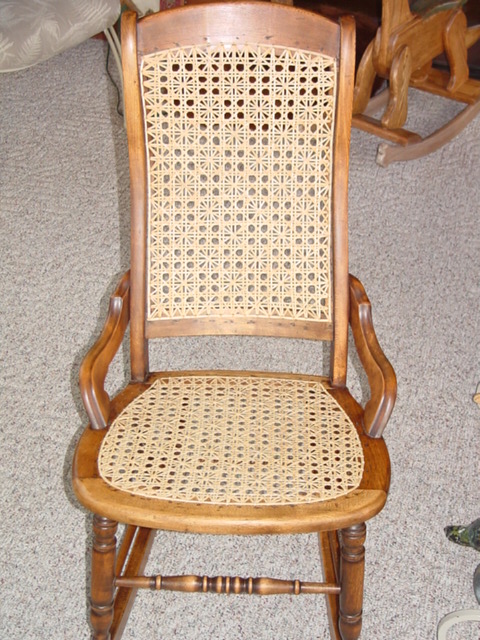
This is a more advanced chair caning technique. This is not for the beginner. I found this pattern on a trip through Iowa's Amana
Colonies in the Fall of 2003, in a booklet by John & Lillian Peterka. About the same time, my daughter purchased a rocker from an auction
for $17. She & I stripped it, repaired & refinished it. This rocker was similar
to the one in the pattern book, so I took a deep breath & decided to take on
this advanced caning challenge.
As I was caning I decided to again photograph the steps, so that I can share
my experiences with you (the caning community). If you are daring, take a
deep breath, be patient, go to a quiet location & take on this beautiful caning
technique.
---------------------------------------------------------
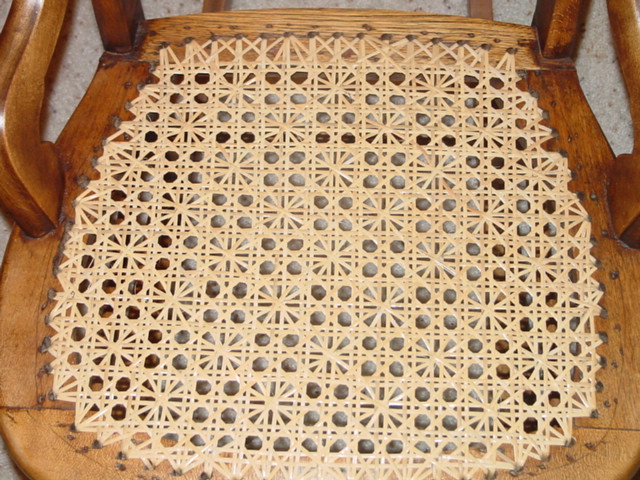
Daisy & Buttons:
I will discuss & illustrate both the seat & the back for this rocker. I get
so many questions on caning a curved back, perhaps these pictures will help to
further clarify.

Start: Use the same sized cane throughout this seat & back. The Daisy &
Buttons pattern starts after step 4 of the regular 7-Step caning process. So run
the cane strands for the verticals steps 1 & 3, & the horizontals for steps 2 & 4.
Take extra time now to line up the horizontal & vertical cane pairs. I
then used red twist ties to locate where the Daisies will be.
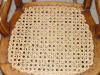
Daisy & Buttons - Steps
for Caning the Seat.
---------------------------------------------------------
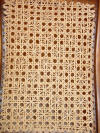
Daisy & Buttons - Steps for
Caning the Back.
---------------------------------------------------------
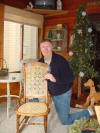
Daisies & Buttons: celebrating a successfully completed project!
Copyright 2003, All photographs are exclusively & completely the property of
Wayne Sharp. All use for profit prohibited without his permission.