
Chair Caning Instructions
My Father-in-law provided me, in the mid '70s, with the encouragement and instruction on how to cane chairs. He was a patient teacher & I enjoyed learning the craft. Over the years, I have caned many chairs, and many different styles of chairs. I would like to share with you the "Art" of caning, to pass on the knowledge as my father-in-law did with me. (Click on any small picture within these instructions to see an enlarged picture).
I was President of The SeatWeavers' Guild, Inc. (TSWG) from 2011-2013, now moving to the position of Past President for board of directors purposes. I am also a Charter Member of TSWG and active in assisting all chair caners & seat weavers with their projects. I have also taught caning classes, demonstrated at antique shows & displayed my seat weaving projects.
If you have questions: contact me at: wayne.sharp@mnsu.edu or at my Mankato Minnesota home at 507-779-8550.
Chair Caning: Seven Step Method
This is a method of weaving cane to build a comfortable seat & back of chairs. It's
name is self-explanatory in that there are 7 steps in the process. To people
trying to differentiate chair styles, I also call this process "hole caning"
because it's easier to understand, when they see the holes in the wooden rails
that form the chair seat. This is the most common pattern of chair caning.
Preparation
Tools, Cane, Planning Caning tools

The Seven Steps
Step
1. Back to Front, First Vertical Cane.
Step 2. Side to Side, First Horizontal Cane.
Step 3. Second Back to Front
Step 4. Second Side to Side (Weaving Starts Here)
Step 5. Diagonal (Upper Back Right to Lower Front Left)
Step 6. Second Diagonal (Upper Back Left to Lower Front Right)
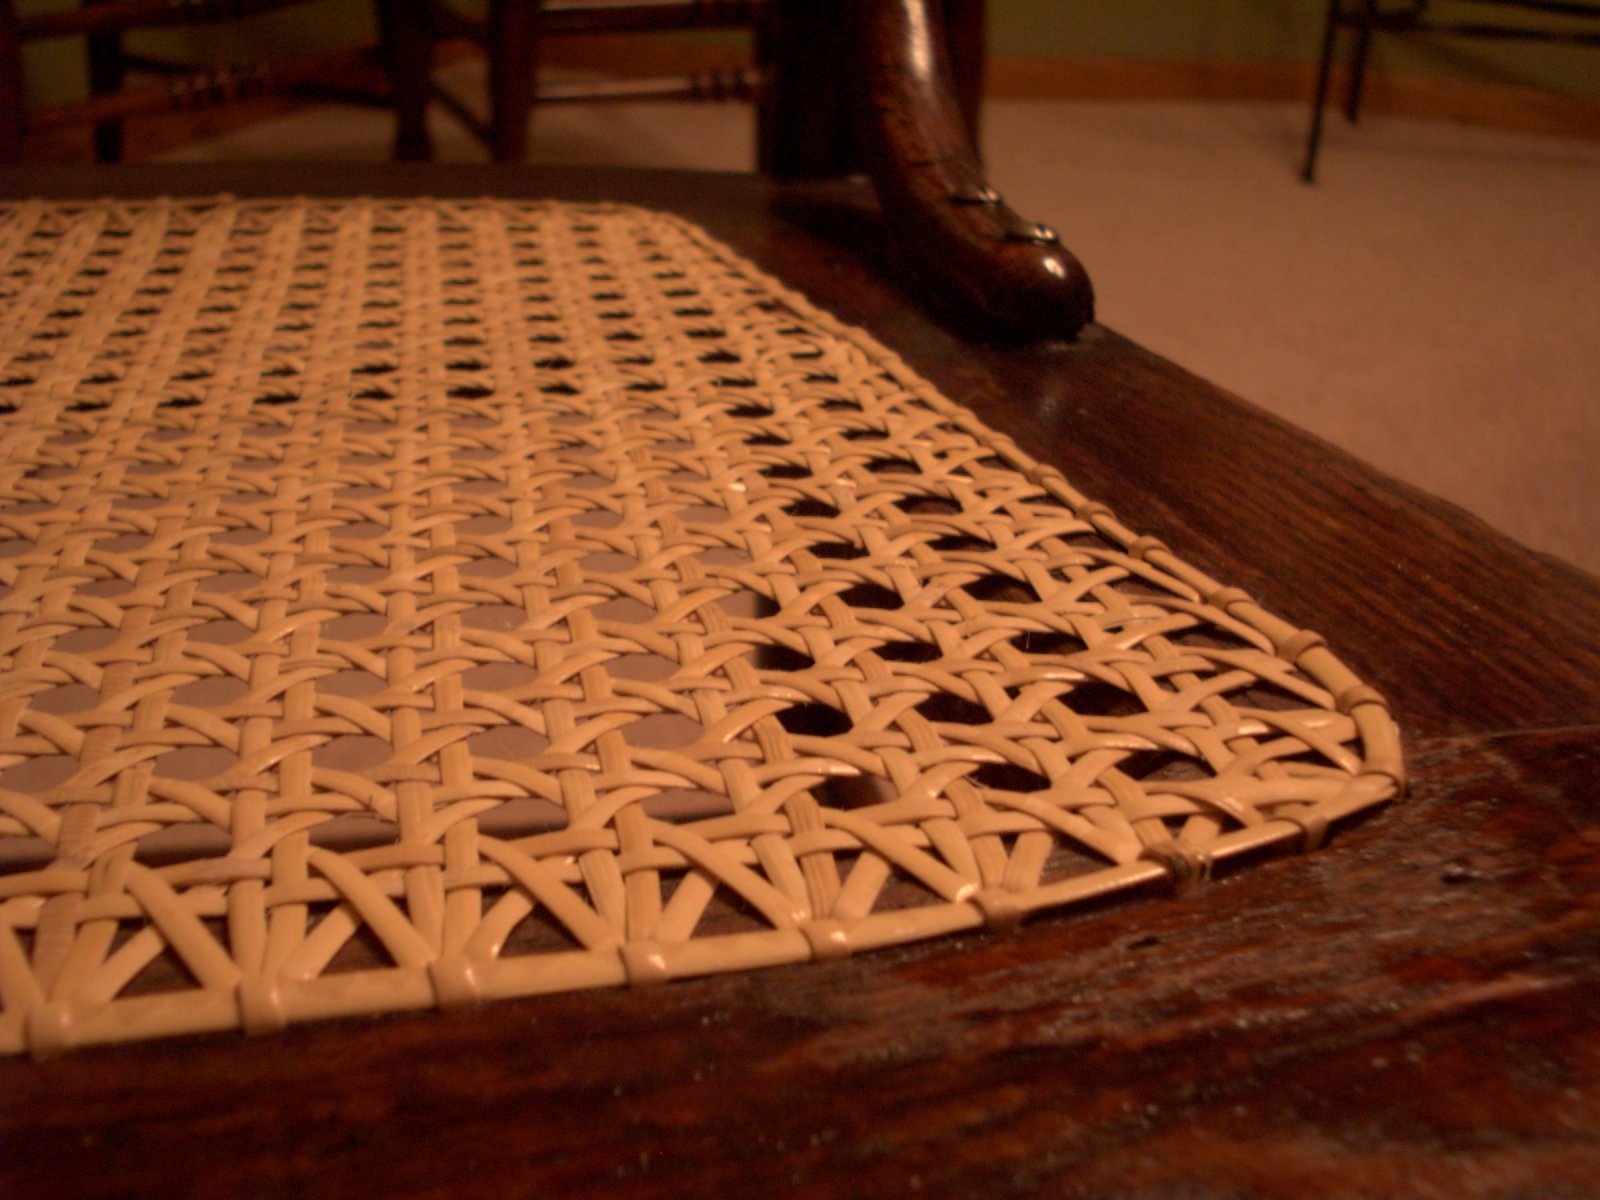
Step 7. Border
Chair Caning Album, showing different styles of caned chairs.
Sorry, the following booklets are out of stock & printing costs
are now too expensive. Please print the instructions from my
website, for your personal use. If you like what you see in the
website, please send $5 for your personal use of these instuctions.
For commercial use of these instructions, please acknowledge my intellectual property & send $20 for its use.
Send to: Wayne Sharp, 101 Turquoise Ct, Mankato, Mn 56001.
1. Chair Caning Instructions; The Seven Step Method
16 pg, 22 color photos
2. Chair Caning Instructions; Daisies & Buttons
16 pg, 26 color photos
3. Chair Caning Instructions; Spider Web A
16 pg, 24 color photos
4. Chair Caning Instructions; Pressed Cane
16 pg, 14 color photos
If you like this website, but have a hard time using the website while also
caning. Then PRINT the Booklets!
---------------------------------------------------------
Advanced Caning Patterns. I finally came
across a book of advanced caning techniques & also a rocker that was similar
in style. So
I took a deep breath & tried a more difficult project. It was challenging, but
also a great success. So again, I will share my experiences with you. Good
luck, if you are daring.
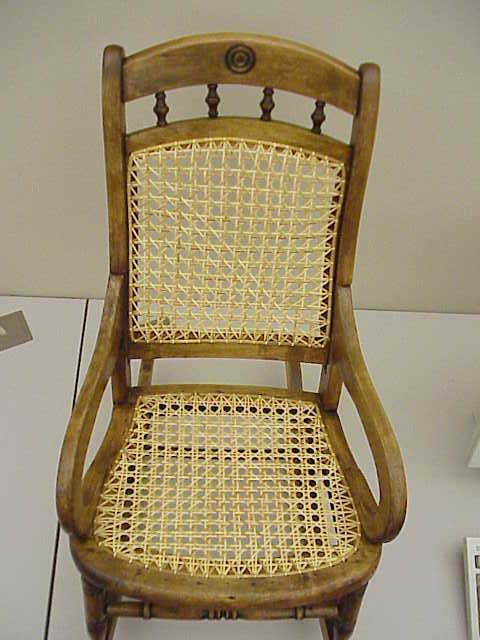
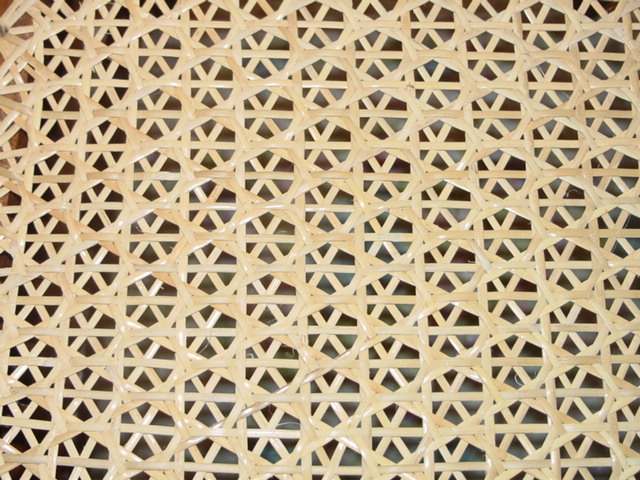
Daisy & Buttons Pattern This
is a beautiful pattern on the right chair.
![]() This
chair won a First Place ribbon at the 2004 county fair.
This
chair won a First Place ribbon at the 2004 county fair.
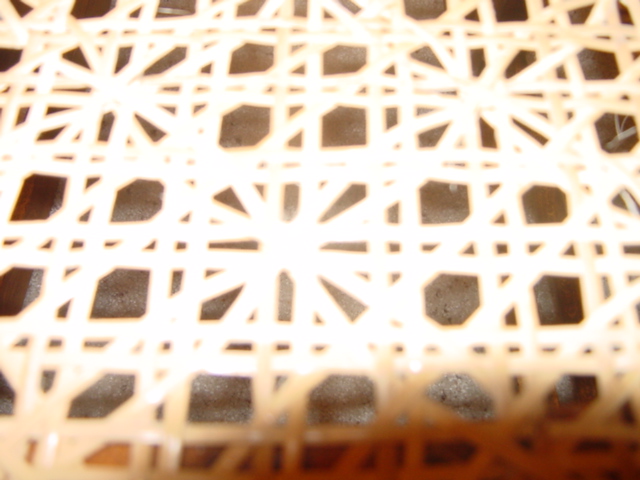
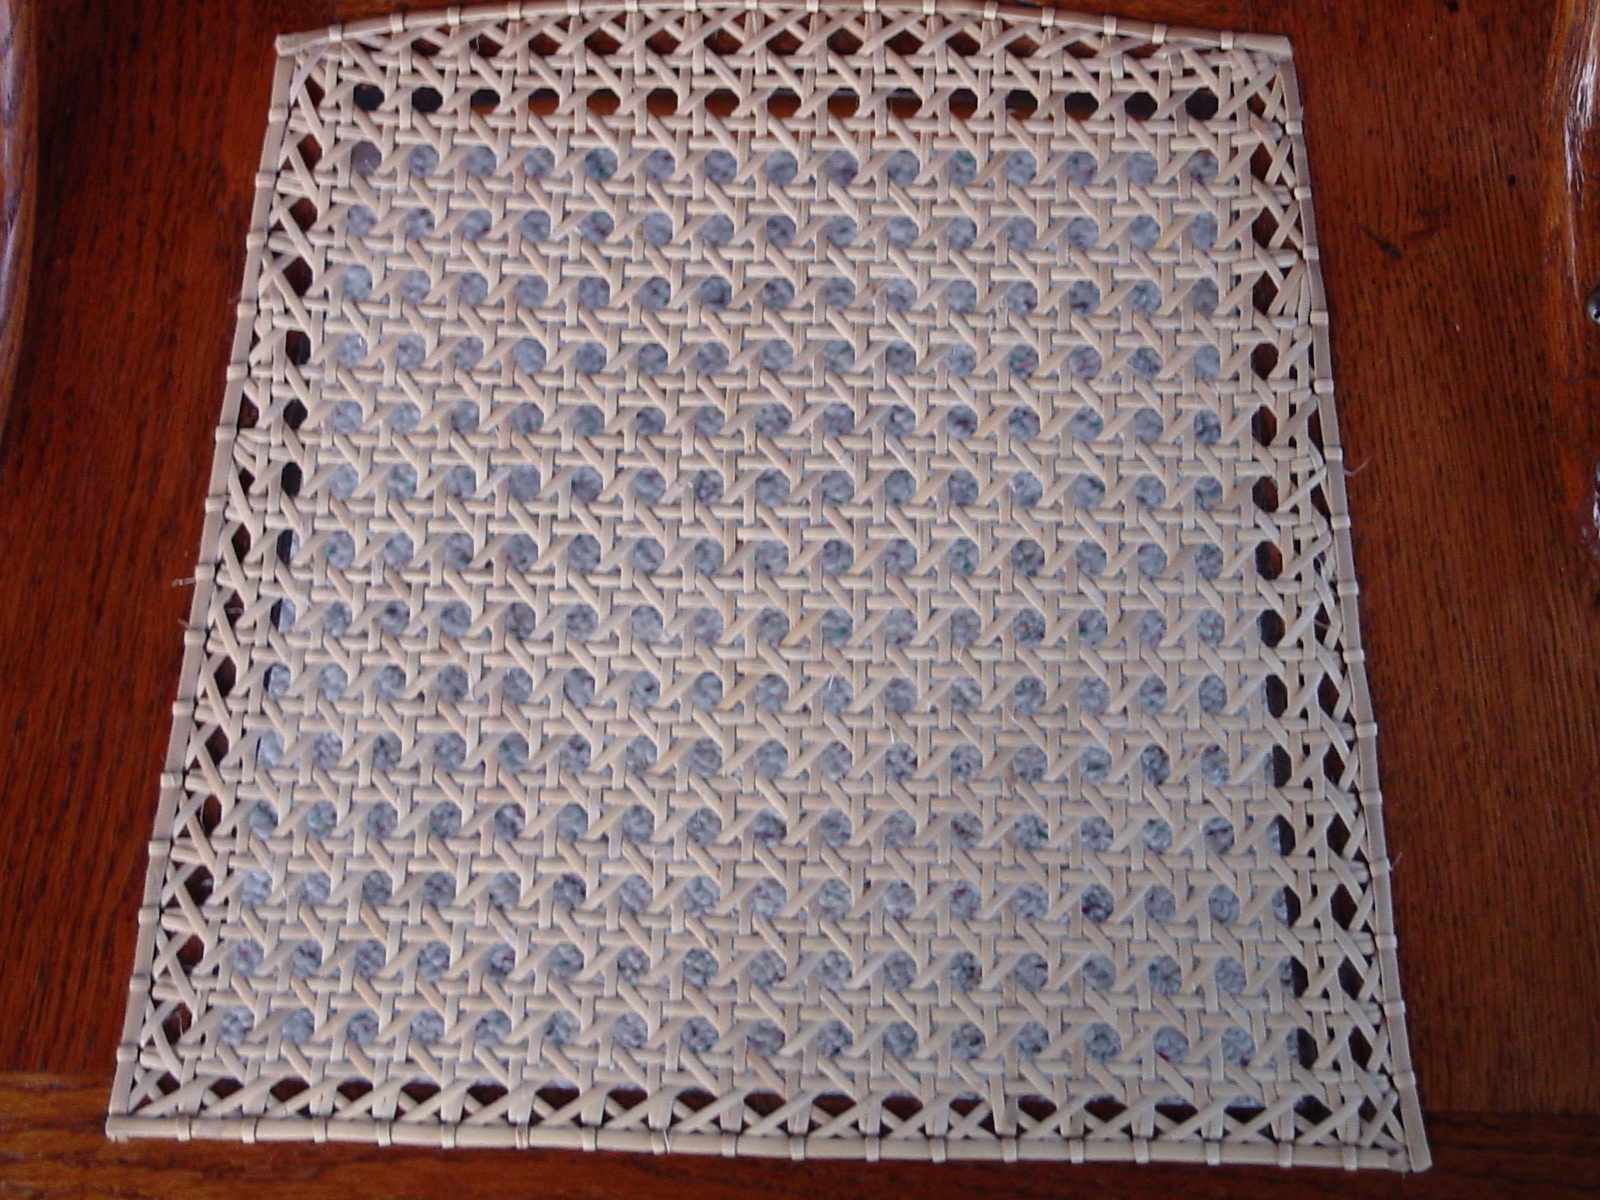
Spider Web A Pattern
This is a very interesting & beautiful pattern, but also a real challenge.
![]() This
chair also won a First Place ribbon at the 2004 county fair.
This
chair also won a First Place ribbon at the 2004 county fair.
Diamond
Pattern Helen sent pictures & a quick instruction set on this pattern
to add to our collection.
---------------------------------------------------------
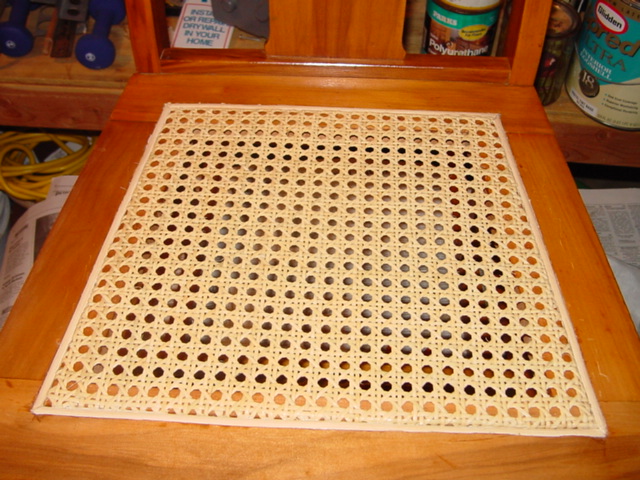
Pressed Caned Instructions. This was another first for me. I have received many emails from people searching for Instructions for Pressed Cane chairs. I had read how to do it, but had never tried it. Well now I have. Here's my Pressed Cane Story. New Additions are now included in this section. Including more Advanced Pressed Caning Practices.
---------------------------------------------------------
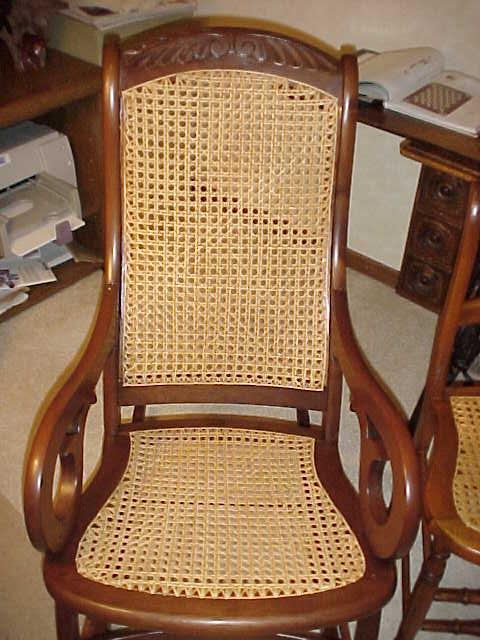
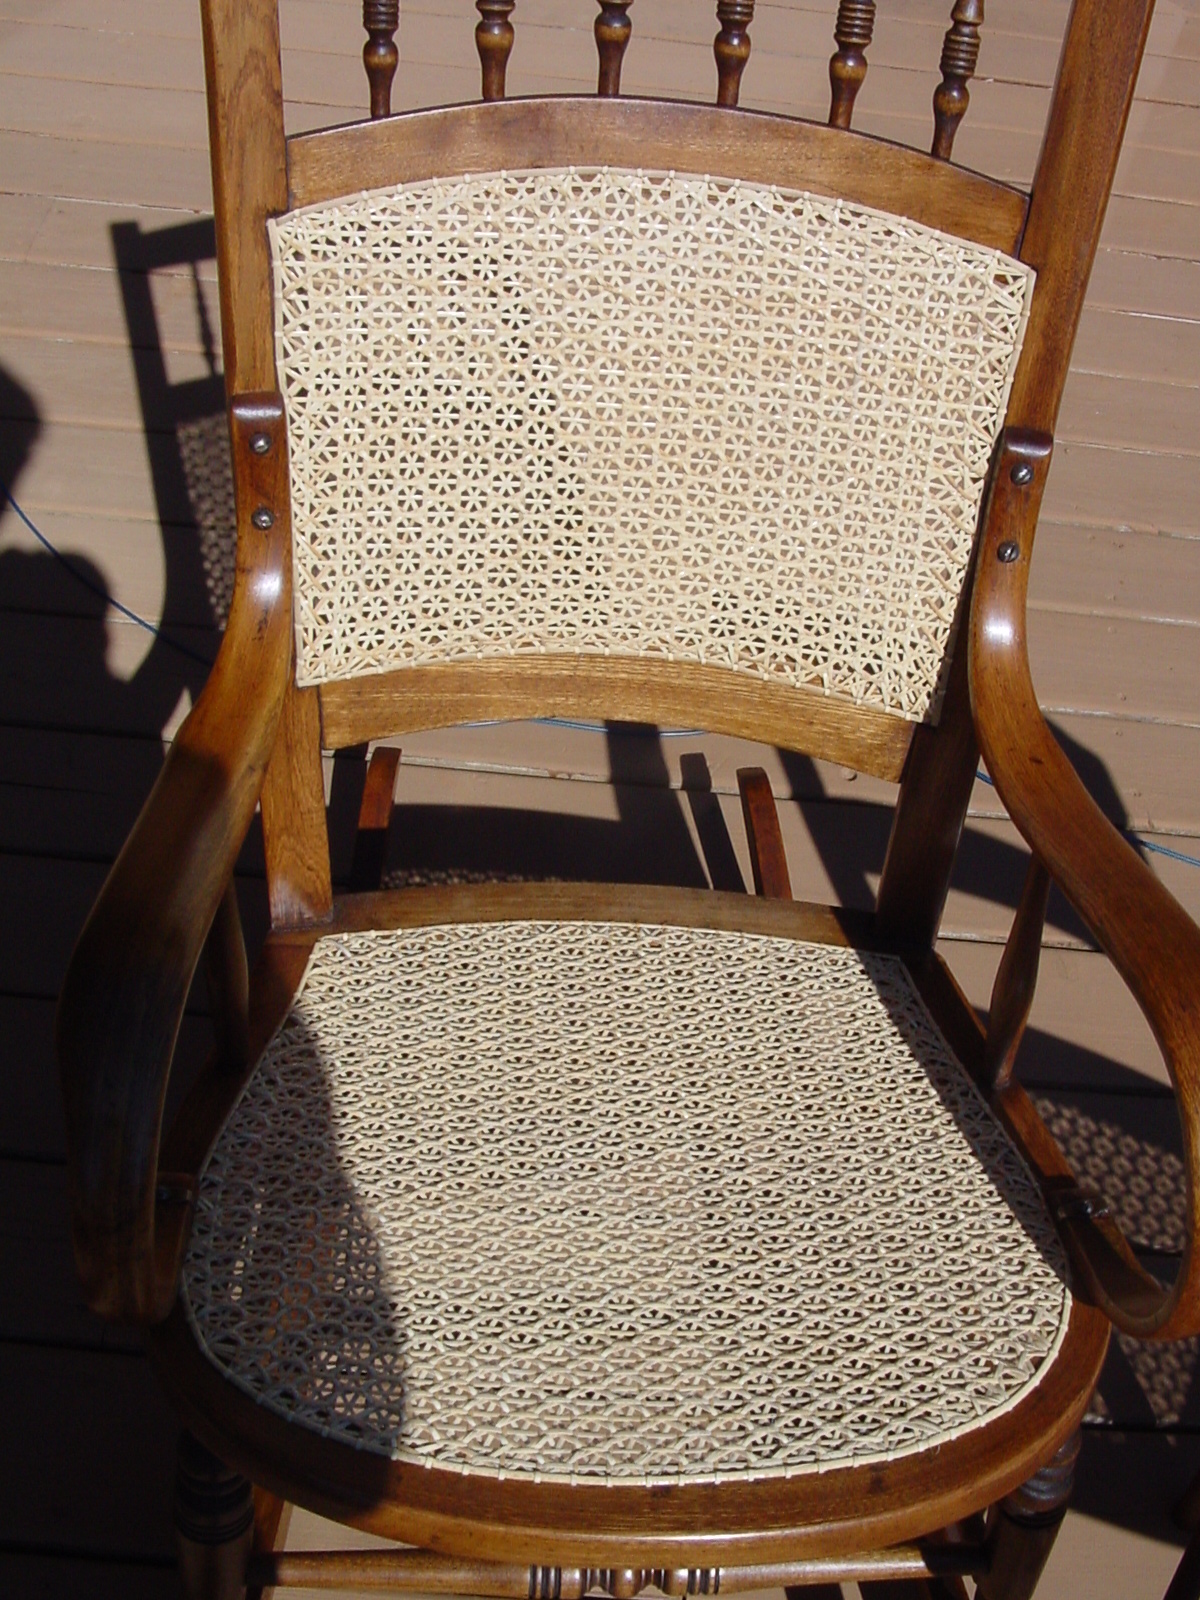
Restoring & Caning Rockers. I love working on Rockers. I find them both beautiful & comforting to use. This summer, 2004, my wife & daughter both found "rocker projects" to keep me busy. They found 2 child's rockers, an ornate adult rocker & a sewing rocker. Three of them have cane seat & back. All of them needed varying amounts of repair & refinishing, before re-caning. I will use these four rockers to try some new techniques, including curved seat/backs; pegging & couching.
This section of my website is to chronicle the year 2004-2005 work on
these four rockers. Hopefully we will learn some new things from this journey.
1. Child's Rocker - refinishing
& re-caning.
2. Barrel Curved Child's Rocker - refinishing & re-caning. Curved seat & back.
3. Ornate Rocker - refinishing & re-caning. Large traditional seat & fancy caned back
4. Sewing Rocker - restored from a pile of lumber; had to repair joints, remake stretchers, refinish & finally cane. My daughter wanted the Spider Web cane pattern. See if that's what she gets.
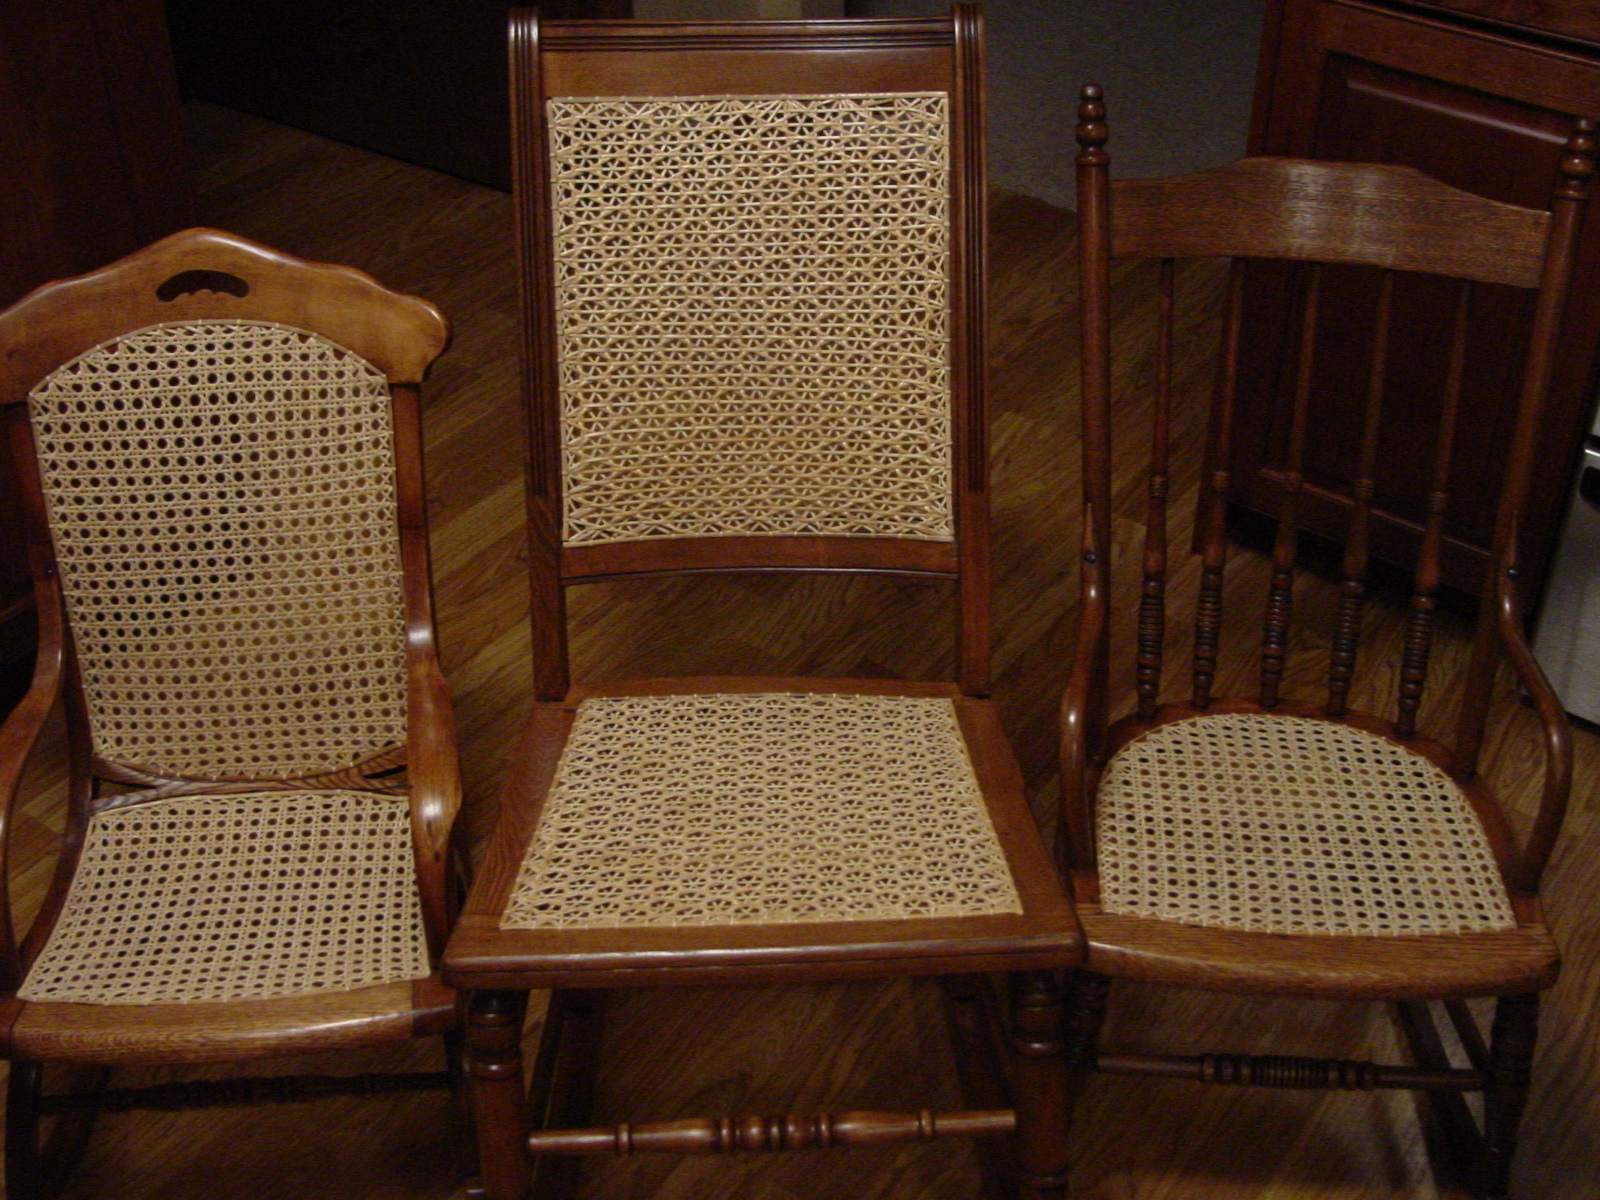
Success! Here are the 4 completed projects, finally
finished in March 2005. These were fun projects, ranging from medium difficult
to very challenging. I learned many new techniques. Having taken each of
these rockers from stripping, to repair, to refinishing, to caning; I felt a
tremendous amount of success & joy, when completing each rocker. I hope you
enjoy reading this edition of my caning story & could follow the challenges &
successes I encountered.
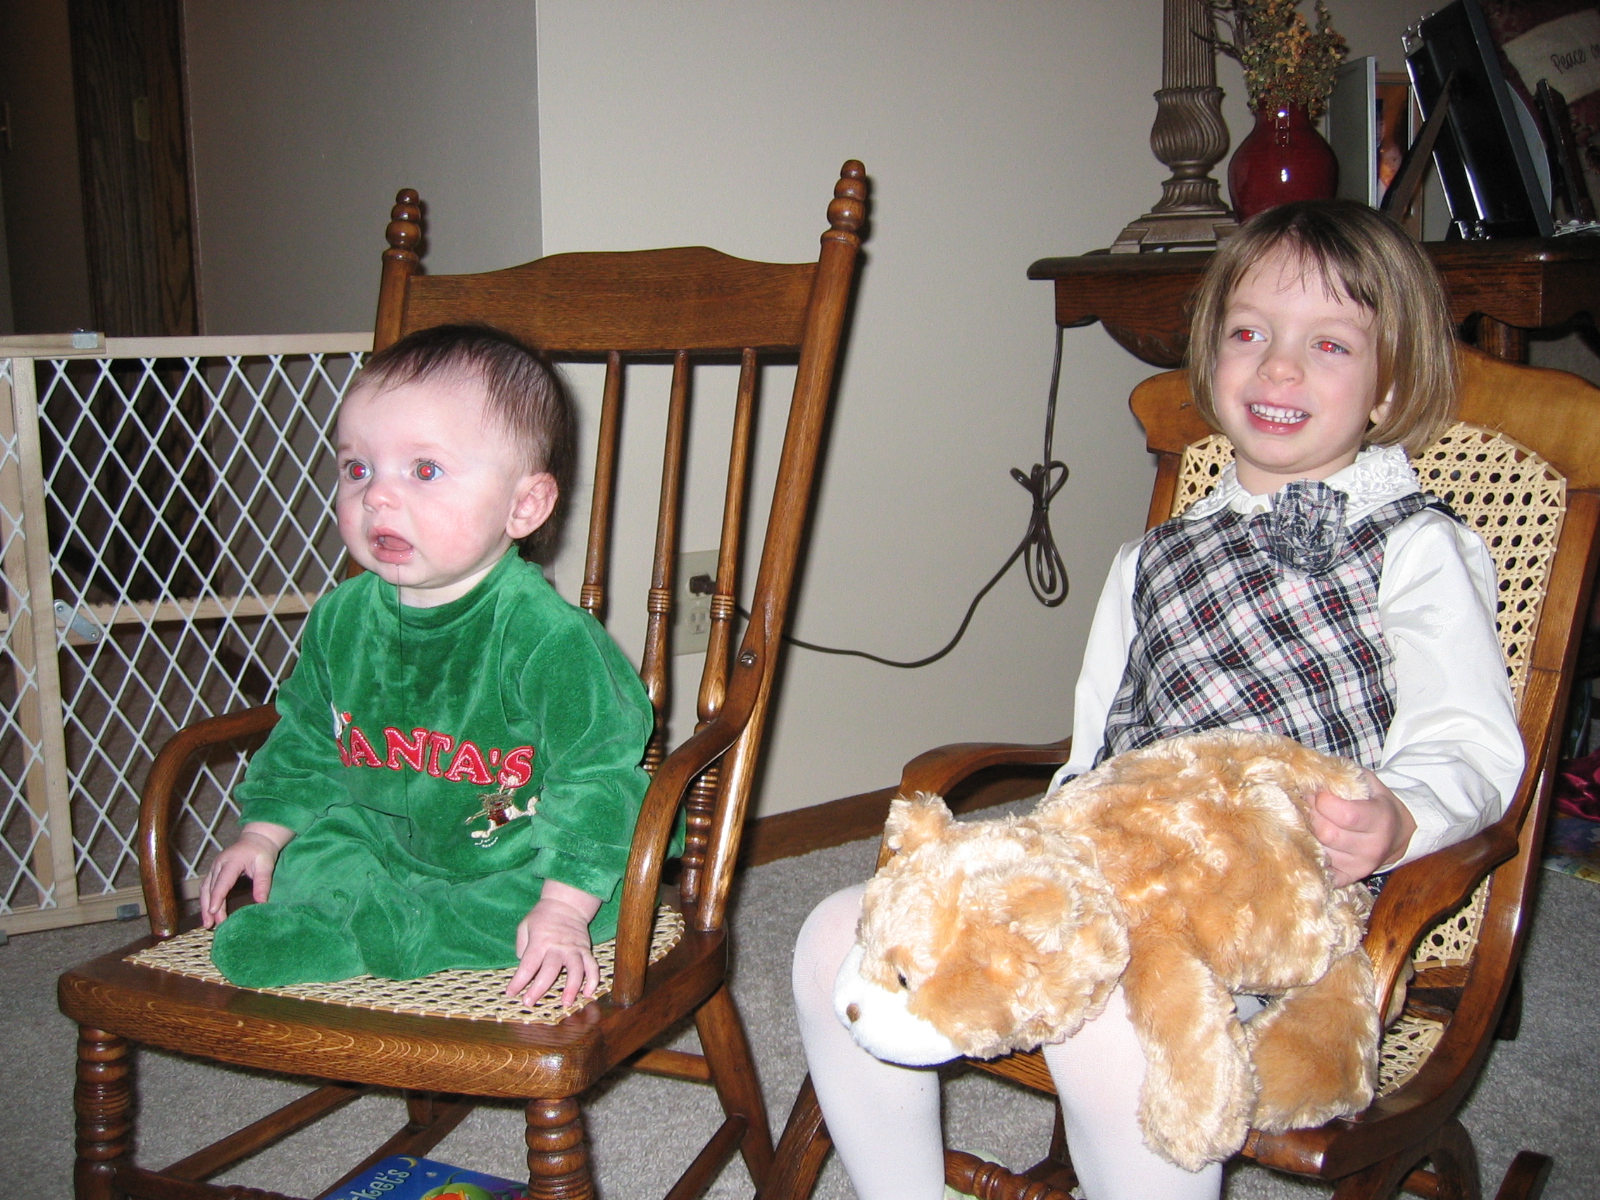
Of course the best part of these projects, is that they are intended to be enjoyed by my family. Here's my granddaughters at Christmas 2004. They fit just nicely on the children's rockers.
---------------------------------------------------------
More 7-Step Caning Instructions:
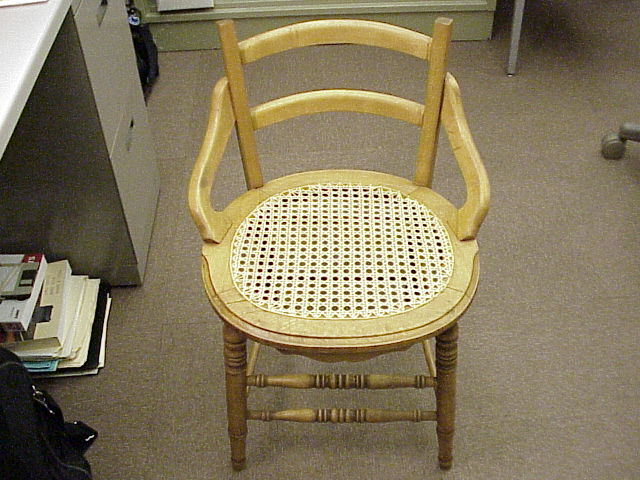
Classic Chair
This chair is the simplest & classic of caning designs. I used this
project to refine & refresh my 7-Step Chair Caning Instructions. New in
this section are some tools & techniques, definitely worth the time &
effort to create for you, the caning community.
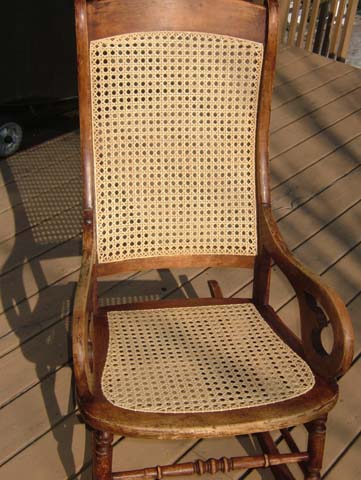
Lincoln Rocker
Fall 2009
I love doing rockers for their beauty & comfort. But they can also be
difficult, with multiple curvatures, both convex & concave. I used this project
to test several caning techniques. New in this section are some Knotless
techniques, Caning Needles & efficiency techniques. Definitely worth the
time & effort to create for you, the caning community.
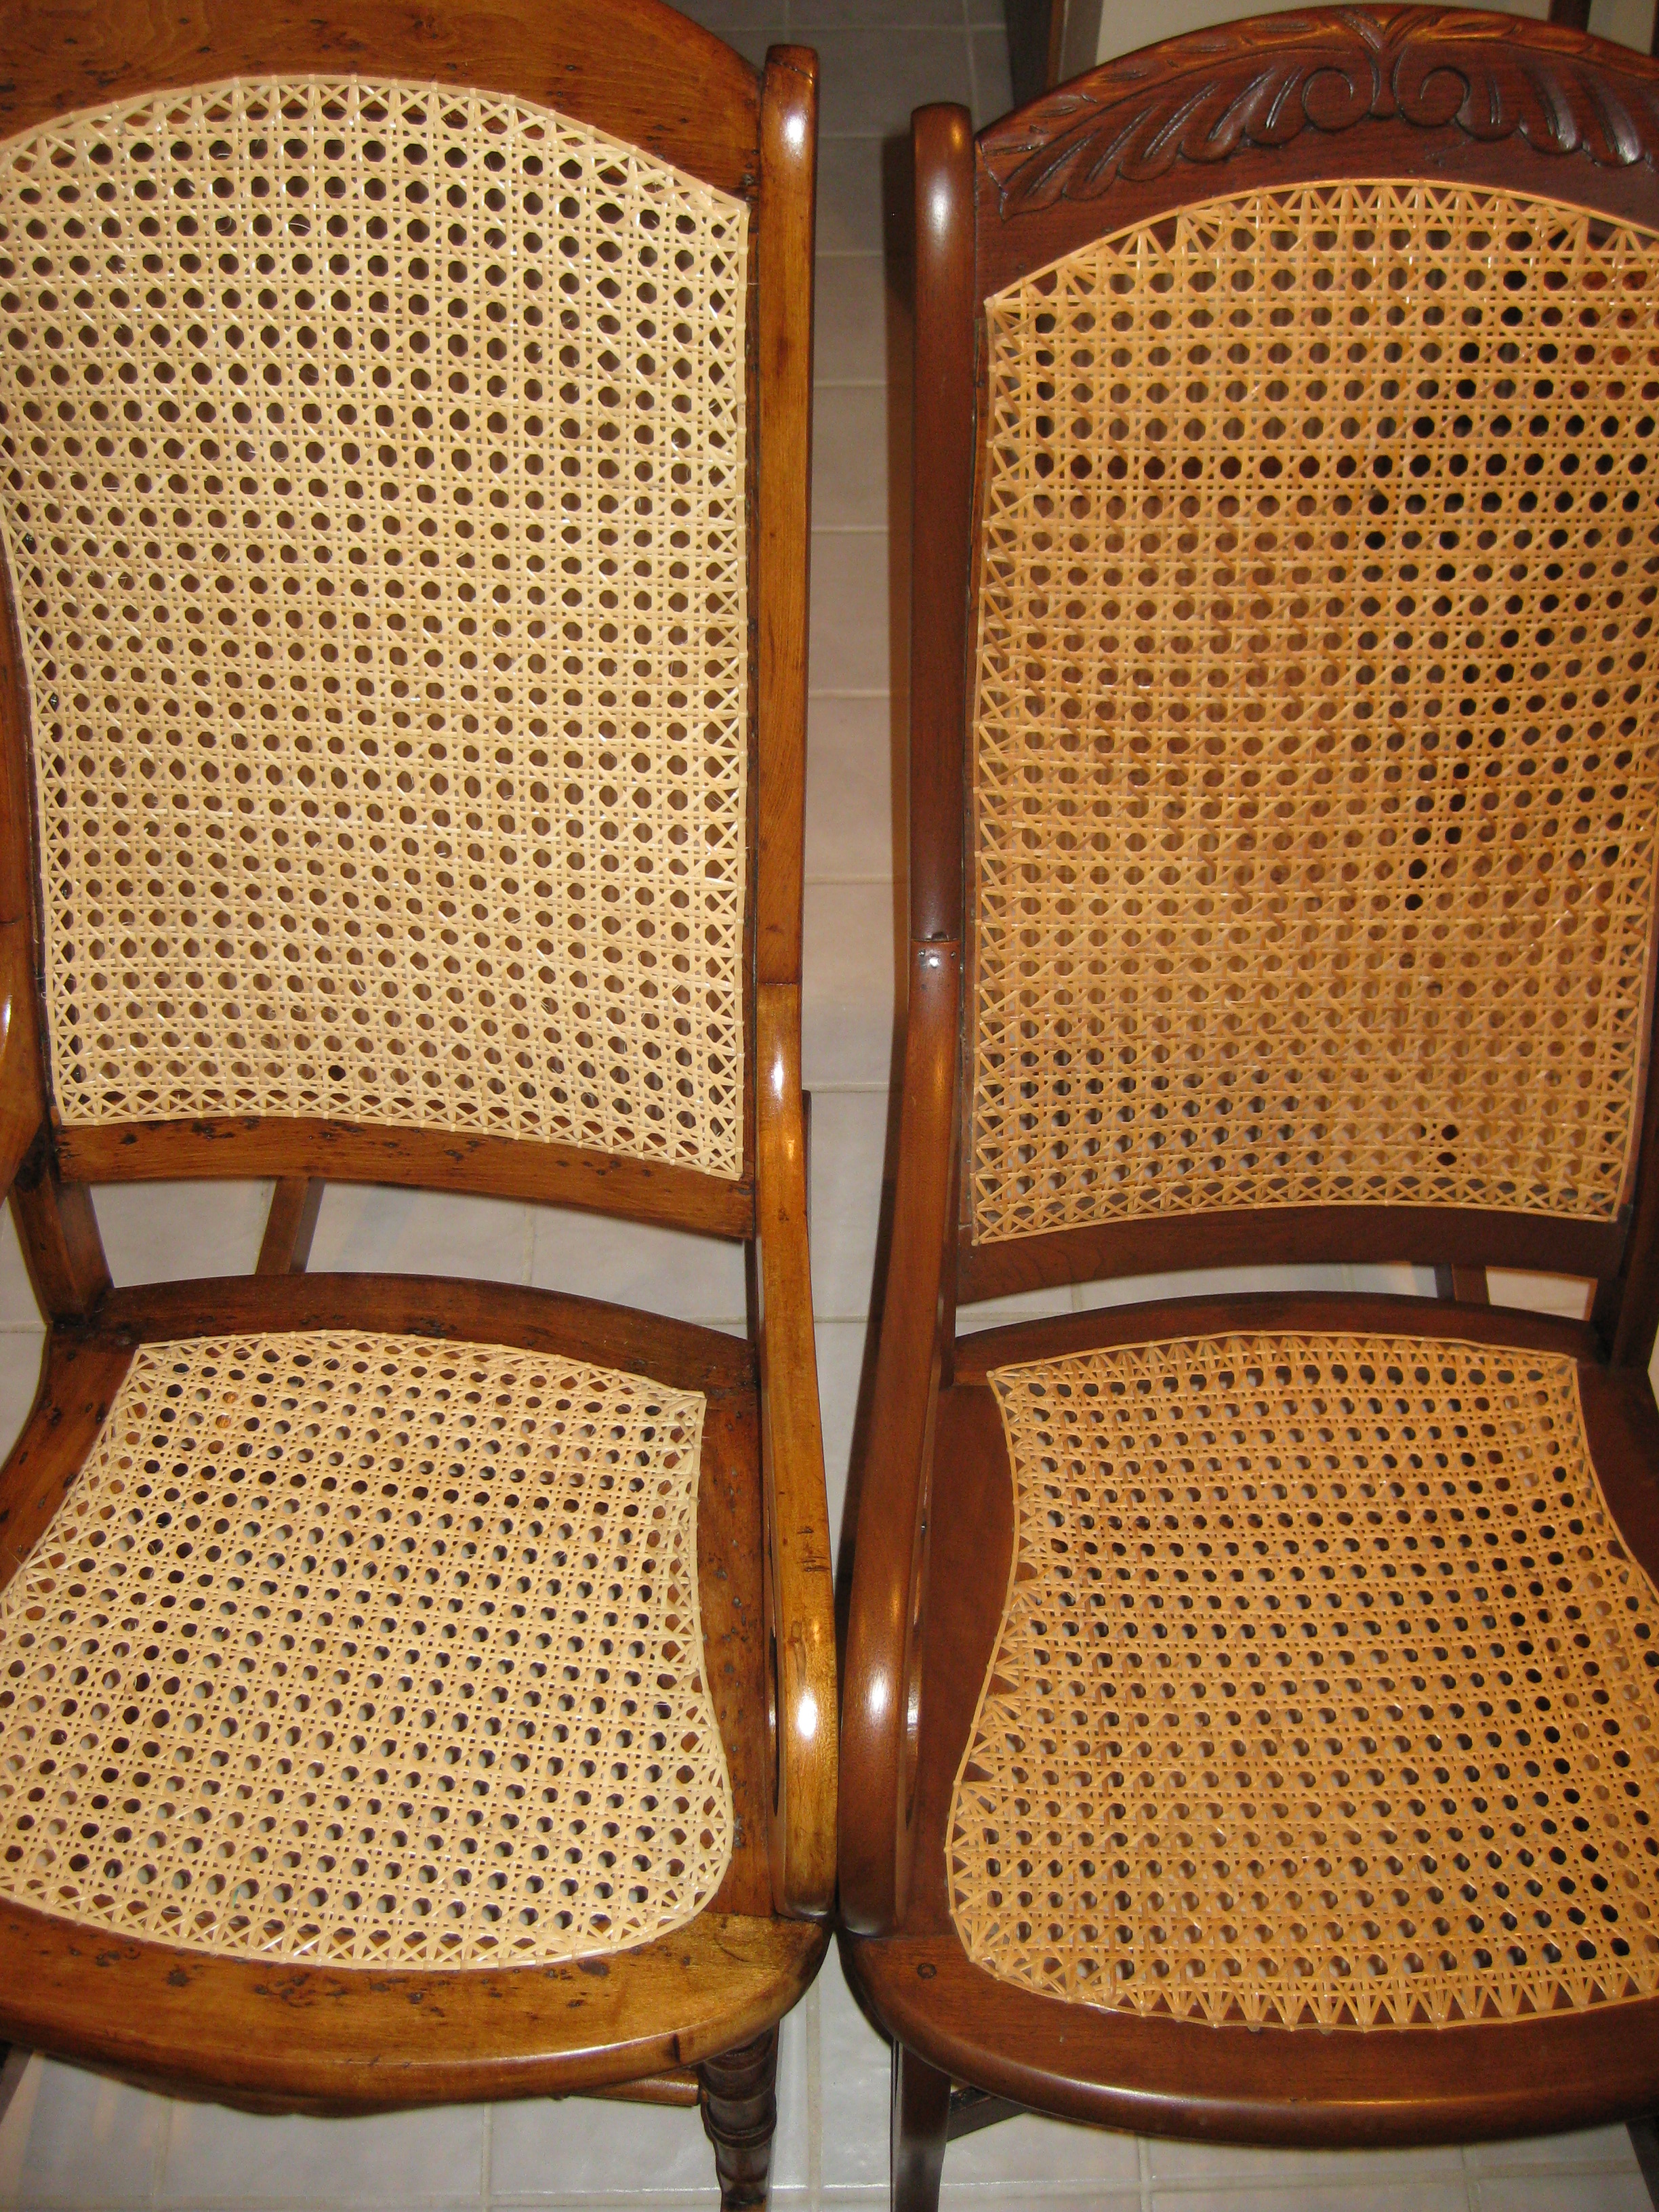
Comparing Old Techniques to New & Improved Techniques. Usage of "X", Knotless (minimizing knots) comparisons on Lincoln Rockers.
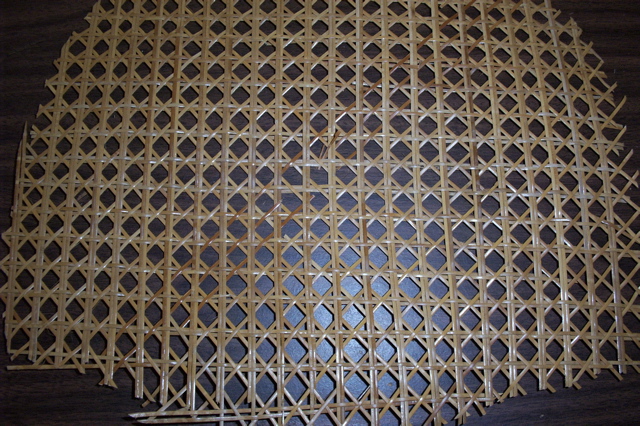
Summer 2013 - My first Wicker Project
I've previously been asked if I do Wicker Work. I've always said "no", because I had never been shown how. My wife was asked by a church quilter friend if I could work on her 84+ year old child rocker. I said I would take it to The SeatWeavers' Guild, Inc. Gathering, and ask for advice. All the advice from the experienced seat weavers was positive & I was given a book on Wicker Repair. This helped build my confidence greatly. The Wicker Rocker had most of the back missing, but enough still there to suggest a pattern. There were also pieces missing on both sides. I read the book. I measured the size of the wicker needing to be replaced, doubled my length estimate & placed my order. (It turned out to be good that I doubled my length estimate, because I used almost all that I ordered). The supply house was nice enough to only send partial roll of wicker in the sizes I needed, instead of requiring me to buy the whole coil. I needed #5 & #7 wicker.
I soaked the wicker for at least an hour in warm water to provide the flexibility needed to form the sharp corners. Perhaps the wicker could have soaked even longer. I wove the pieces over a two day period, so some dried in place, before more wet wicker was added. This didn't seem to be a problem.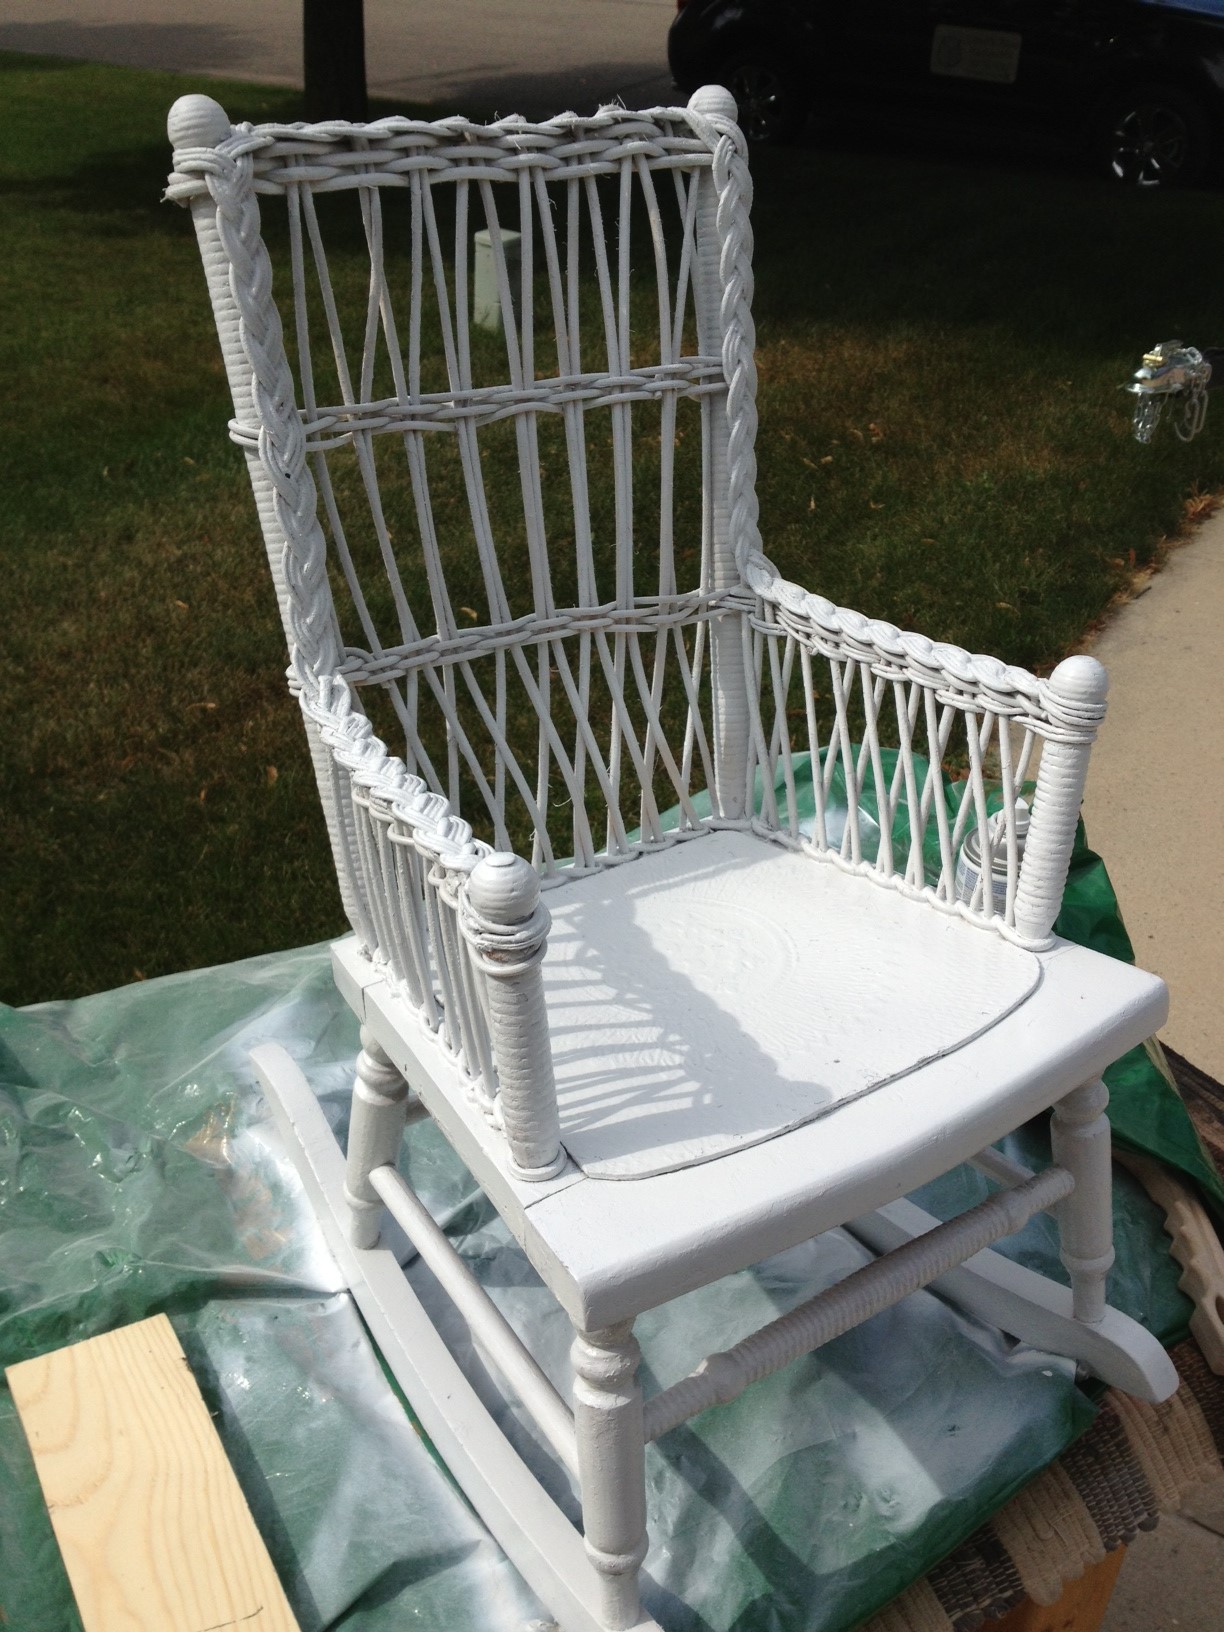
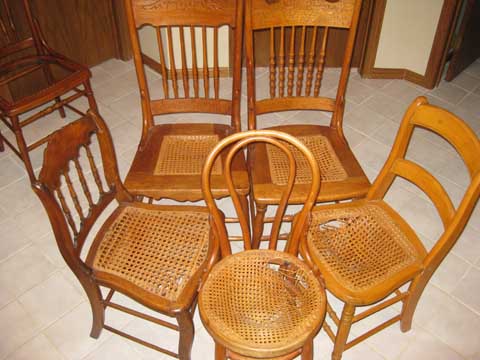
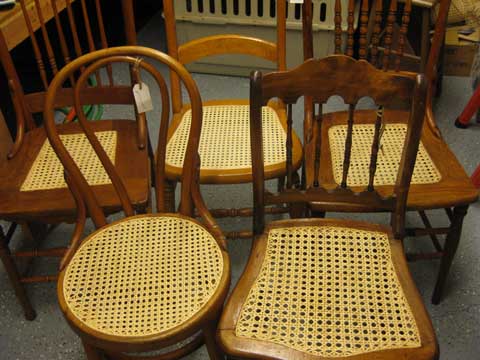
Fall 2005 Project - Darci's Chairs
---------------------------------------------------------
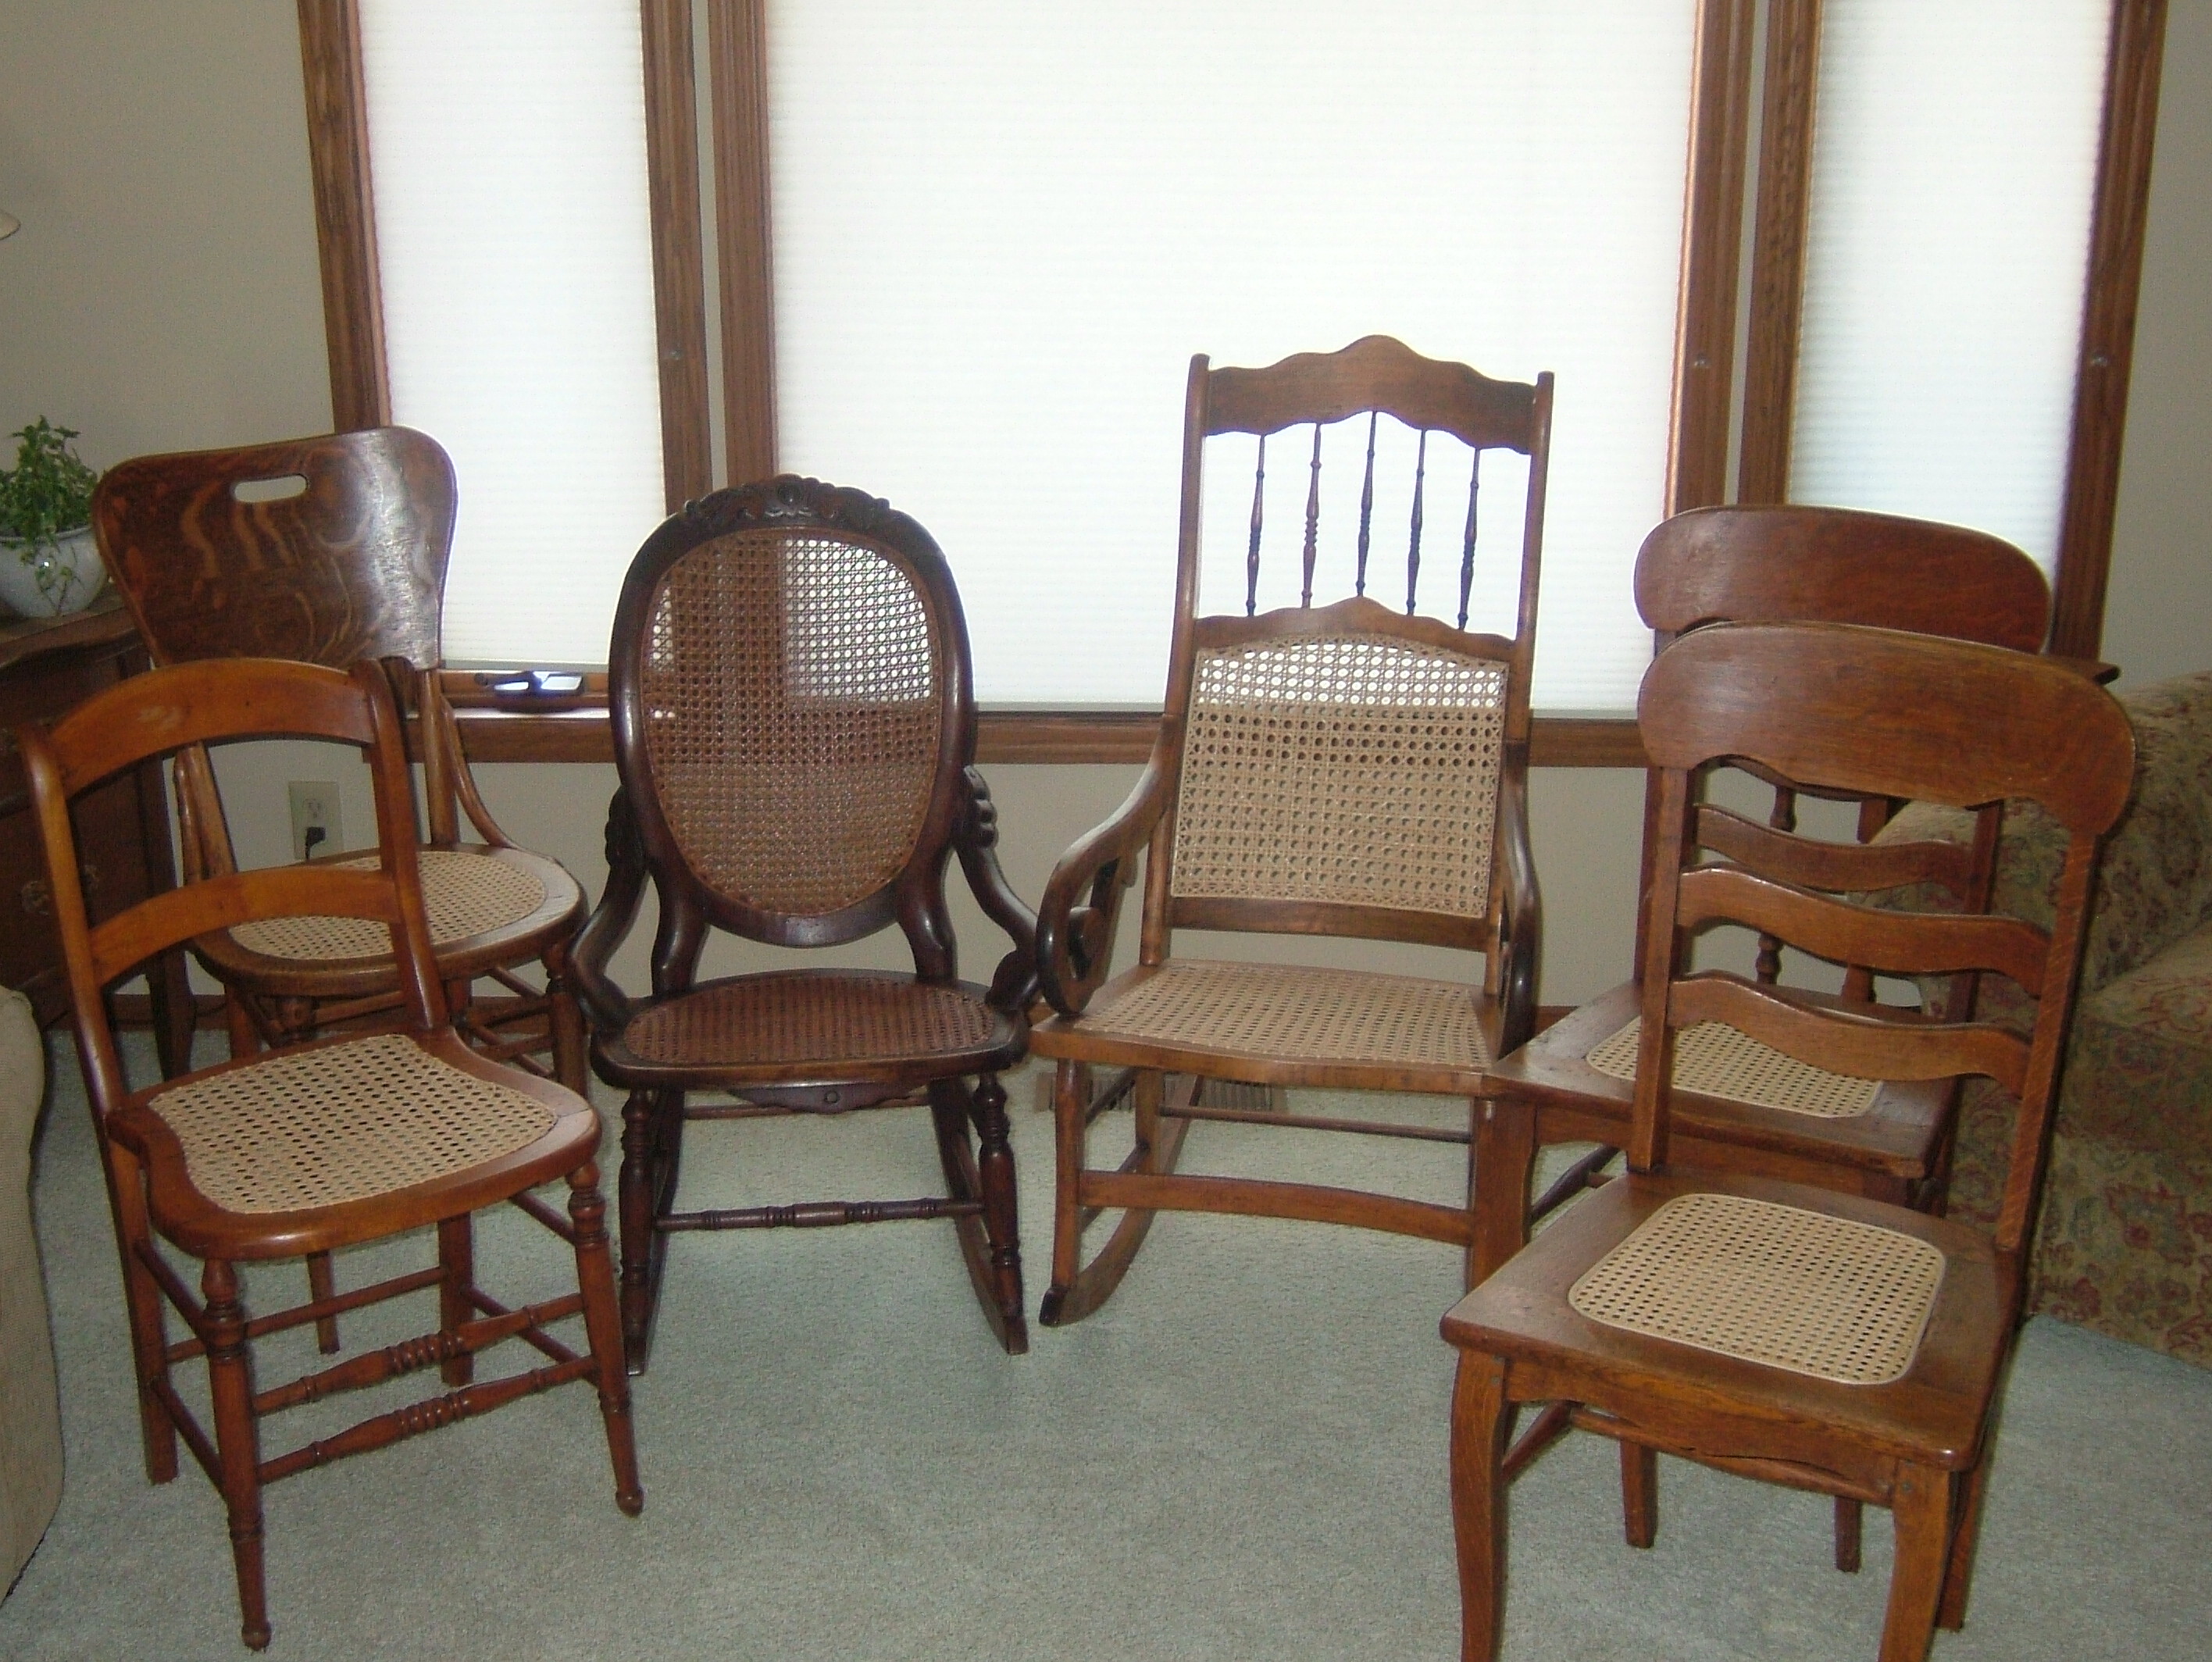
Spring 2008 Projects - Nan from St. Paul
4 Chairs & two Rockers that took me most of the spring to accomplish, but also
provided a great deal of variety & difficulty.
From L->R, 1
classic bedroom chair (with plugged holes & re-drilled slightly off center),
1 round chair (that had been converted from pressed cane previously), 1
Victorian rocker (stained the seat to match the back which didn't need
replacing), 1 Ornate rocker (knotless curved back & seat), 2 Chairs were pressed
cane (one proved very difficult to remove old spline because of glue). A
great feeling of accomplishment when all these were finally completed & the
owner loved the results.
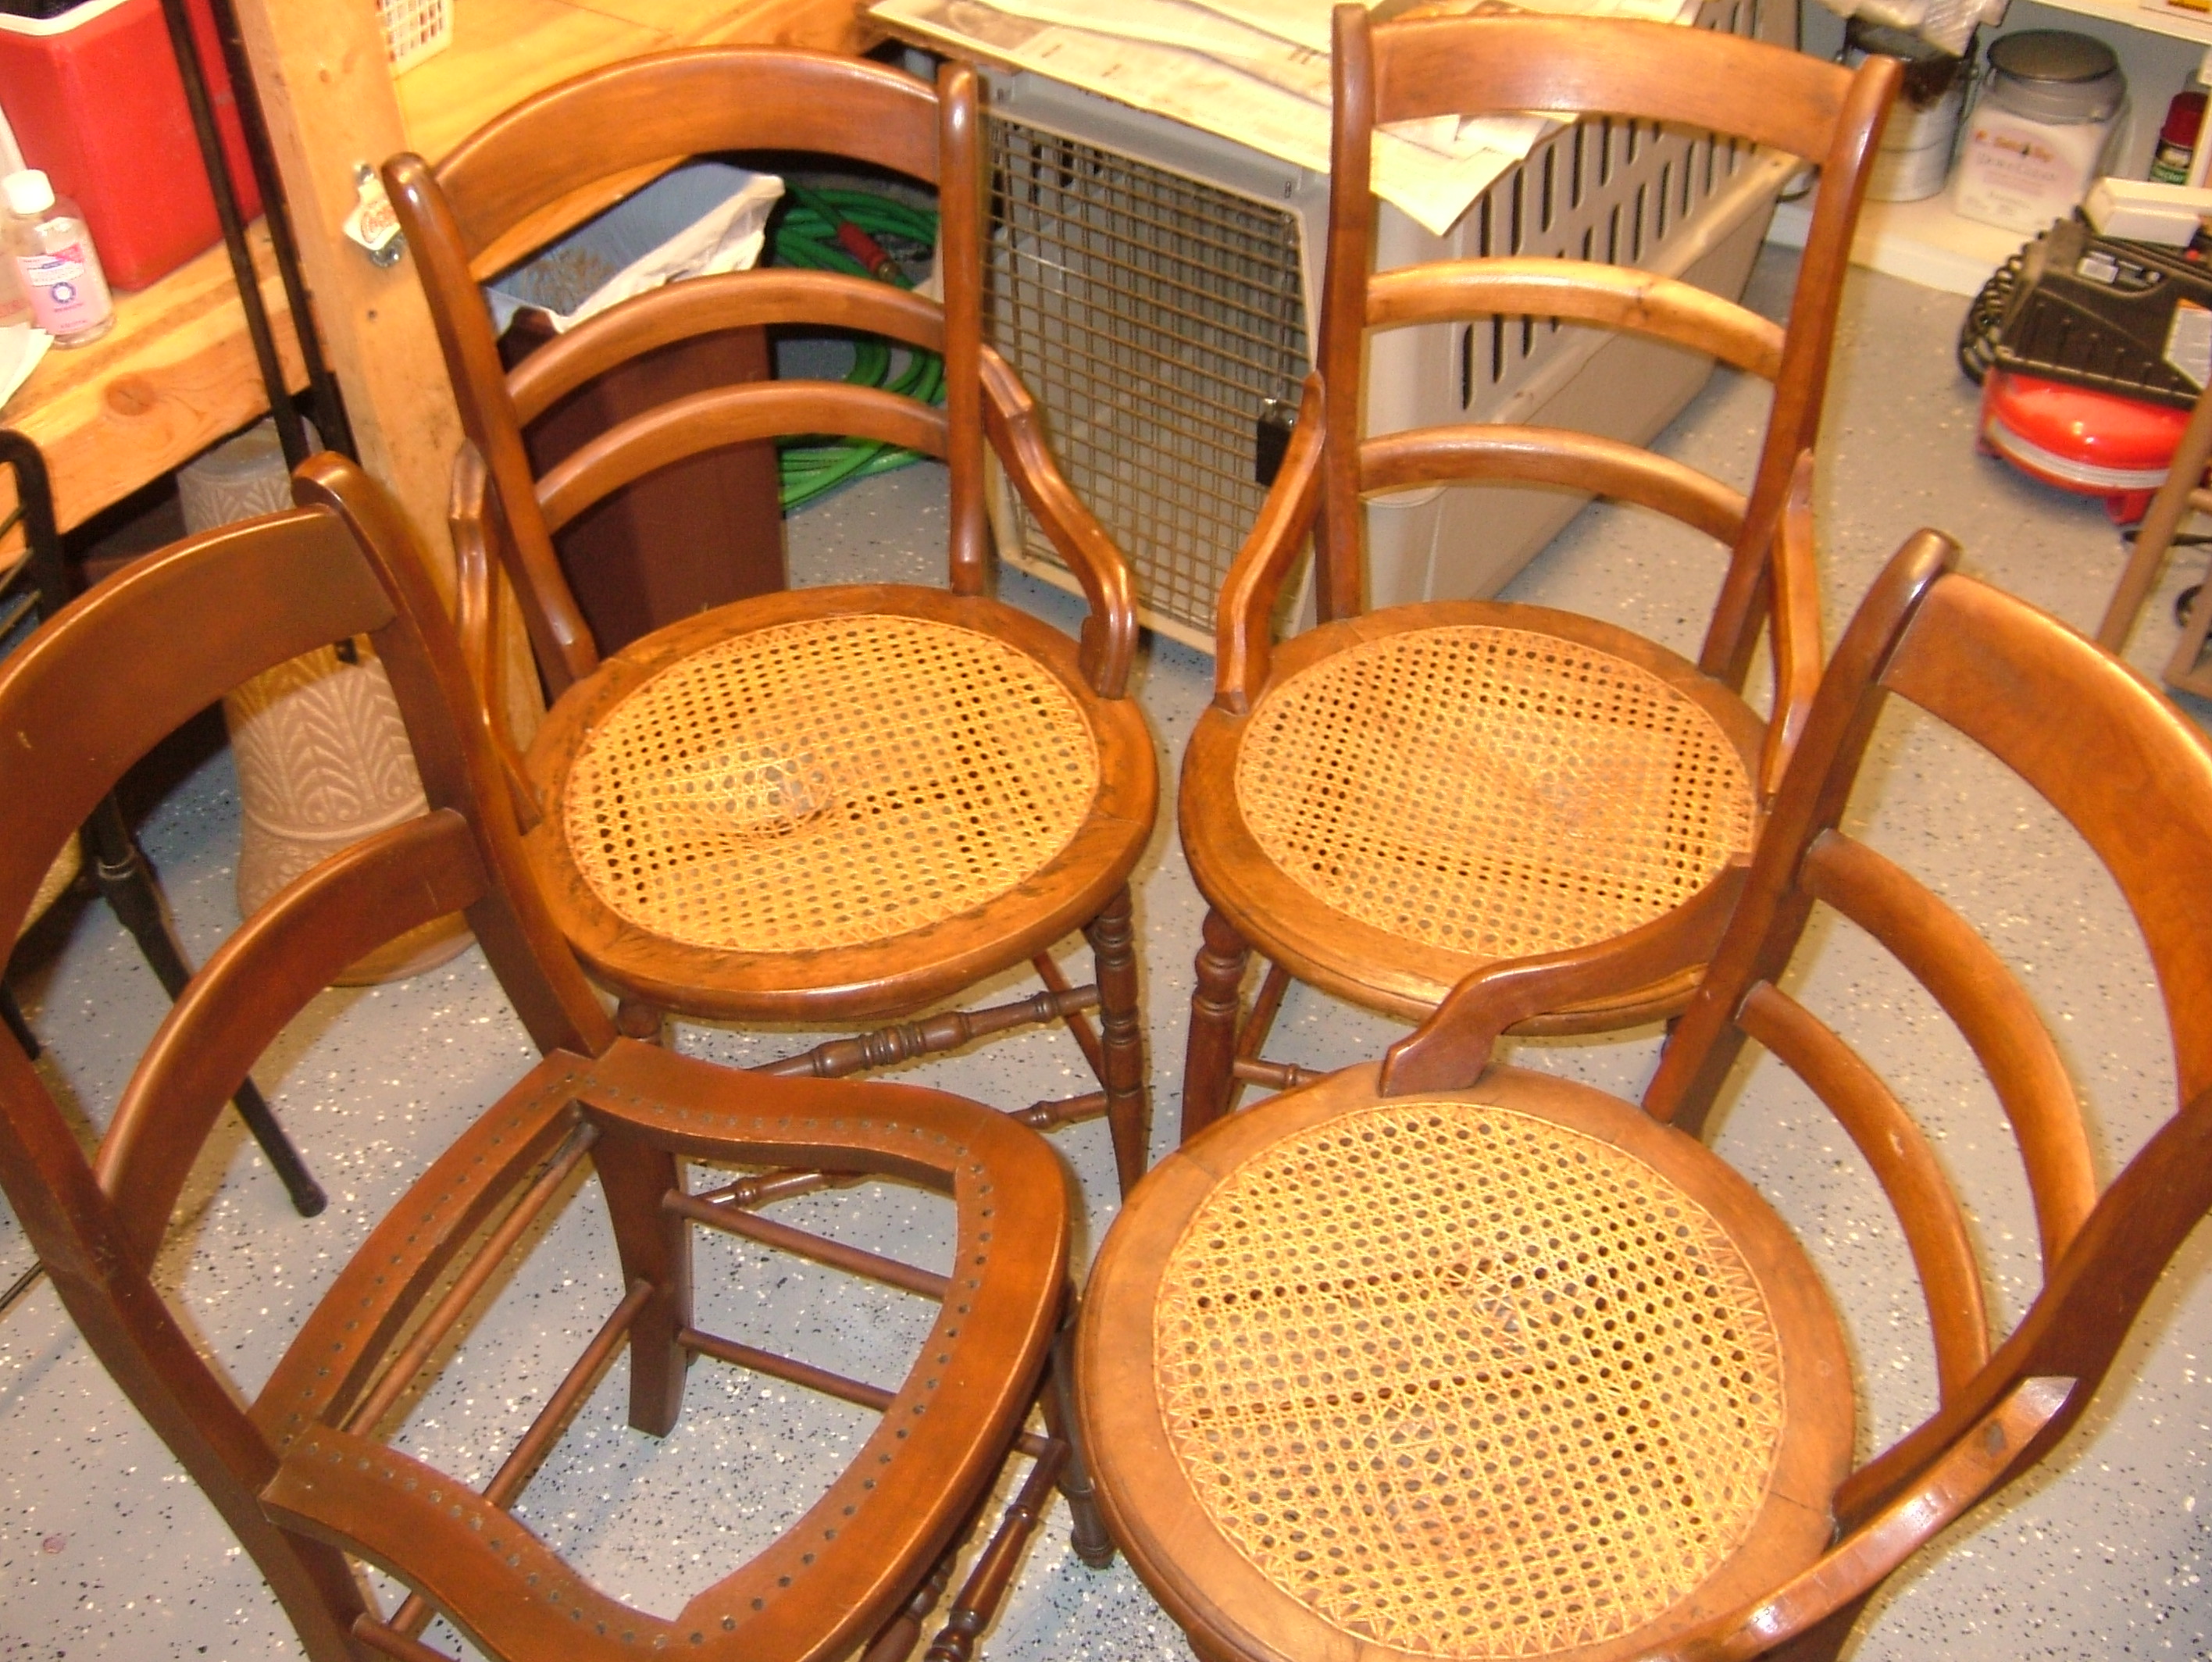
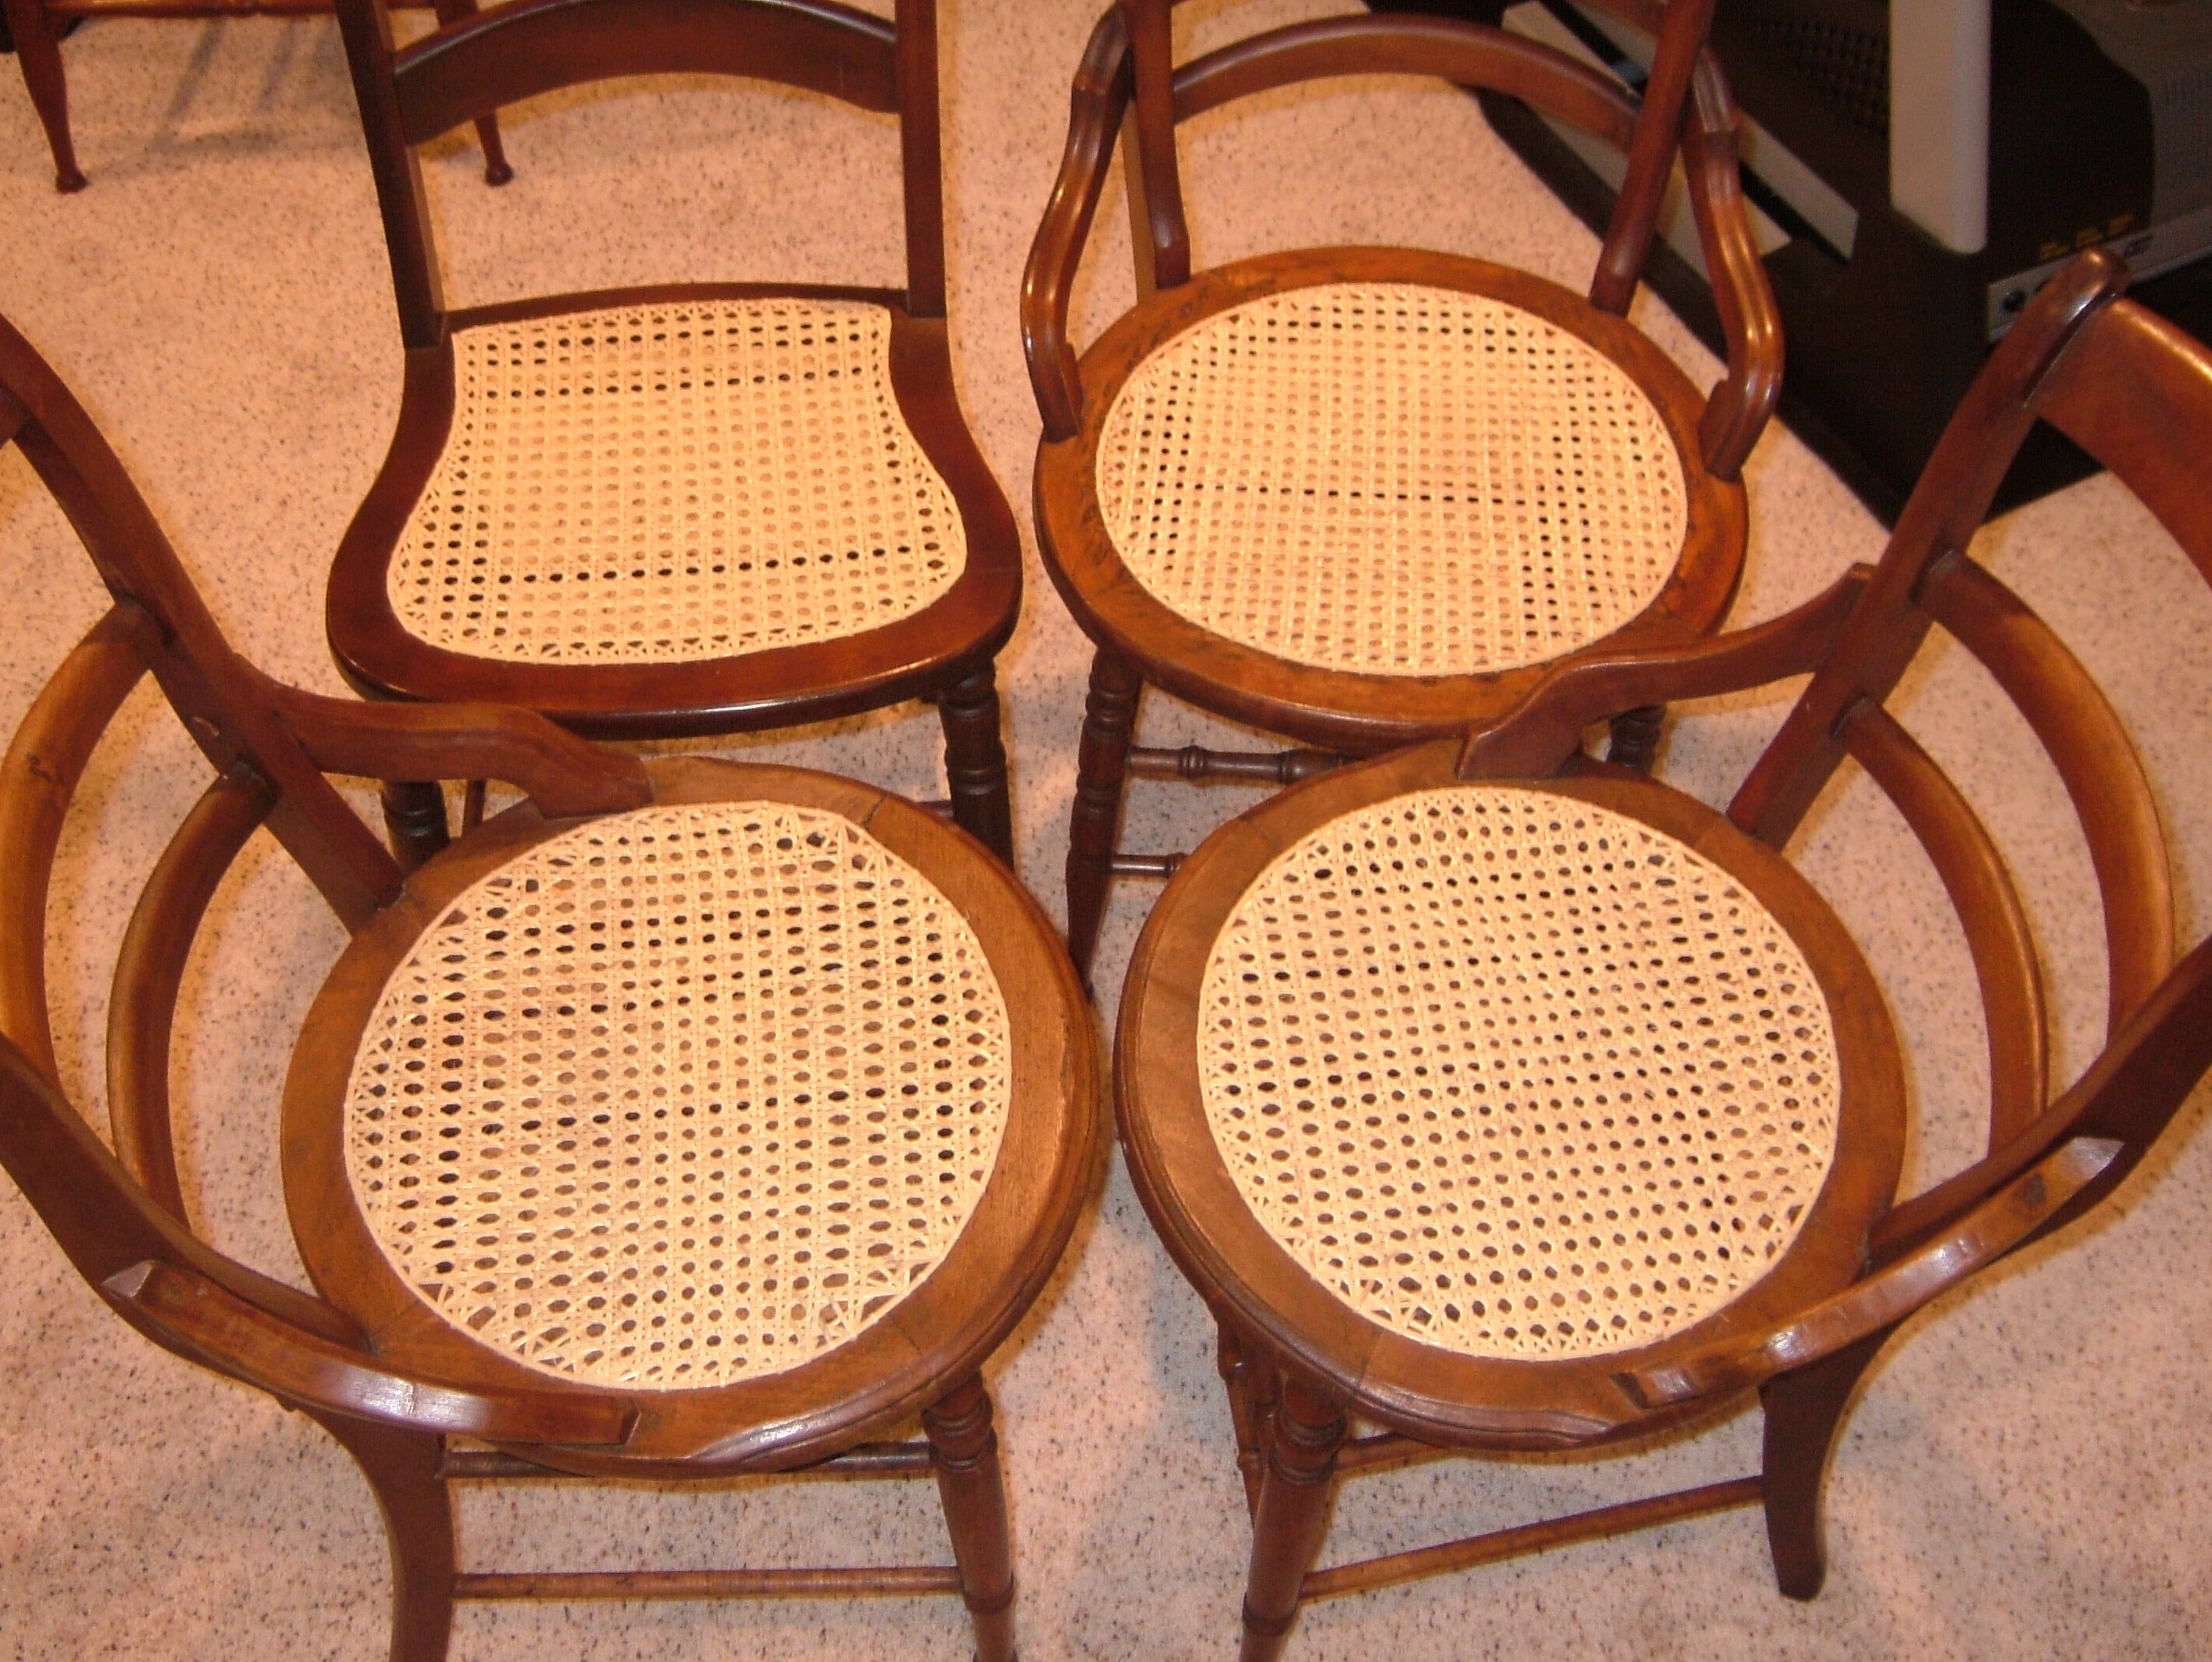
Winter 2009 Project for Nan from St. Paul
4 Chairs that took me a few months to accomplish.
The chairs were similar, in
that 3 were round seats with hips & 1 was the classic round front/square back
chair. Some refer to these type chairs as a dining chairs. There were several repairs in the
wood & hundreds of little nails to be removed from underneath. The
previous caner (Nan's Grandfather) used upholstery tacks to hold down each cane
end. The cane ends typically cracked & the tacks were actually holding
very little. In some places the upholstery tacks actually caused the wood
to chip & break - which I repaired. I also cleaned the wood & applied a
hand wax to polish up the finish.
Before.
Experienced Caners share their advice
Don's
instructions for Finishing Off the Binding. Don sends another way to
complete Step 7. His terms are "Couching & Beading". He also sends a
picture of a handy tool.
Helen is a Quality Professional Caner. She kindly shares some details that make your cane chair stronger & more beautiful. She sends a picture & instructions for a beautiful chair with "X" & "Fishhead" details.
Martin's Nursing Chair. Martin sent pictures of the refinishing & re-caning process. These pictures help with the Pegging instructions, for a very clean, knot free back.
Martin uses Pegging instead of tying-off the ends. Martin Pegs every other hole to hold the cane ends & then loops through the other holes for step 7 binder.
Knotless Backs - Cathryn & David shared more techniques to make the backside of chair & rocker backs as beautiful as the fronts. This requires more concentration & effort as you pay close attention to how each loop on the backside continuously looks.
---------------------------------------------------------
Other's Chair Caning Projects. Since building this chair caning web site, I've been contacted by many people from all over the country & some internationally. I'm adding this section of web space for other people to show their successes. Perhaps, this will continue to grow as an inspiration for other's to attempt their first chair caning project, as well as showing other chair caning designs. So send in your success stories & I'll try to add them here for all to see.
Lorne Cline's Cradle
with Cane Sides This is a beautiful work of art, from both the woodworking &
caning view.
Wendell's First cane chair - Round
Seat Provides step by step pictures & story, Modified 7 Step Process.
Pauline's Blind Caning
Project: Also known as French Caning. She calls the work "fiddly". It calls
for patience.
Bill's Grandma's
Curved Back Rocker. Very well illustrated, answering questions for
those attempting a rocker.
Mike's School Project.
His first caning project to complete a class-work assignment.
Stephanie's
Ribbon Caning. This very creative person had LOTS of ribbon & no cane
available. So she wove ribbon instead of using cane. These pictures help to
visualize the weaving steps more clearly.
Sheila's Round Chair
that was her grandfather's.
Marlous' First
Caning Project.
Carol's heirloom. Carol refurbished a junk rocker
& turned it into heirloom
Bonnie's
Successful First Attempt She encourages more to people to try caning, using
this website for instructions.
Nancy shows her
first caning projects, a round ice cream chair & small sewing rocker. Nancy
is from my local area & learned to cane from an Adult Education class.
Alex cane seat
for the canoe he built. Both seat & canoe are works of love & beautiful
art.
---------------------------------------------------------
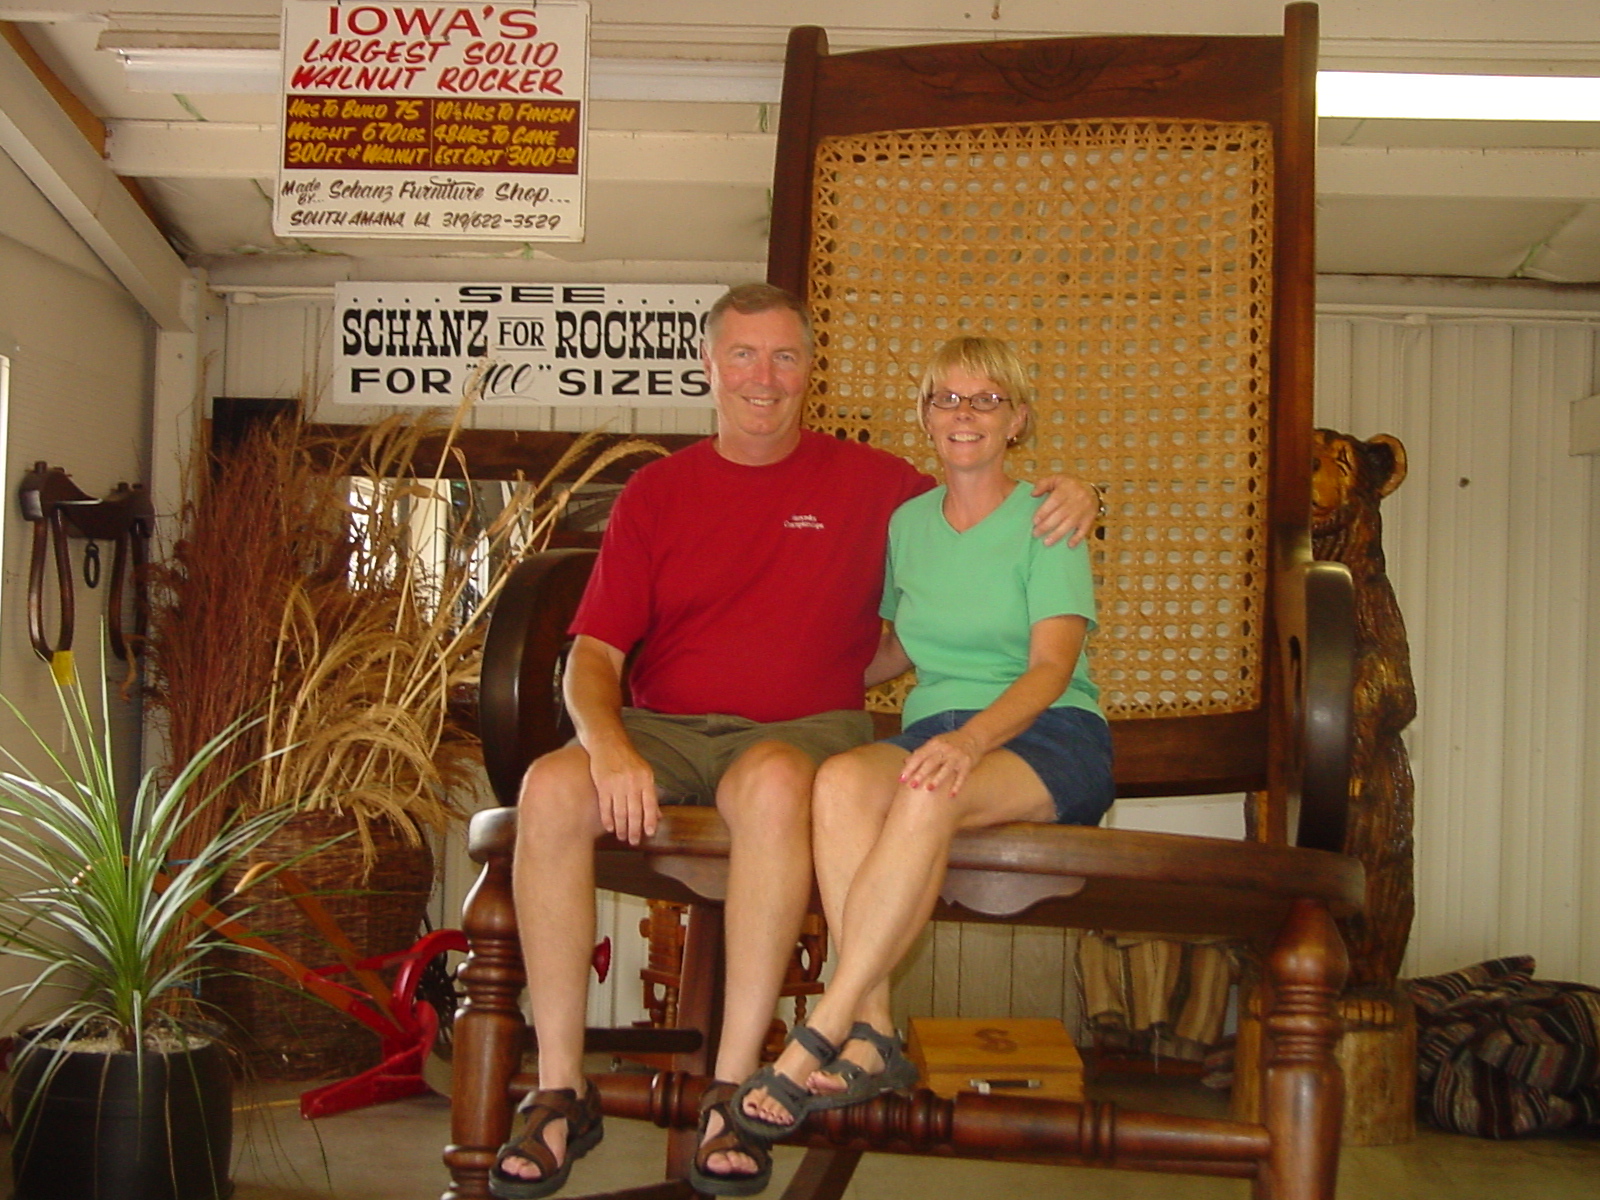
On a Iowa trip, my wife & I sat on "Iowa's Largest Solid Walnut Caned Rocker". It was very impressive. The cane strands were over 1 inch wide. Even in this huge rocker, the seven step caning method worked & looked wonderful.
---------------------------------------------------------
I hope you enjoy these instructions & find them helpful with your chair caning projects. If you have questions feel free to email me & I will try to assist. My email address is : wayne.sharp@mnsu.edu
If you are an advanced caner & have constructive comments on how to improve these instructions, I invite your emailed thoughts.
I am also looking for instructions on how to do other caning methods, as I'd like to continue learning THE ART of CANING.
© Wayne Sharp, 2002 thru 2015. All rights reserved. All work in these instructions & pictures are my own and may not be used for profit without my prior permission. Pictures for the "Other's Chair Caning Projects" and "Experienced Caners share their advice" are provided with permission to publish on this website.
Wayne Sharp.
Created December 2001
Updated February 2015
wayne.sharp@mnsu.edu
101 Turquoise Ct
Mankato, Minnesota
507-779-8550